ref – https://torquemag.io/2021/05/next-js-headless-cms/
Step 1: Installing WPGraphQL to query WordPress with GraphQL
To start, we’ll need to install the WPGraphQL plugin, which will allow us to query our WordPress data with GraphQL.
You can easily install WPGraphQL by heading to the Plugins section of your WordPress admin dashboard, searching for WPGraphQL, installing the plugin, and activating it.

But once you’re ready, you should be able to visit the /graphql page in your browser for your WordPress site, where you should see a GraphQL-related error, meaning we’re ready to use GraphQL.

Step 2: Creating a new Next.js WordPress blog with Next.js WordPress Starter
If you’ve created a new Next.js website before, such as using Create Next App, this part should be pretty familiar to you!
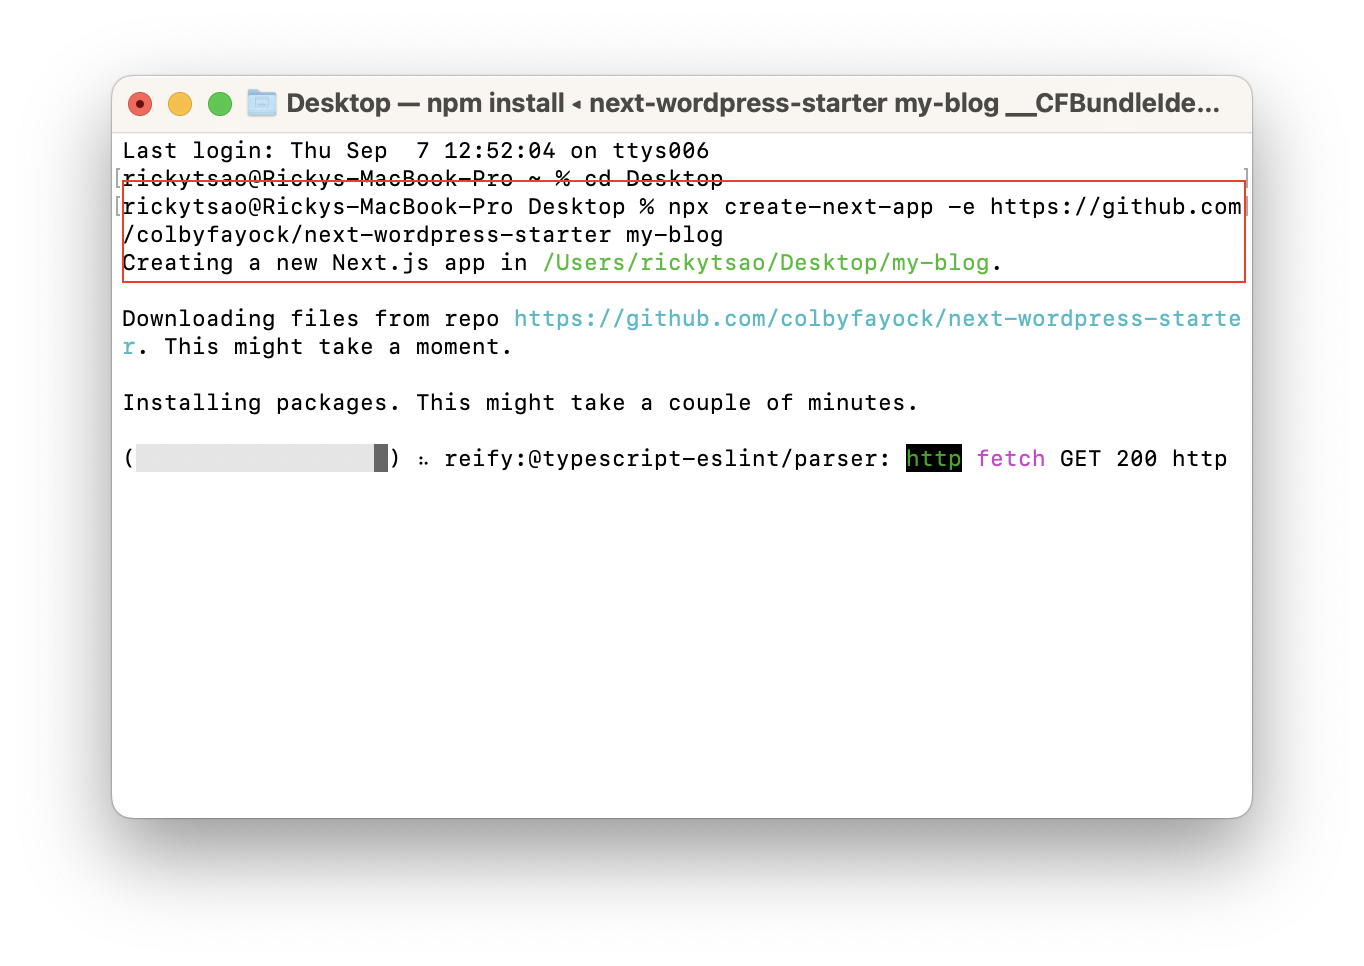
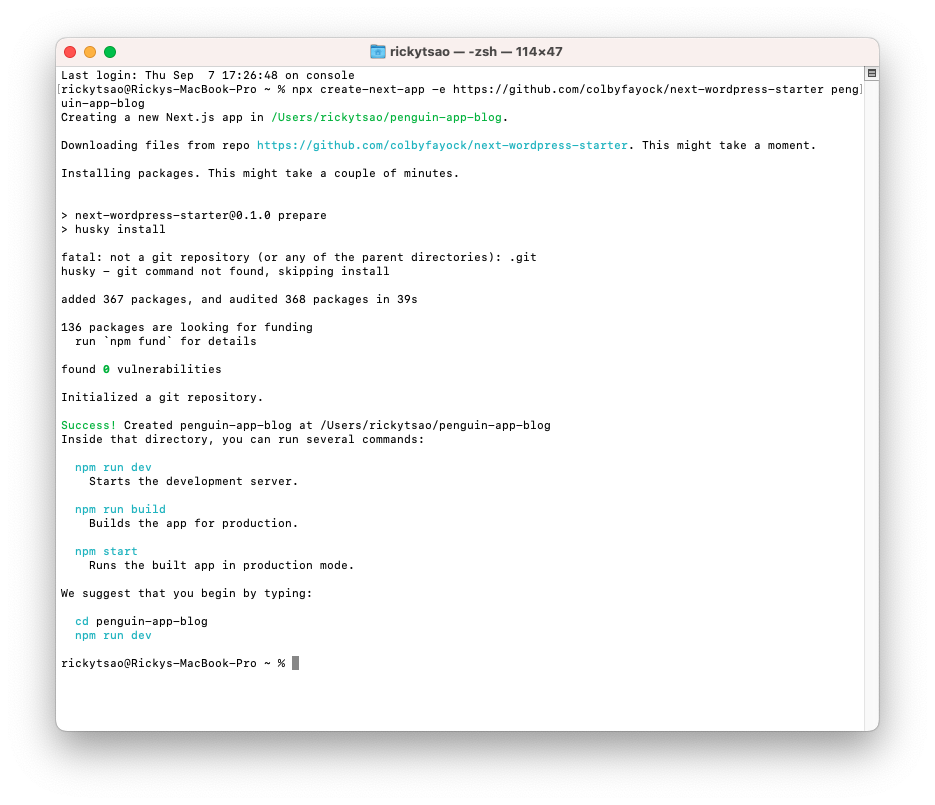
To create our new website, head to your terminal, and run the following command:
npx create-next-app -e https://github.com/colbyfayock/next-wordpress-starter penguin-app-blog
Running this command will use the Next.js Create Next App command line tool to:
– grab a copy of the Next.js WordPress Starter template,
– clone it to a local directory
– install all of the dependencies
so that we can get quickly moving with our project.

Now, before we actually start our new project, we have to do one more thing.

Inside of your new project, we need to create a new file called .env.local, where we’ll store our WordPress API endpoint to let our code know where to pull the content from.
After creating .env.local inside of your project, add the following:
|
1 |
WORDPRESS_GRAPHQL_ENDPOINT="[Your WordPress Host]/graphql" |
so in my case:
|
1 |
WORDPRESS_GRAPHQL_ENDPOINT="https://chineseruleof8.com/graphql" |