Category Archives: React

react js

custom hooks

ref – https://reactjs.org/docs/hooks-custom.html

Problem

Say we have two functional components FriendStatus and FriendListItem. They both make use of a common functionality: check to see if a friend is online.

FriendStatus.js

FriendListItem.js

Let’s extract this friend checking online functionality into a custom hook

A custom Hook is a JavaScript function whose name starts with ”use”. It may call other Hooks

In our case, we create useFriendStatus function as a custom hook. We use other hooks within it. Just make sure to only call other Hooks unconditionally at the top level of your custom Hook: Don’t call Hooks inside loops, conditions, or nested functions. Instead, always use Hooks at the top level of your React function. By following this rule, you ensure that Hooks are called in the same order each time a component renders. That’s what allows React to correctly preserve the state of Hooks between multiple useState and useEffect calls. (ref – https://reactjs.org/docs/hooks-rules.html)

Hook Rules

Say we have a function Form. It uses 4 hooks: useState, useEffect, useState, and finally useEffect again.
Notice our 2 useStates.

First one is that we create a state and initialize it to ‘Mary’.
It creates a new Hook object (with the initial state ‘Mary’), adds the object to the Hooks list, and return the array with the initial state and the setter/getter functions (i.e name, setName).

We then repeat to create another state and initialize it to ‘Poppins’.
It creates a new Hook object (with the initial state ‘Poppins’), adds the object to the Hooks list, and return the array with the initial state and the setter/getter functions (i.e surname, setSurname).

Hence we know which state ‘Mary’ and ‘Poppins’ belong to because when creating them, we create a new Hook object and add it to the Hooks list. Thus, React relies on the order in which Hooks are called. Our example works because the order of the Hook calls is the same on every render.

For each render, React goes down the hook list and executes.

As long as the order of the Hook calls is the same between renders, React can associate some local state with each of them. But what happens if we put a Hook call (for example, the persistForm effect) inside a condition?

The name !== ” condition is true on the first render, so we run this Hook. However, on the next render the user might clear the form, making the condition false. Now that we skip this Hook during rendering, the order of the Hook calls becomes different:

React wouldn’t know what to return for the second useState Hook call. React expected that the second Hook call in this component corresponds to the persistForm effect, just like during the previous render, but it doesn’t anymore. From that point, every next Hook call after the one we skipped would also shift by one, leading to bugs.

This is why Hooks must be called on the top level of our components. If we want to run an effect conditionally, we can put that condition inside our Hook:

Unlike a React component, a custom Hook doesn’t need to have a specific signature. We can decide what it takes as arguments, and what, if anything, it should return. In other words, it’s just like a normal function. Its name should always start with use so that you can tell at a glance that the rules of Hooks apply to it.

useFriendStatus

Using the custom hook

Now that we’ve extracted this logic to a useFriendStatus hook, we can just use it:

FriendStatus.js

FriendListItem.js

Since Hooks are functions, we can pass information between them

To illustrate this, we’ll use another component from our hypothetical chat example. This is a chat message recipient picker that displays whether the currently selected friend is online:

Mosh React Tutorial (part 13)

source download

Now, let’s create the data structure to store list of movies, which comes in an array of objects:

First, we create GPMovieDataClass.js class component. We put this in utils folder.

Our test data list of movies will have genre objects. Many movies will have the same genres. So let’s build a unique genre dictionary first.
The genre dictionary will have the genre name as its key, and the genre object (name, _id) as the value.

We create private dictionary _genres:

Notice we also create private Map object data. This is so that each genre can point to the movies that belongs to this genre:

{ _id: “5b21ca3eeb7f6fbccd471814”, name: “Comedy” } –> [ {name: “Airplane”..}, {name:’Baseball’, …}, {…} … ];

We then execute buildGenres so that _genres dictionary is filled in and complete.
Each genre in _genres has an array. We place the specified genre movie in those arrays.

In the callback, we fill up the genre arrays with movies. When it has finished, we would have all movies with their genre objects as keys.

Now, one of the functionalities is to get all genre names.
We do this with function getGenres to return an array of genre names.

We also need our list of genres as objects:

Get all movies by genre name:

Finally, get all movies. We basically through every genre available, and get their movies.

movies.jsx

Incorporate GPMovieDataClass into Movies component

We first import it and then create an instance. We stick the movies data into it.

moviesData.getGenreAsArrayOfObjects() will return array of genre objects
moviesData.getMoviesByGenreName(genre.name) will return array of movies by genre name

We will be using them in our React code.

We use genres in our state object. We simply use getGenreAsArrayOfObjects to give our state’s genres an array of Genres to display.
Notice that by default, we initialize our state’s movies to all the movies.
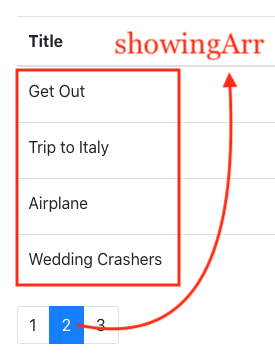
State property showingArr maintains the array to be shown on the UI. We can’t just show ALL of the movies. We have to show the paginated portion of the movies.

movies.jsx

Notice paginateMovies function. All it does is that depending on which number you give it, it gives you the starting pagination page, and ending pagination page. What we need is the pageSize in order to calculate this:

movies.jsx

Then we simply return that paginated part of the movies array. Remember that movies contain all movies right now. We just paginate according to page number.
We give the paginated array to state property showingArr. This will let us show just the paginated pages.

In render, we use showingArr to display the movie data for this page:

movies.jsx

Thus, we always use showingArr to hold the movies that we’re showing on the page.

Displaying the Pagination links

So we create a Pagination component to display the links. The idea is that we need:

1) the total list of movies
2) page size

That way, we can calculate the total # of pages:

Once we have page count, we know how many links to display.

Then, we simply fill an array from 1 to pagesCount. This is to signal the page number the user have clicked. Once the user clicks it, it gives that page number back to movies component to render the movies for this particular page. The showingArr in movies will paginate and calculate it.

Then for each element in the array, we simply return a list item with a link in it:

We also give it isActive functionality. We compare if the currentPage number is the same as ours. If it is, we give ‘active’ to its class.
Also, notice we give a callback function onPageChange. If a user clicks this link, we give the number back to the parent component movies.jsx so that it can change its showingArr.

Changing Paginated Movies UI

If you want to change the paginated movies that are shown, simply give it a different page number and it will calculate the starting and ending pagination number for you. Remember to give the array back to showingArr so that render will work. We pass function handlePageChange into the prop of Pagination component as described above. When the user clicks a link in Pagination component, that number will come back to this function as page parameter. We then change our showingArr accordingly.

movies.jsx

Changing Genre

We need a selectedGenre property in our state object to keep track what genre the user have selected.

movies.jsx

Changing genre requires us to get all the movies associated with this genre. We use getMoviesByGenreName to get the movies by genre name.
We need to update our movies with this newly list of movies. This way, the total # of movies will appear correctly, and also paginateMovies depend on this movies array to show the paginated results. We then update selectedGenre to keep track of what genre we’re on.

Finally, all that is done, we update showingArr and paginate the new list of movies.

movies.jsx

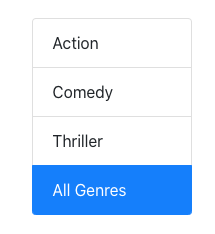
Genre List

So remember in our GPMovieDataClass, we filter out all the unique genres from our movies test data. We then implemented getGenreAsArrayOfObjects
to get the list of genres as full objects. We pass this list into our ListGroup to render the genres via items.

We then map through the items and display the names and unique ids for these genres.

Notice we used defaultProps for property names. This is because its cleaner for us to specify the property names we’re looking for in the genre objects.

For putting ‘active’ in the className to specify the active selected genre, we already selectedGenre in movies component state object. That way, when we select a link here, it gives the genre name back up to movies component via onItemSelect. Movies component then puts the string into selectedGenre to keep track.

Type Checking

Notice in Pagination component, we have propTypes object that can let you specify the ‘type’ of the property. For example, in itemCount, we specify that it must be a number and is required.

This means that in Movies Component, if you do something like this:

You’ll get an error:

This ensures that we check the type of the prop we inject.

In order to use this, make sure you install and import prop-types.

You can also specify the default values you want your prop types to be:

in our case, we use textProperty and valueProperty prop passed in from Movies component to specify the property names to retrieve from each Genre object.
We give it a default to say that we should look for ‘name’ and ‘_id”. This can save space when you are putting all these props into components which makes it look messy:

Mosh React Tutorial (part 10)

download source

Handling Pagination Changes

When we click on each pagination, let’s make that pagination index active.

First, let’s put a callback for when the pagination happens.

movies.jsx
In the render function:

The handler itself:

update our state:

Whenever a pagination is clicked, it calls the movies component to update and set its state’s currentPage.

Hence, in our Pagination, we get the currentPage successfully. We do UI updates, so let’s put the class ‘active’ in our HTML whenever the currentPage matches our current displayed page.

When we loop through each pagination page number to be displayed, if that page number equals our currentPage, then we put the active class. Else, don’t put it. That way, we highlight the page that we’re on.

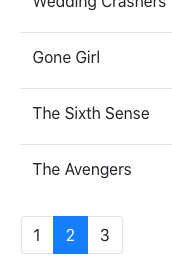
You should now see the highlighted pagination

Mosh React Tutorial (part 9)

to run: npm install, npm start
download source

Pagination

Under components/common, create pagination.jsx:

We put this in movies.jsx’s render function:

Run the app, and we should see our Pagination.

Now, in order to implement Pagination, we should be clear on what it does. Pagination is a component that takes in a total items count, and a specified # of items per page. That way we calculate how many paginations there are for that # of pages.

For example, if we have 10 items, and each page displays 4 items, then our pagination should be 1, 2, 3.
If we have 8 items, and each page displays 4 items, then our pagination should be 1, 2.

Hence, our pagination is actually some HTML that displays an array of numbers. In order to do so, we must pass in total items, with page size from the movies component.

We also add a delete button for future implementation.

movies.jsx

Notice in the Pagination component, we pass in props total movie count, and specified pageSize. Finally, a callback for pageChange.
Our Pagination will take the total count and page size via props, then calculate how many pages should be in our pagination.

Now, we implement Pagination. In order to easily create a function where it puts start…end into an array for you, we install lodash into our app. In your terminal, npm i lodash@4.7.10

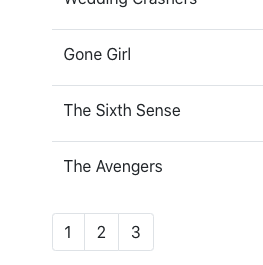
Now the pagination should look like this:

Mosh React Tutorial (part 8)

source
Before moving on…let’s update our code to have more functionality

Decrement button

Add the onDecrement callback in our App’s render, and increment it to manipulate our state counters.

App.js

Insert a decrement button, and other UI attributes.

counter.jsx

Add onDecrement props so counter component uses App component’s functionalities.

counters.jsx

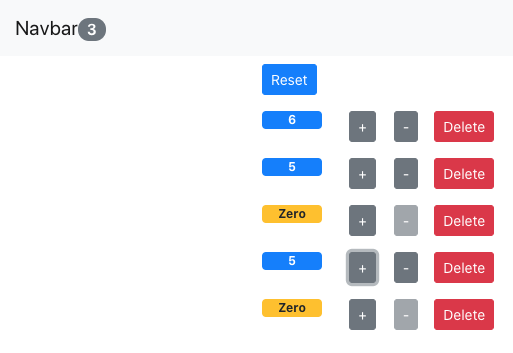
Our Counters should look like this:

Movies

First import the services folder with fakeMoviesService.js and fakeGenreService.js files into your project.
Under components, create movies.jsx

We import getMovies function from our fakeMOvieService.js file and use them to fill up our state.
Then we simply use bootstrap’s table html in our render and display the data.

movies.jsx

App.js

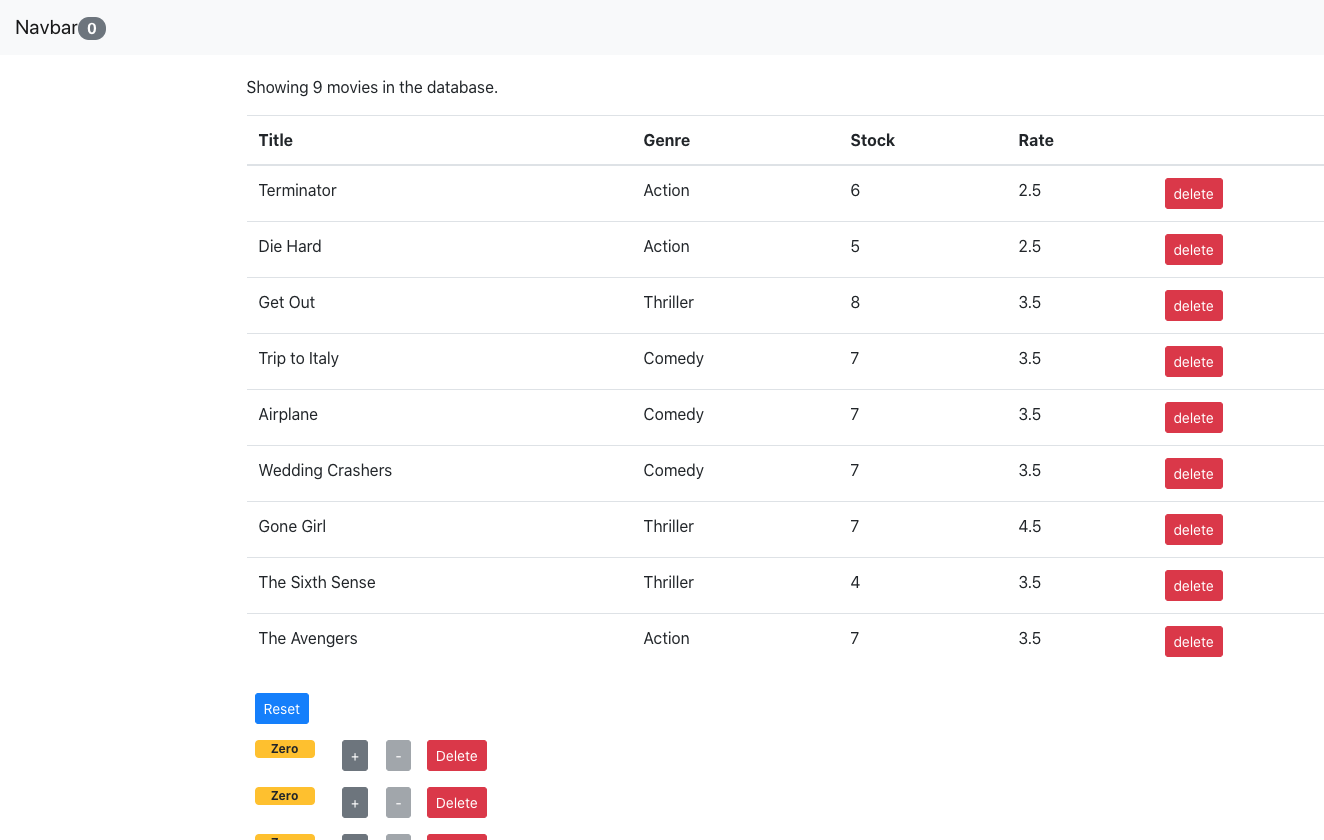
Our Movies list should look like this:

Mosh React Tutorial (part 7)

Updating Phase

Whenever new props is drilled down, our component updates and we look at the props and state.

In our case, say our Counter is at 4. Once we update it to 5, the state changes and triggers a render.

The render passes the updated 5 down to the prop. Hence our prevProps.counter.value will be 4, and our this.props.counter.value will b e 5. This signifies that our component did update and there is a change condition.

Unmounting Phase

When we delete, the state literally removes that Counter (object) in the array in the App class.

Thus, the change to the state makes App Render. Which then makes NavBar render. Which then makes Counters render.

As each Counter gets rendered, out of the Counters will Unmount because its id-ed object in the array has been removed.

Timers, listeners, all should be cleaned up in Unmount.

Mosh Redux part 7 (Consuming APIs)

In the Ultimate Redux Source code, go into bugs-backend project.
Install by typing npm i
then npm start

Now a node server should be running at localhost:9001

The approach

reducer should not make any outside manipulations, like DOM or calling APIS. It get current state, an d return new state. It should be pure.

Hence in our actionCreator, we can encapsulate code with side effects.

However, whenever we get data, we always call this actionCreator. It can get repetitive.

Middlware

Filter Photos in React

To run the sample, first make sure you install the backend node server that will give you the images:

Node backend download

Then install the front end, which is what this tutorial is about:

React project download

Create the React App


create-react-app photo-filter
cd photo-filter
npm start

Import Theme

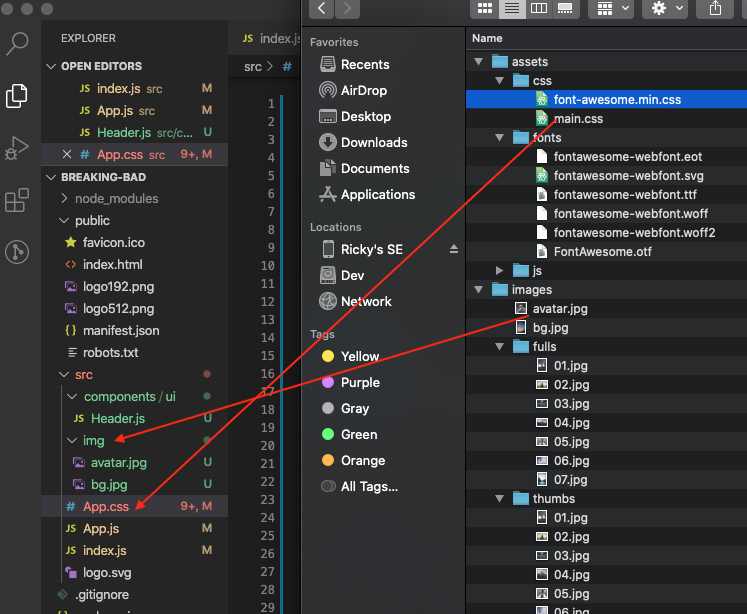
Under src, create img folder. Then copy avatar.jpg and bg.jpg into that folder.

App.css
In the visualize template, copy the CSS from main.css into your App.css:

– remove the @import of awesome font at the very top of the
– Then look for background-image and replace url with:

this is so that we reference the imported image.

Under src, create components folder. Then under components folder, create ui folder. In ui, create Header.js

Let’s make use of hooks in our app so that we can fetch the data text from our backend.

App.js

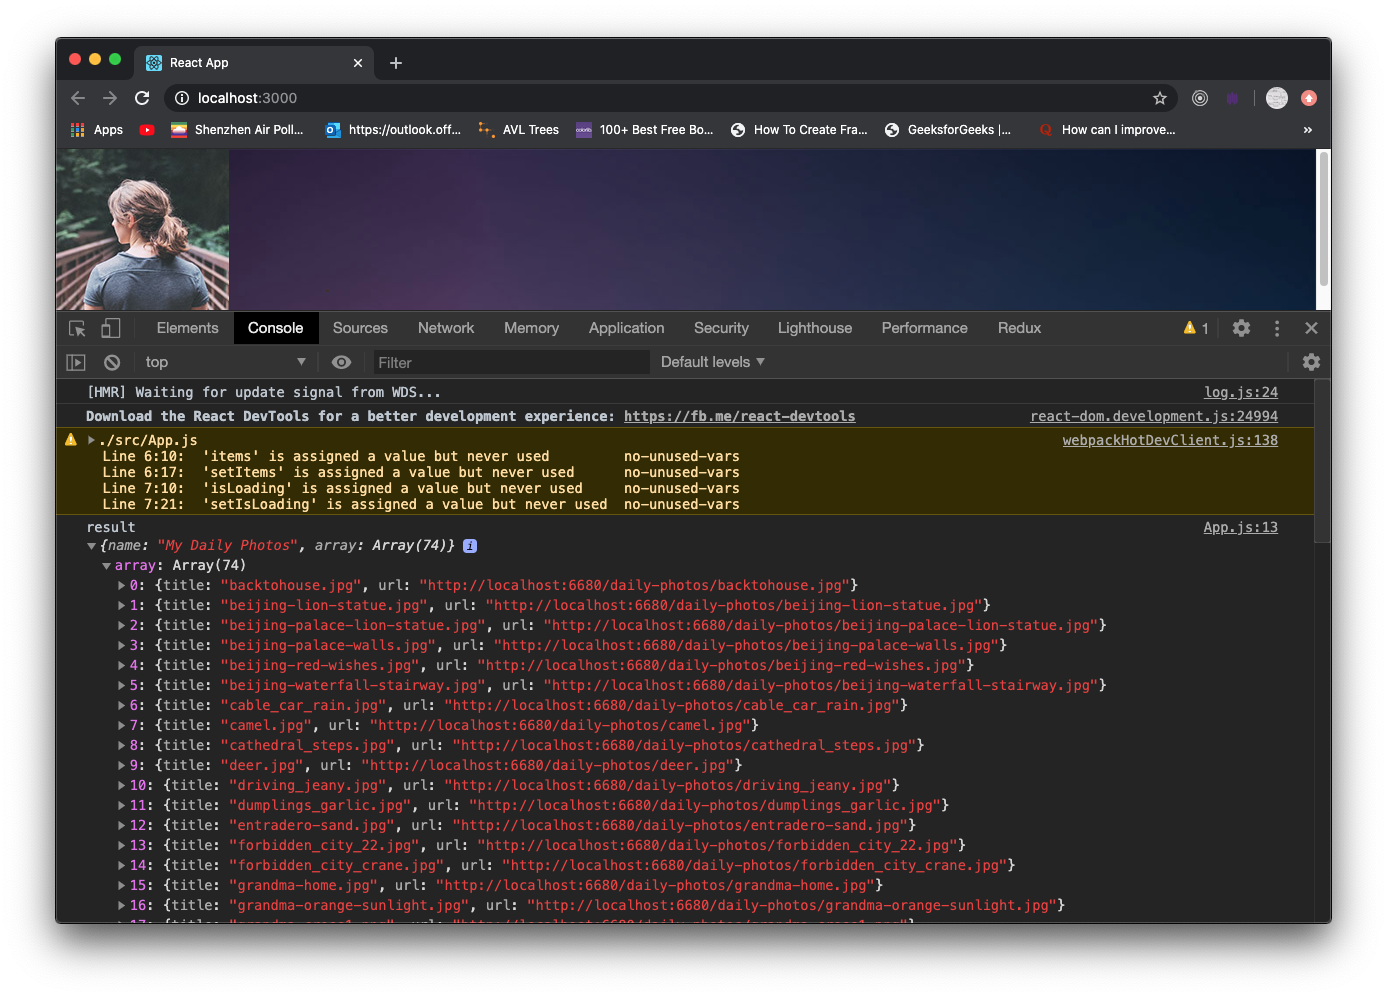
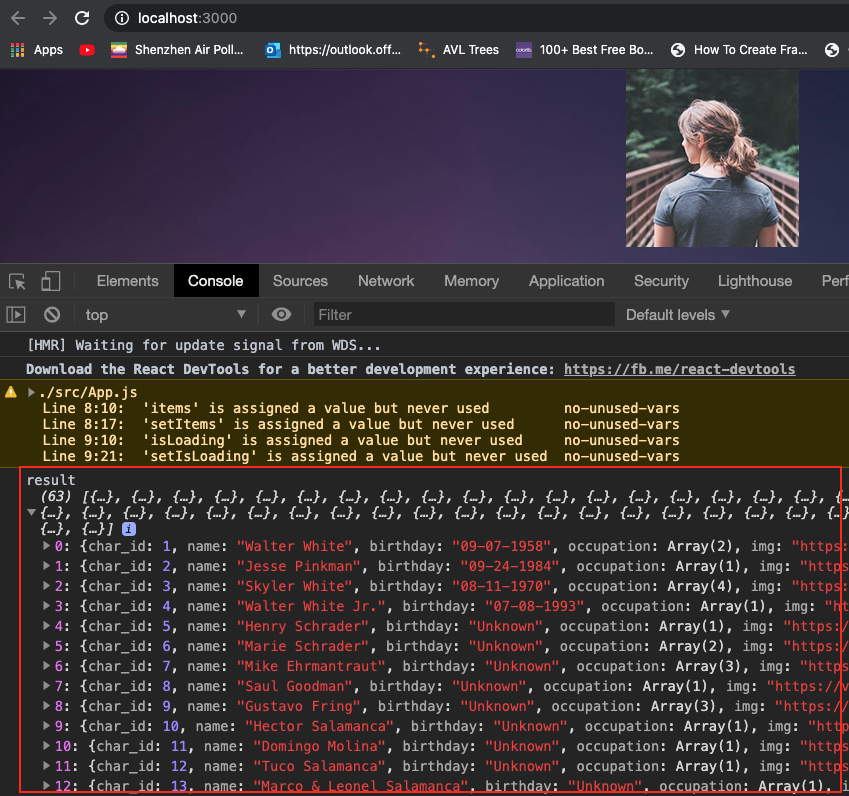
Once you’re done, you should be able to see the background and avatar image appear. You should also see the logged data retrieved from the backend.

Import Redux

npm i redux@4.0

Creating Reducer
Now that we know how actions are put together, we need to write a function in order to decide how we going to properly receive these actions.

In src, create a store folder.

Know that actions is what drives the store to keep your data.

It looks like this:

So as you can see, it’s basically an object with properties type and payload.

Create a file called action.js

We first create macros for actions that will be happening, such as fetching photos, error, fetching finished, etc.
When then go on to create action objects. As mentioned, each action has properties type and payload
So we create action objects for when getting photos start, finished, runs into an error, etc.

Now create a new file called reducer.js.

A reducer is a function with parameters state and action. The role of the reducer is to return new state, based on incoming actions.

We first have our state reference a default object with properties:
– photoData
– photoLoading
– photoError

This is the default of our photo array.

We then take care of all the actions objects that will be passed into our photoReducer.

reducer.js

Finally create our store. We stick our reducer as a function parameter so the store knows how to keep data.
The reducer has been defined to take certain actions. These action objects will be used in our main file to apply certain actions to the store.

src/store/store.js

Storing and getting data in our App

We import the store in our app. We import action objects and pass them as parameter to dispatch these actions to the store. Before fetching data from our API, we let the store know we’re going to do that.
In turn, the store will update its isLoading property to true. Thus, any other place that needs to show a load image will depend on this isLoading property.

Once the data fetch is complete, we dispatch action requestPhotosFinishAction, which updates the store’s state object photoData property to the data, and flips isLoading to false.

App.js

Displaying the Data

Displaying the data requires us to write a component that loops through the data. Then another component that simply outputs the UI.

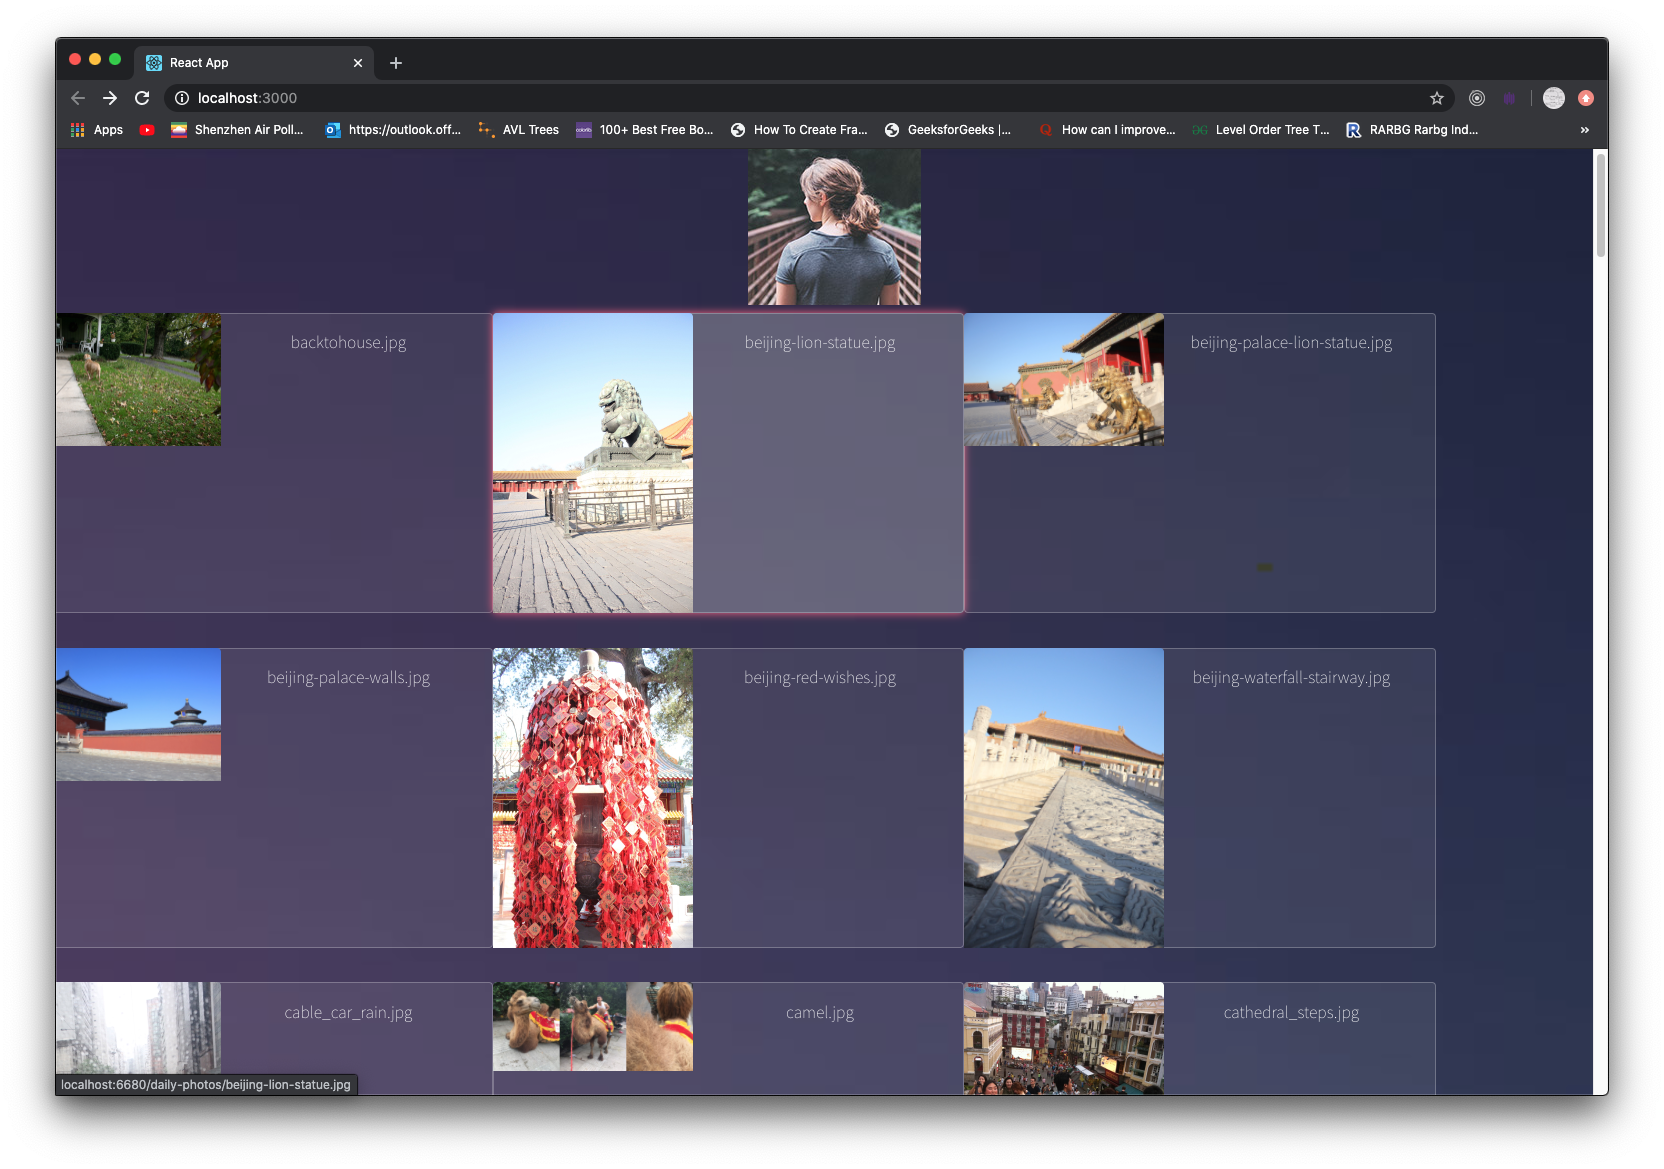
We first create a PhotoGrid that takes the array of photos and use map on it. The map() method creates a new array with the results of calling a provided function on every element in the calling array. In other words, map() calls a provided callback function once for each element in an array, in order, and constructs a new array from the results.

Thus, in this way, map() does not modify the original array. It creates a new array, take in the custom modifications, and apply those changes onto the new array. Then returns it to the JSX to render.

PhotoGrid.js

Notice the main job PhotoGrid does is to map the items. It uses another component PhotoItem that solely does the UI rendering.

PhotoItem.js

PhotoItem is straightforward as it only displays the data.

So in App, we need to set our state after receiving the data from the store. We set the image data array, and then the isLoading property.

When the state is set, it will trigger a render. The render will process PhotoGrid, which then renders our images onto the screen.

App.js

Filtering the Images

First we create a Search component

src/components/ui/Search.js

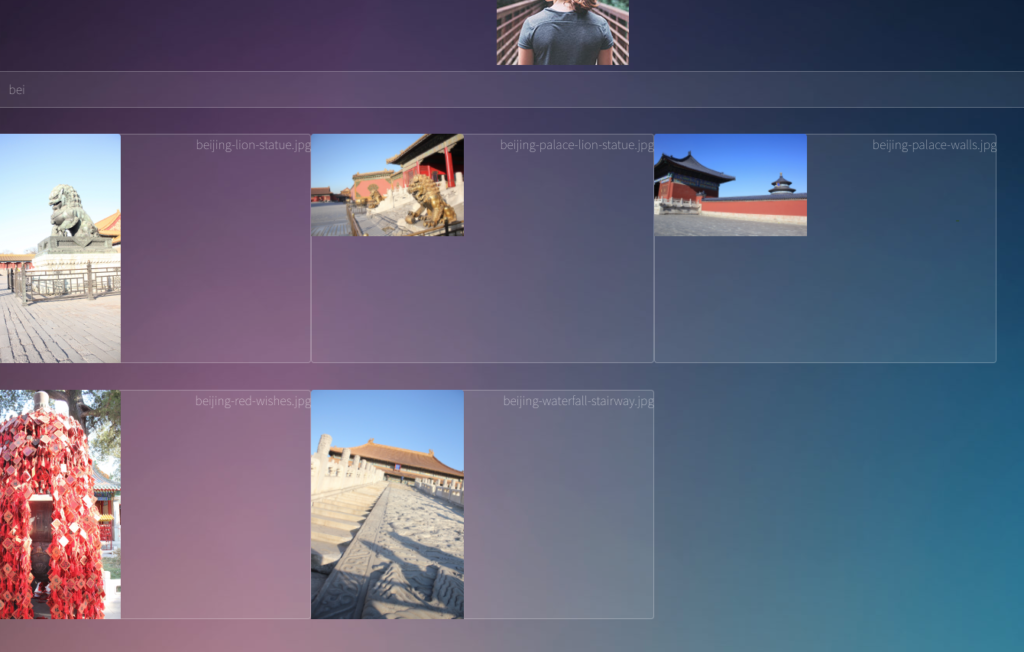
This components is a controlled component. Which means its input control has its own value. We connects its value to our state and keep tract of it there. This state comes from the parent component App. We then update the parent component’s state by executing a callback function whenever a letter is typed. That way we pass the query text up to the parent component to be processed.

When we receive updated query, we simply set the control text, and set query. This will drive the app to re-render.
src/App.js

Filtering using AVL tree

For filtering, we will use an AVL tree for data structure. It filters data for you according to text that you input. It finds all the urls with the text that you give it. Then return them as an array for you to use.

Under src, create custom folder. Then drag AVLtree.js and BadHeuristic.js into it.

Then in App.js, import it:

we first define useEffect. Basically it runs when the DOMS has been updated with its batch of UI updates. It acts as componentDidMount, and componentDidUpdate. So whatever effect we put in here will be run after a render, and in the beginning with the component mounts.

Let’s then define fetchData function to fetch data.

We dispatch action to the store to let it know that we’re starting to retrieve data. We then use built-in fetch to get the data. After receiving the data, we dispatch a finish action to the store and pass in the resulting array to store it.

We then use the hooks to set the state.

Notice that every setState call will trigger a re-render. And a useEffect will be paired with a render. This will create an infinite loop. In order to solve this, we just test to see if the item length and query is empty. If they are, then we retrieve from online API.

If there is existing items or if there is a query to filter, then we DO NOT fetch data. We simply filter our existing data and reset the items.

Take note that the AVL tree class itself will return an array of objects, which houses various data. Our state object property items take in an array of urls (strings). So after we filter the data from the tree, we need to extract just the urls and place them into another array. Then setItems of that array of urls.

Now you can type in text, it uses that text and filters all the image titles with that text from the tree. It puts all the search results into an array and returns it for your UI to render.

React Context

ref – https://www.taniarascia.com/using-context-api-in-react/
https://www.toptal.com/react/react-context-api

React Context solves one major problem: prop drilling.

Prop drilling is the processing of getting data from component A to component Z by passing it through multiple layers of intermediary React components. Component will receive props indirectly and we have to ensure all the data gets the latest update.

So if a child component changes data, then we have to make sure its grand children and parents gets this updated data. This can lead to too much data tracking work.

In a few words, the Context API allows you to have a central store where your data lives (yes, just like in Redux). The store can be inserted into any component directly.

Provider – The component that provides the value
Consumer – A component that is consuming the value

Update 2023

Context is a place where we create all the data that we want our children to be able to use.

First we create a context with initial data by using react’s createContext.

Now, we use this SettingsContext so that we can access its Provider property like this SettingsContext.Provider
This is so that we can give data to its value. This value is kept so that children components can access them.

We do all of the mentioned in a functional component like so:

And so we use it in our index file like so:

src/index.js

In order to set up usage in our children components, we get useContext, and insert our SettingsContext functional component in there, in order to return a hook.

src/hooks/useSettings.js

2020

Creating the Context

First, we need to create the context, which we can later use to create providers and consumers.

src/UserContext.js

Providing Context

The provider always needs to exist as a wrapper around the parent element, no matter how you choose to consume the values. I’ll wrap the entire App component in the Provider. I’m just creating some value (user) and passing it down as the Provider value prop.

src/App.js

Now any child, grandchild, great-grandchild, and so on will have access to user as a prop. Unfortunately, retrieving that value is slightly more involved than simply getting it like you might with this.props or this.state.

Consuming Context

The way you provide Context is the same for class and functional components, but consuming it is a little different for both.

Class component way

The most common way to access Context from a class component is via the static contextType. If you need the value from Context outside of render, or in a lifecycle method, you’ll use it this way.

src/HomePage.js (class example)

Functional component and Hooks

For functional components, you’ll use useContext, such as in the example below. This is the equivalent of static contextType.

src/HomePage.js

Updating Context

Updating context is not much different than updating regular state. We can create a wrapper class that contains the state of Context and the means to update it.

We create a Provider that connects a getter/setter to the UserContext.

In other components, these methods are then extracted from UserContext, and used to change the context value.

src/UserContext.js

Let’s create a component, use this UserProvider

React App – Breaking Bad API

ref – https://www.youtube.com/watch?v=YaioUnMw0mo

final source

Getting Started


create-react-app breaking-bad
cd breaking-bad
npm start

the server should start on localhost:3000

Can can remove:

– Tests.js
– serviceWorker.js
– App.test.js
– index.css

In index.jsn and App.js, remove the code where it imports the files we’ve just deleted.

index.js

In App, we change the function to es6 syntax. However, it still remains a functional component. A functional component is just a plain JavaScript function which:

– accepts props as an argument
– returns a React element.
– DOES NOT have state. Thus, you cannot use setState()
– No lifecycle methods.

In our case, we don’t accept any props, and we return a simple div React element. Also, no state, no lifecycle methods.

In App.css, remove all the default styling. It should be empty.

Go back to browser, should only see ‘hello’.

Import own resources

Now you can incorporate your own resources: avatar, background, and a spinner image.

Open up your App.css, and paste in your custom styles. I used a random styles from a template I downloaded from the web.

In App.css, remove all the default styling. We copy and paste our code from custom .css.

We then create an img folder and put bg.jpg, avatar.jpg, and a spinner image in there.
We also create components folder. Create ui folder inside of that. And then create an empty Header.js file.

Run the app. Go back to browser, should only see a blank page with ‘hello’ text.

In src, create components folder.

create subfolder UI, create Header.js. We create a functional component that returns an empty div.

We import out logo so that it appears in our header. Stick it in a img tag.

We then import it into our App.

Finally, in your App.css, update the location of the background image.

Also, remove an import of font-awesome at the very top of the css file.

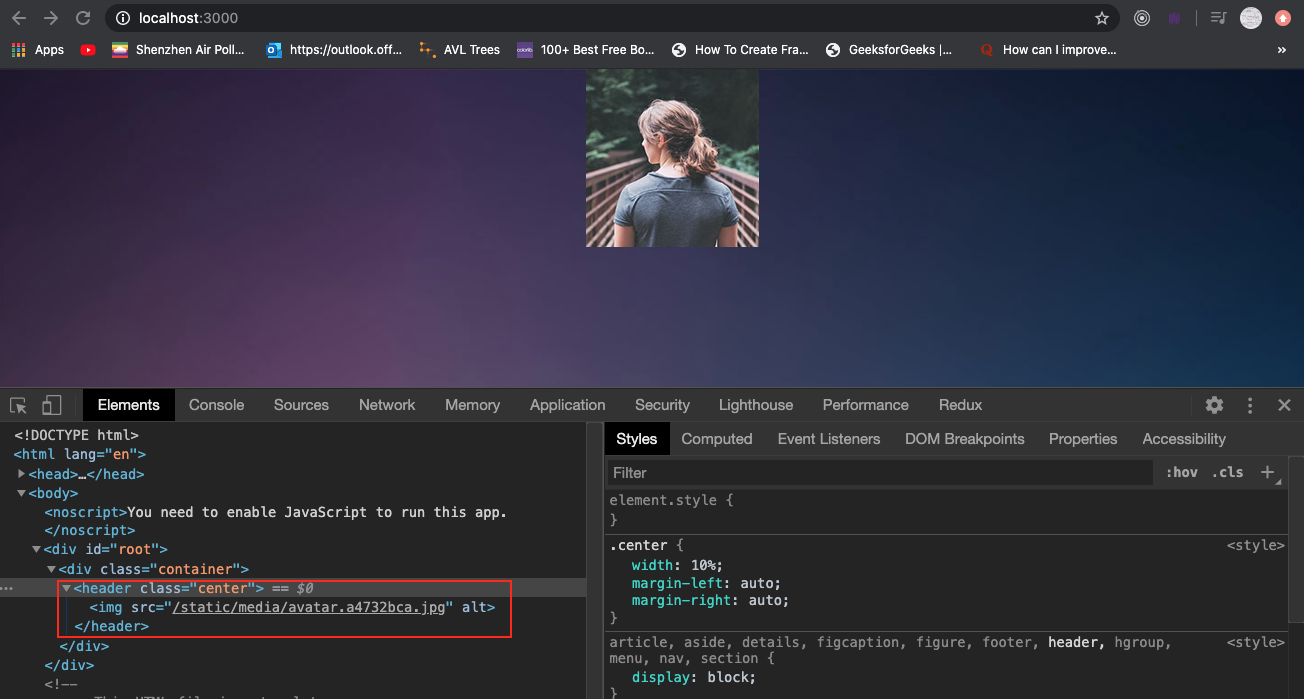
So when you refresh the app, you should see our Header component. Look at the DOM, all the code should match up.

Using Hooks

Originally, we cannot use state because we’re a functional component. In order to do so, we must convert it to a class component. But now with hooks, we can declare get/set functions that manipulates the state object in function components.

By using useEffect, you tell React that your component needs to do something after it calls render. We tell React our ‘effect’ will run after React flushes all the changes to the DOM. React will then run your effect function after it performs all the DOM updates.

Your useEffect function will be executed after each render, and after every setState/update.

If we return a function inside of useEffect, it’s the ‘unmounting’ effect we want to run when the component WILL Un mount. The effect function we declare in the useEffect’s anonymous function body is what we want to run with the component DID mount.

Let’s update our App.js file like so:

We first declare all the get/set for the items to contain the incoming data, and also isLoading for displaying the busy icon.

We use built-in fetch function to retrieve the data. It will return a Promise with a resolved mixin BODY object. We call json on it, and it’ll return a Promise with an array of data for us to use.

Setting up the Character Grid

Under components, create folder for characters. Then create CharacterGrid.js:

We created a functional component that takes in a prop. We use destructure to extract items, and isLoading. From there we simply display the data from items.

In App.js, make sure you have passed in the data to CharacterGrid:

Now you should see the names successfully being displayed along with the CSS applied.
Notice in your console, you get an error that says something like: index.js:1 Warning: Each child in a list should have a unique “key” prop.

This means when you display an array of data, React needs to identify them by a special unique string. This way, it knows where to match the string with the list item. Luckily for us, we get special IDs in our data array. We can just use that instead. Note to never use index. If React uses index to match a particular string to a list item, then the strings would pop to wrong places. (i.e. If you add an item at the top, React would always make the string that go matched with index 0 to appear at the very top) don’t use index as key

Refactor

Looking at CharacterGrid, it seems like the component may take on a lot more responsibilities in the future. Let’s take the load off by making a component that strictly displays data, whereas CharacterGrid can take care of mapping the data and other logic.

We’ll call this display component CharacterItem.js:

CharacterGrid.js

Search

Let’s create a search component. Under folder src > components > ui, let’s create Search.js

Then in your App.js

Creating a controlled component

Form elements (like input) maintain their own state. In React, we have mutable state objects and updated with setState().

So the situation is that we have two separate state: React’s, and input’s.

We can combine the two by making the React state to be ‘single source of truth’. This means we get input element’s value to be controlled by React’s state object.

Hence we make this into a controlled component by doing:

1) create state object’s text property (parent component)
2) child component has input state. It gets latest from parent via prop.
3) child component’s input’s onChange will receive event obj’s target.value. We use prop callback to update parent component’s text property.
4) Finally, make sure we pass text property, and also the callback from parent component to child component. This way child component can get the latest text query, and also update parent when its input has been updated.

This is one of the ways to solve the issue of the parent having state, the child having state, and thus trying to update multiple versions of the state. We call this

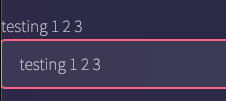
In order to test this, simply display text in your JSX.

Search.js

Notice all state is here in this parent component. We pass what needs to be displayed into Search, which is text property. We then get the updated user inputted text from search and update our state object via callback getQuery. In getQuery, we simply update the text (which is for display) and query (which is for query string). This is how a controlled component solves problems of multiple versions of state.

App.js

As you can see, whatever we type into our form, will be updated in property ‘text’ via setText.

Querying API using updated input from users

Now let’s update App.js:

App.js

In the useEffect’s second parameter, if we put absolutely nothing, useEffect only gets called once because one effect will follow one render. When we call useEffect, we tell React to run our effect after flushing changes to the DOM. Hence we wait until everything is flushed to the DOM, before we execute our first useEffect.

For example, Query is empty so we retrieve data from online API. We then set items, which will trigger a re-render. EVERY TIME we re-render, we schedule a different useEffect, replacing the previous one. AKA, each effect belongs to a particular render. They get paired up.

But in our particular example, notice we call setItems and setIsLoading. We’re setting state in useEffect, which will cause a render again. That render gets paired with a useEffect, which then calls setItems/setIsLoading again….useEffect –> setStates –> renders –> useEffect –> setState… repeat infinitely.

So in our particular example, it ends up going into an infinite loop.
React hooks

If we only put [], useEffect will only fire once. It won’t look for any changes in any specified properties to re-render. If we put [query], whenever the query change, useEffect will fire. But if the previous and current state are the same, then React will bail out and won’t re-render.

If we put [query], whenever the query change, useEffect will fire. But if the previous and current state are the same, then React will bail out and won’t re-render.

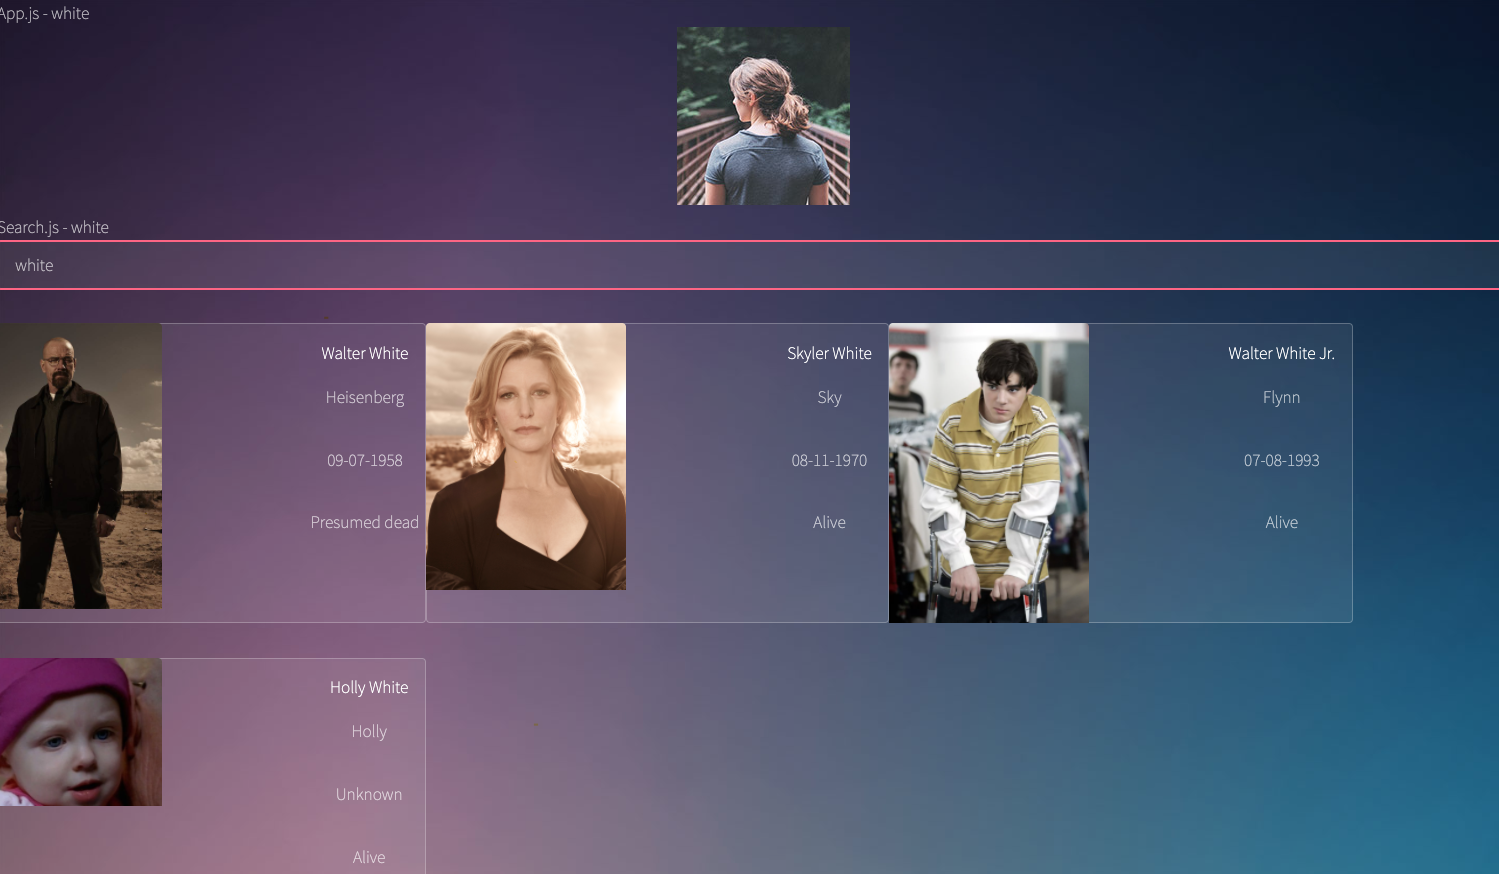
Now when you type out a search text, React will take the text and query the API for the latest results and populate it onto the UI screen.


Spinner

Import a spinner image.
Under src/components/ui, create Spinner.js:

In your CharacterGrid.js, replace the waiting h1 tag, with our Spinner component:

Now when you refresh, you’ll see a spinner while the data is being retrieved. Once the app gets the data, it removes the spinner and displays the content.