Category Archives: Projects
EPAM Activities Version 1
Admin App
Adding an Event
The admin app let’s the user create events. The events are stored in the Easy Table TodoItem in Azure.
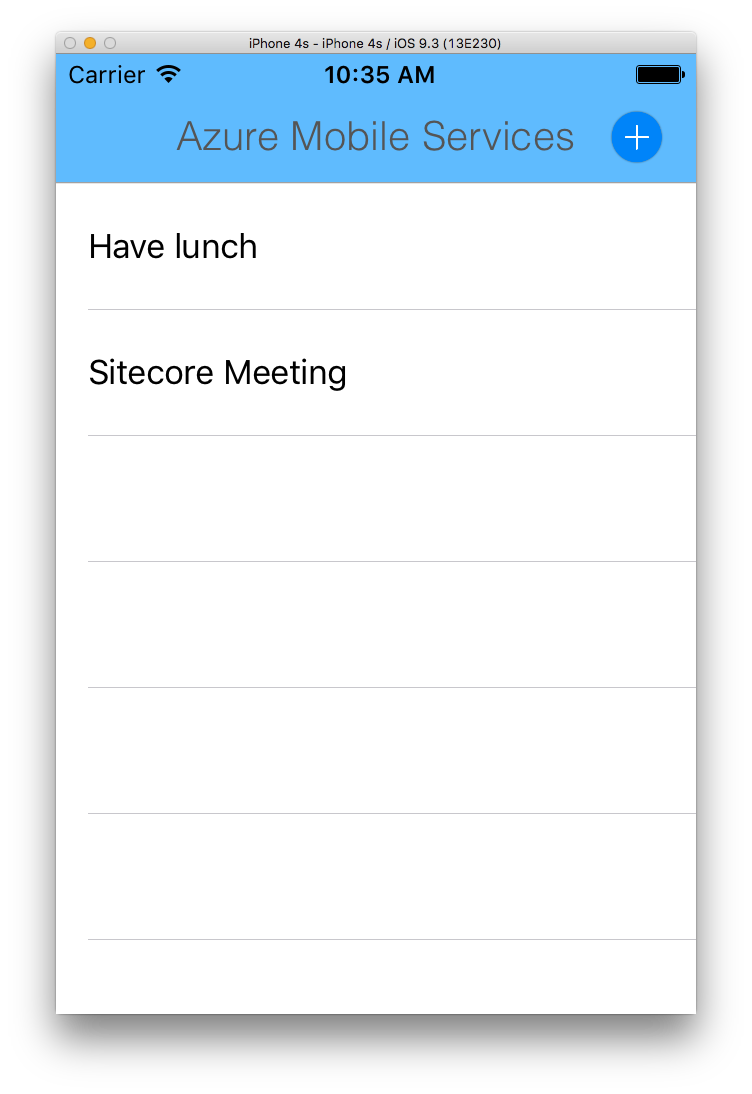
There is a table that shows all the non-expired events. There is also an ‘add event’ button.
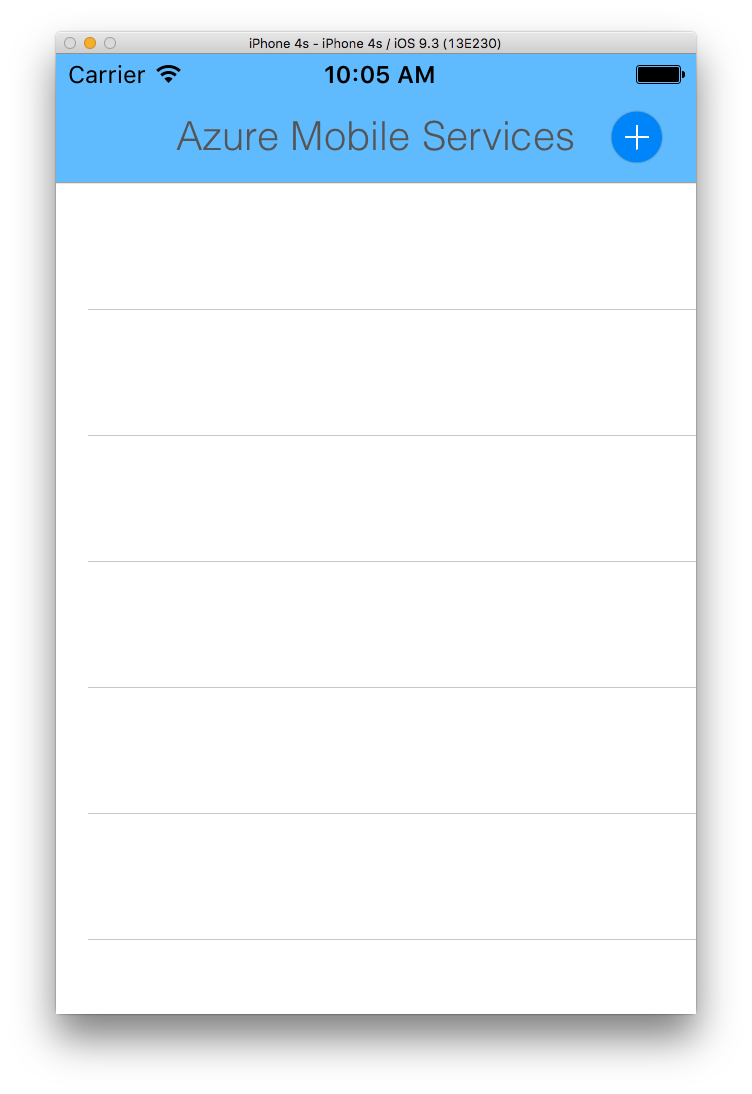
Click on the add button and you’ll see this screen. In this version, you simply need to supply the event’s name and its expiration time.
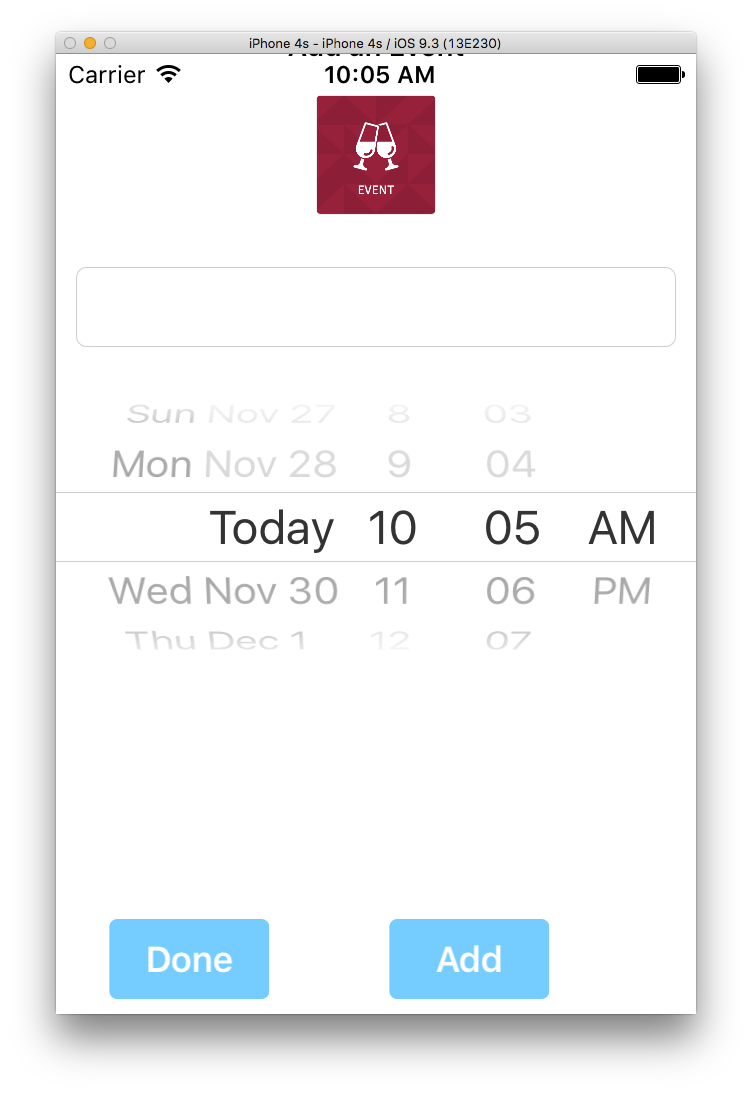
Insert the event title and expiration time like so:
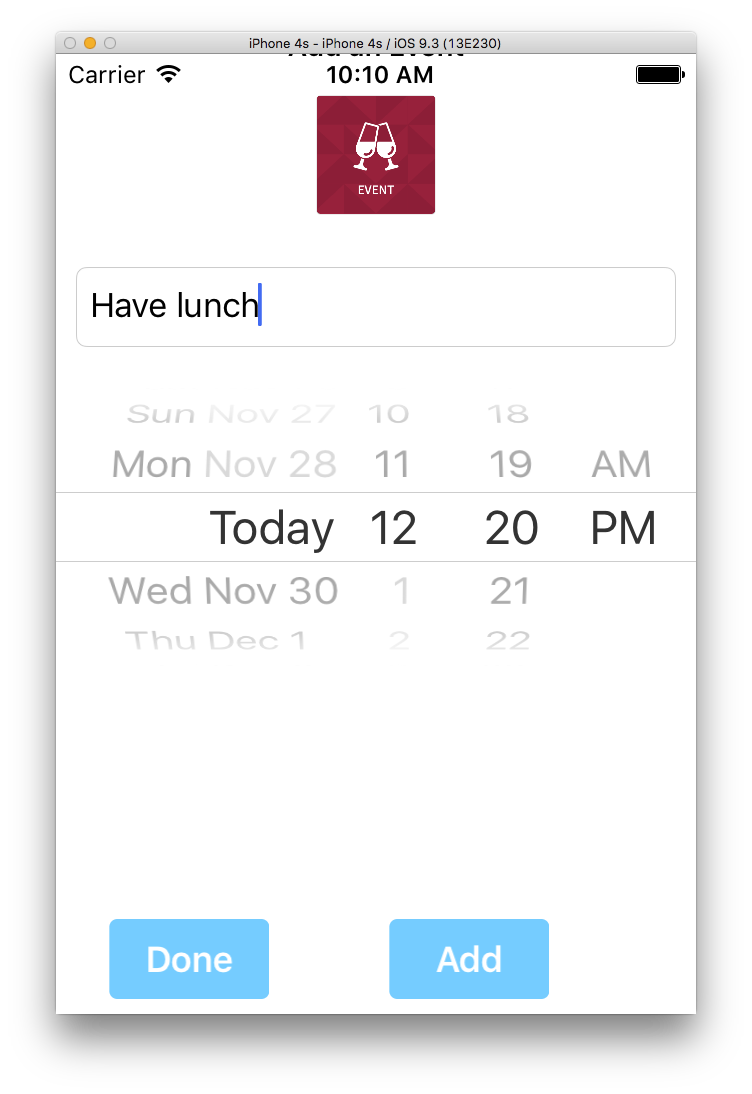
Then click on the add button. You’ll see that the adding of the event is in process as the app sends the data to the Azure server.
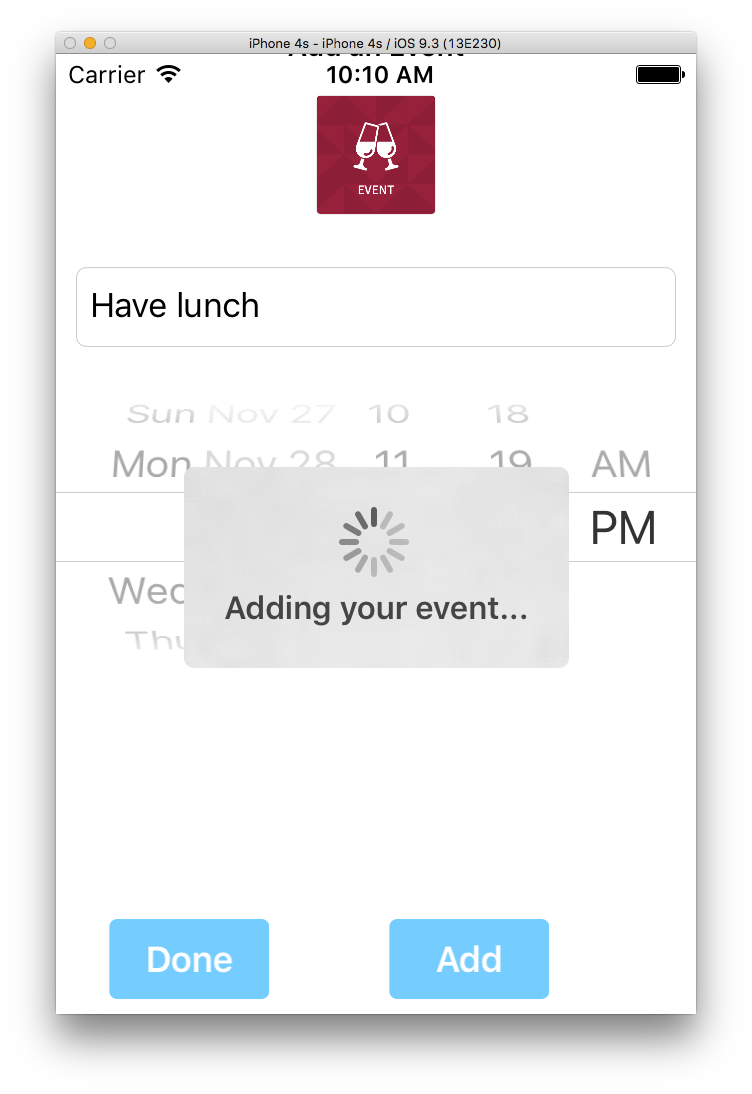
Once the data is sent to the server, the app will then pull (refresh) the data from the server. You will get a successful message confirmation.

In the Easy Table results, you will see the results:
![]()
Once the data is sent to the server, the app will then pull (refresh) the data from the server. This updates the table on our app as you can then see the results.
Expiring (removing) an event
There are two ways for an event to be expired. First way is to simply let the expiration time pass and all client apps remove the event. This is because all client apps are programmed to ONLY show events with non-expired time.
The second way is for the admins to remove the events manually.
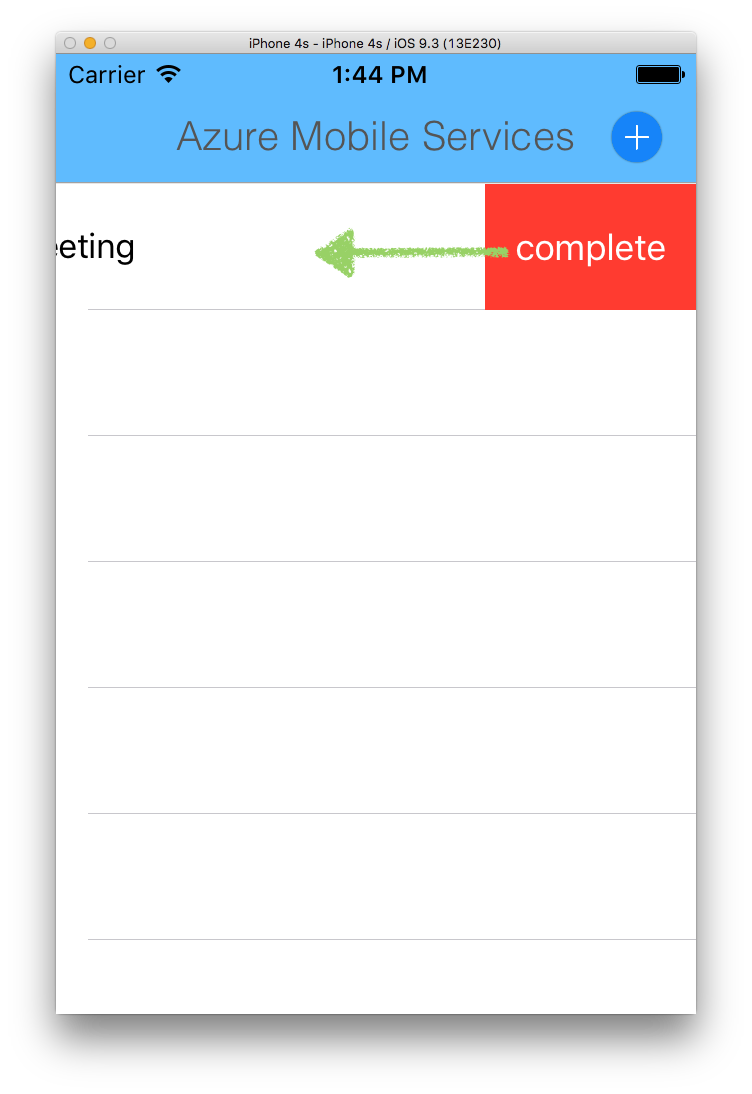
On a row that you want to remove, swipe left and you’ll see the complete button. Click on it.
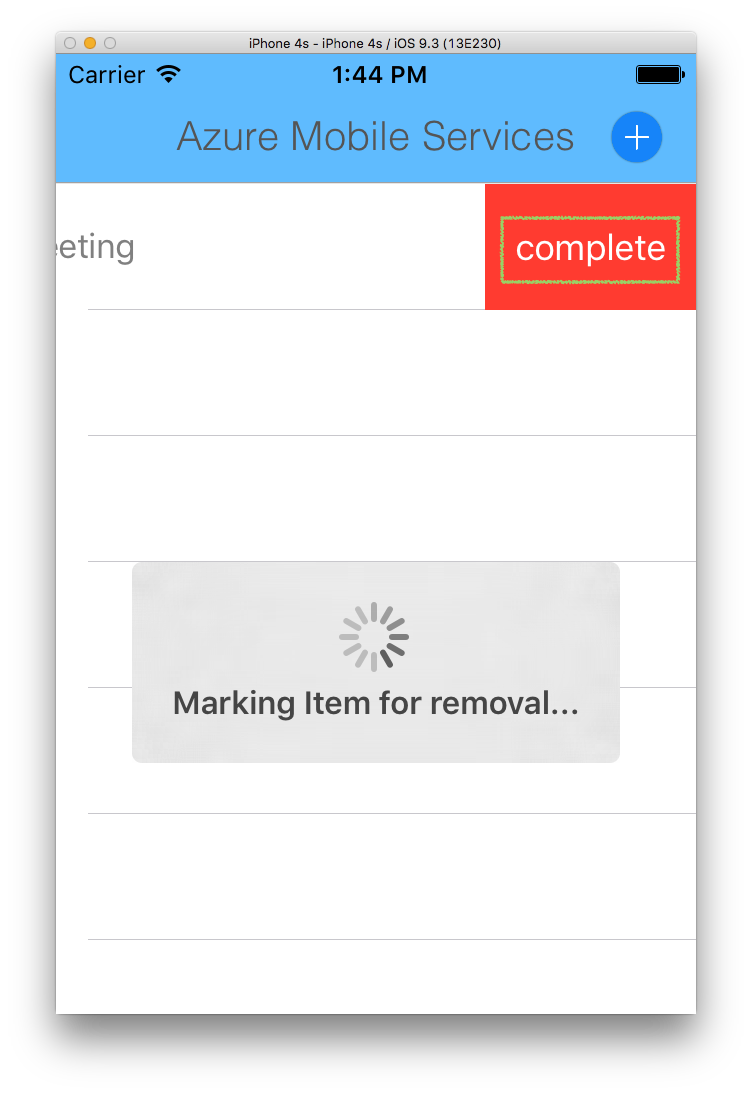
You’ll see that the app processes the removal of the item.

Once its successful, the item will be removed from the backend, and be reflected on the client apps.
Client App
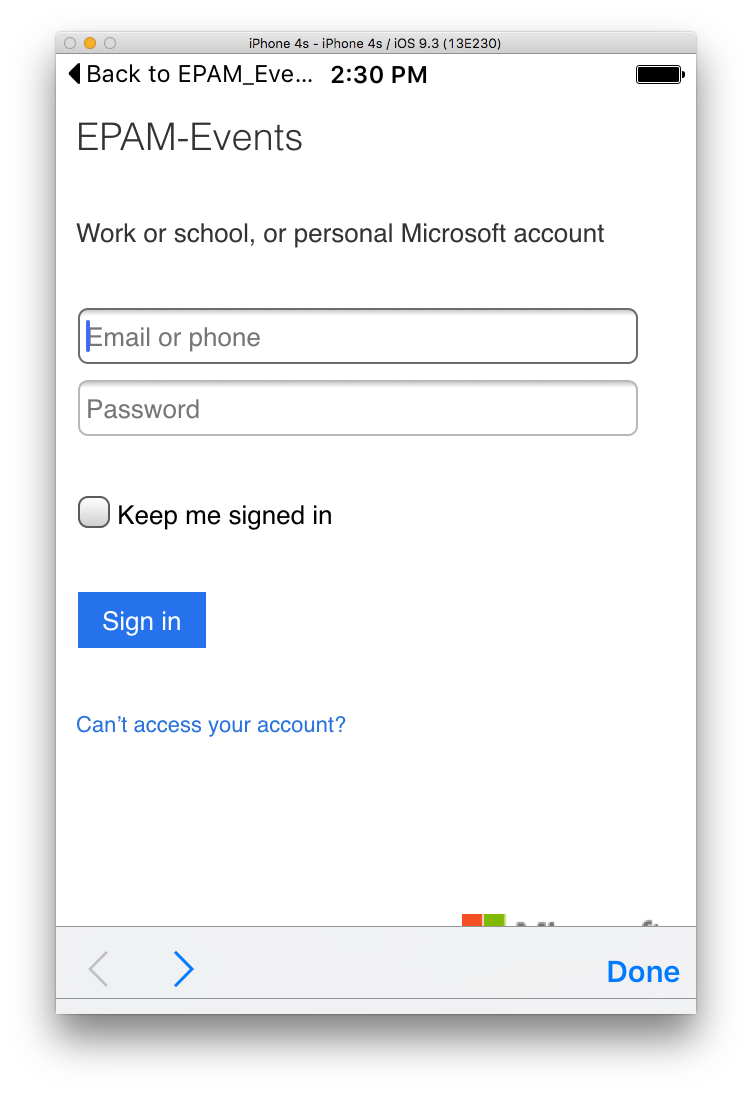
Let the app load up the log in screen. This is Microsoft’s proprietary log in screen.
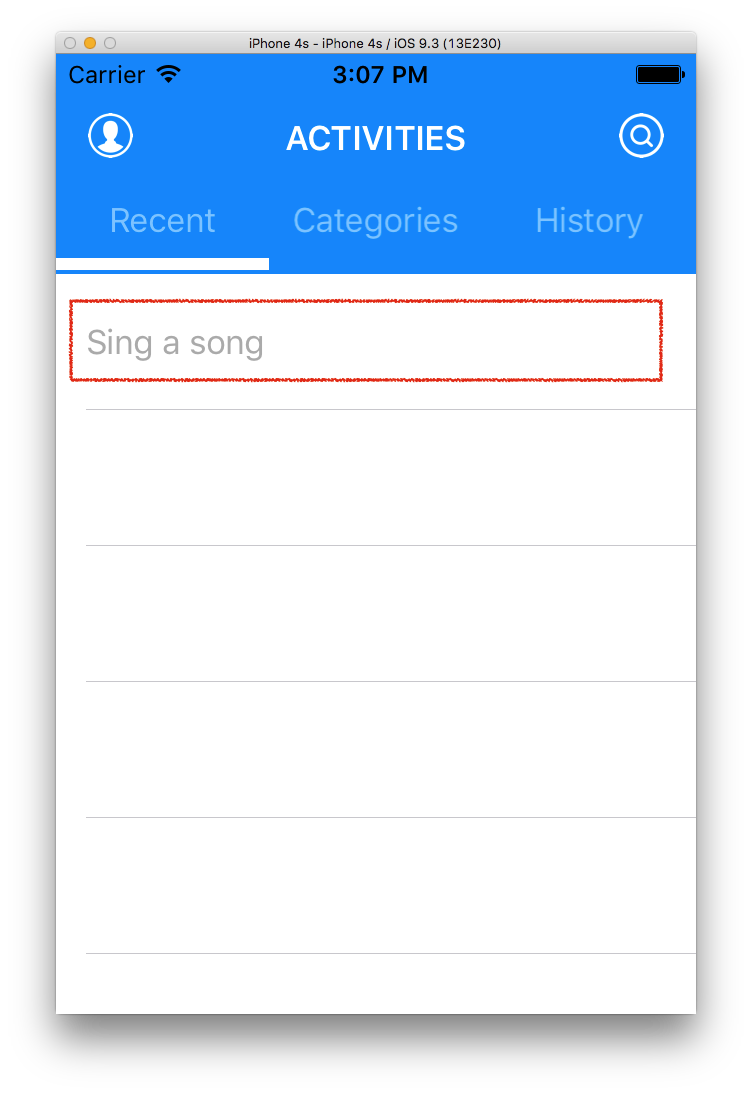
Recent Table
Recent table means non expired (expiration time is larger than now) events that are still available for registration:
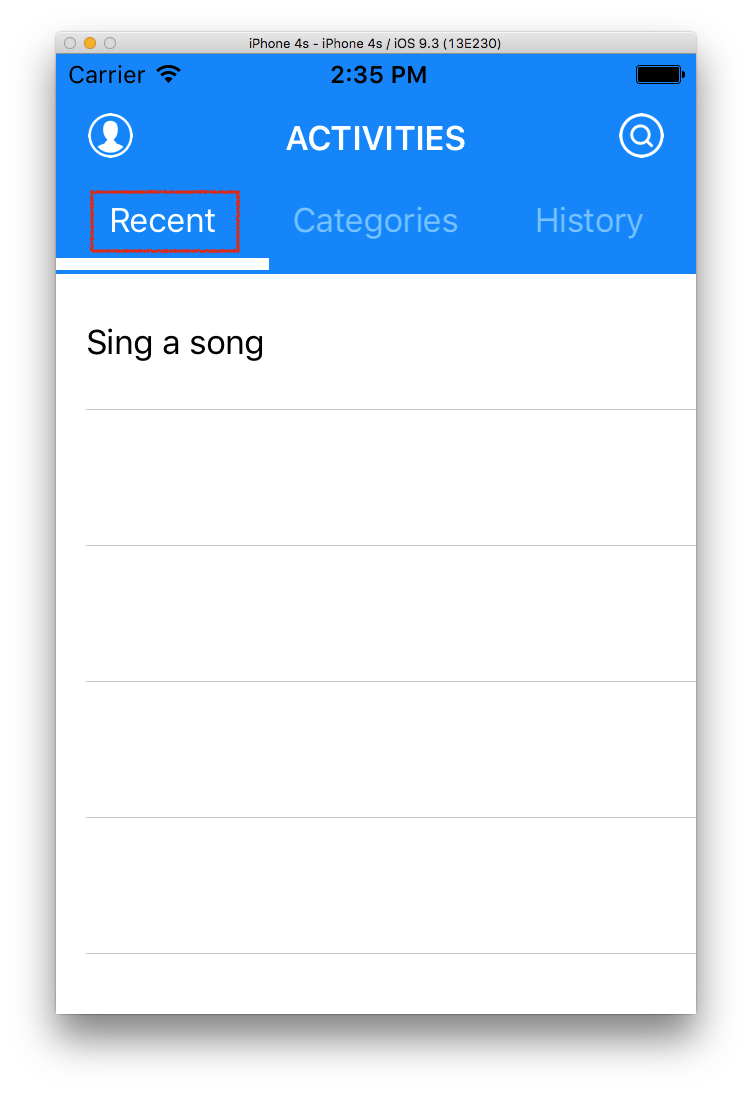
You should be able to see the data in the Easy Table with a datetime that is larger than now:
![]()
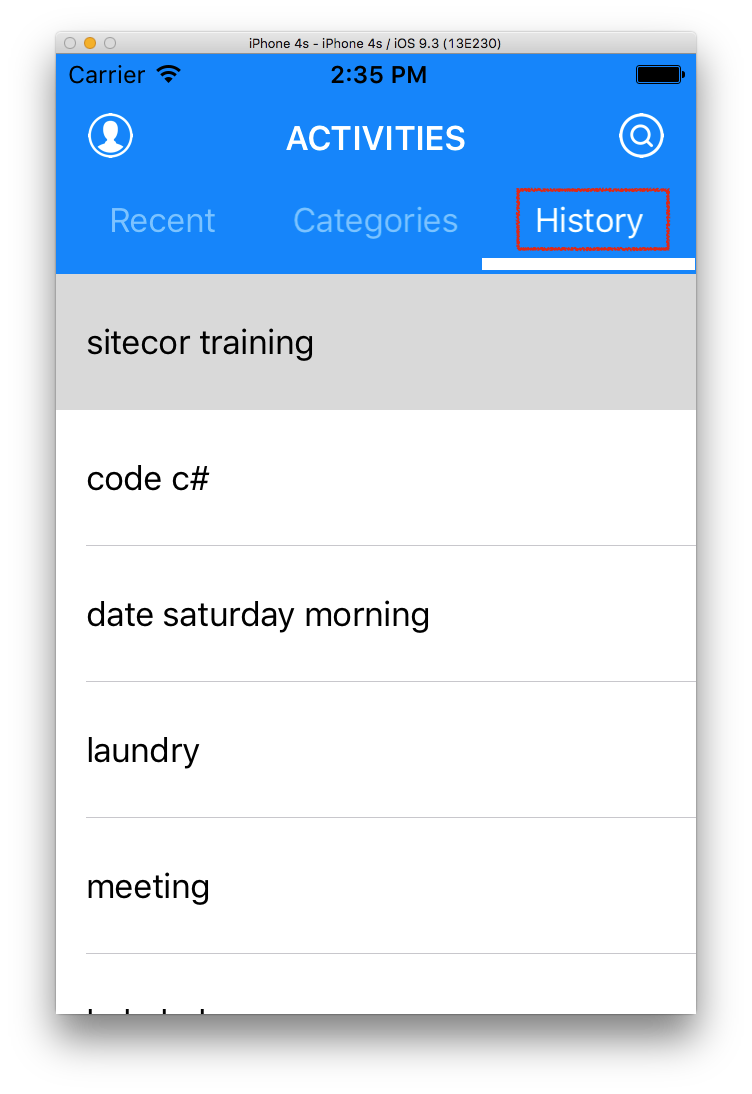
History table means expired events. This means these events’ expired time is less than now. It WILL NOT be viewable in Recent Table. It will be viewable here in history table.
![]()
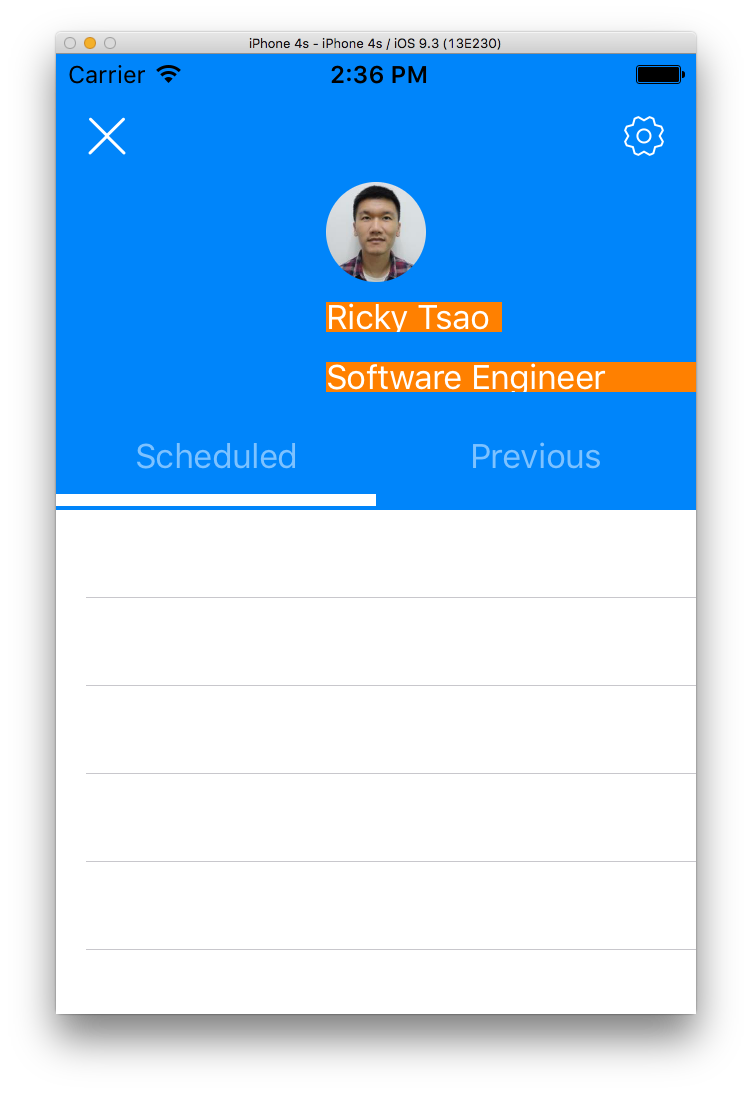
From the main screen, there’s a user icon on the top left. Click on it to go to your user profile.
You will see the scheduled events tab.
Scheduled events are:
- Non expired events (expired time is larger than now)
- you’ve registered for it
Currently in our example, there is none. If you do want to register for an event, left swipe it, and click on ‘Register’.
Registering for the Data
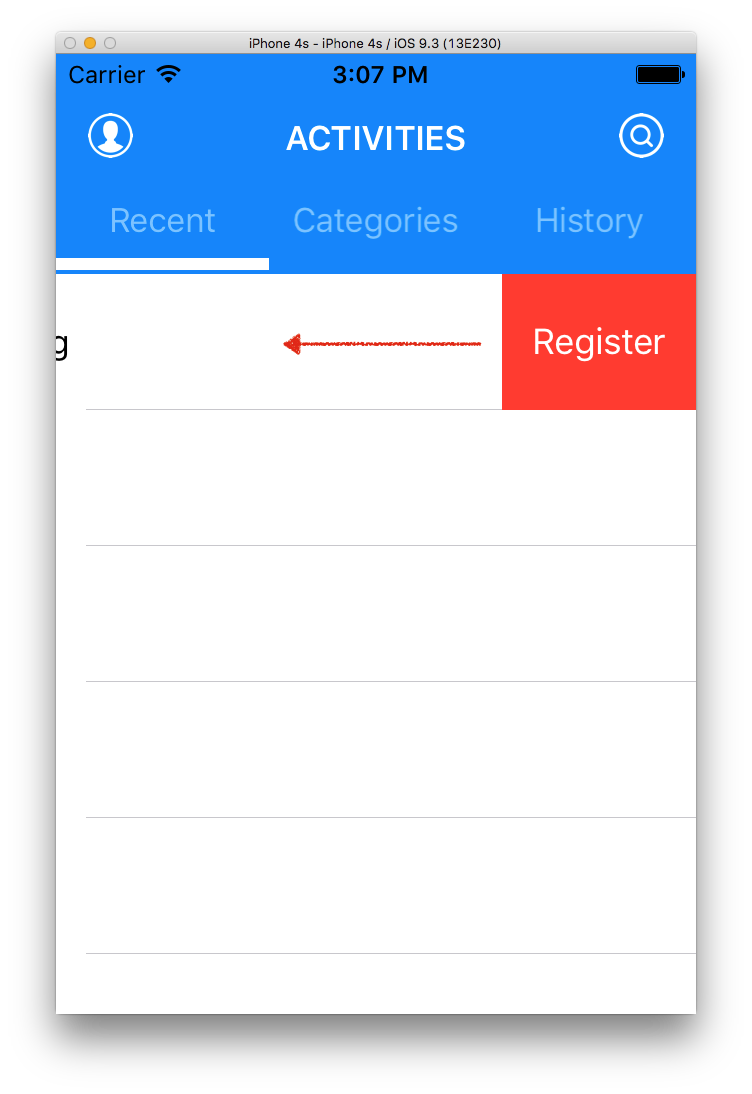
If you want to register for an event, go to the recent table view in the front page. You’ll see events that are available for registration. Left swipe the row and you’ll see a register button. Click on the button to register for that event.
Once an event is registered, you cannot register for it again. Thus it is grayed out.
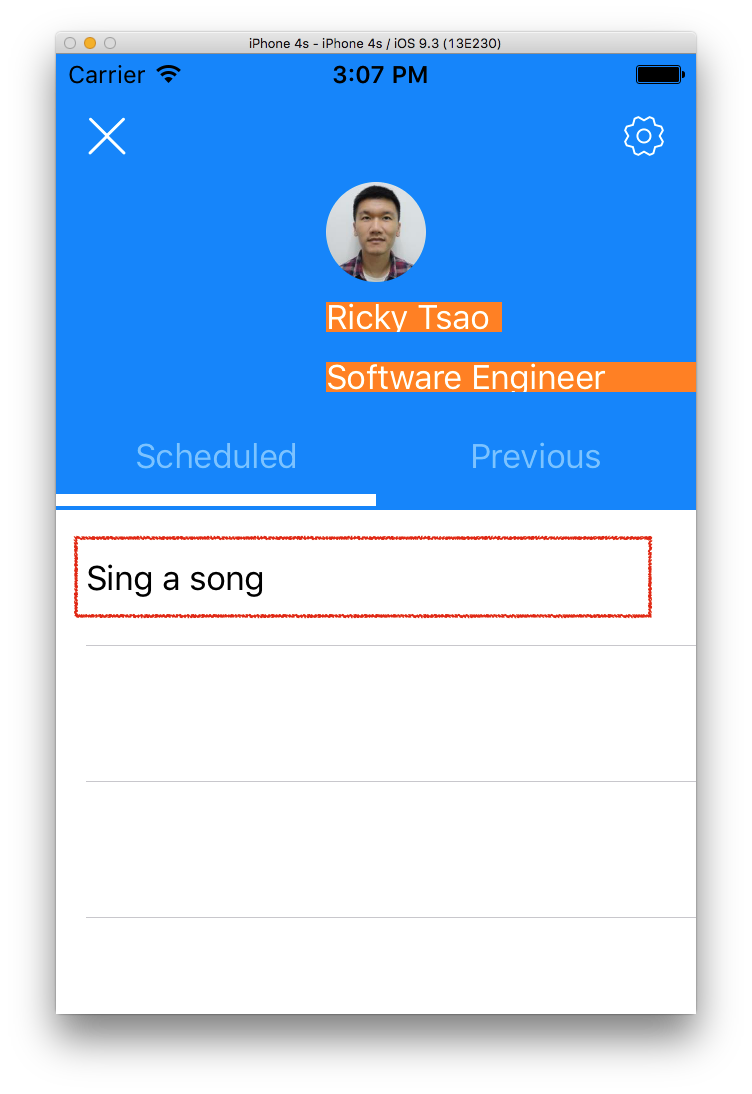
Go to your user profile. You will then see that it appears in your scheduled table view.
![]()
Go to the Azure Easy Table to verify the data. Then see that your user email appears.
In your User Profile go to the user tab. Previous events means
- Expired events (expiration time is less than now)
- You’ve registered for it
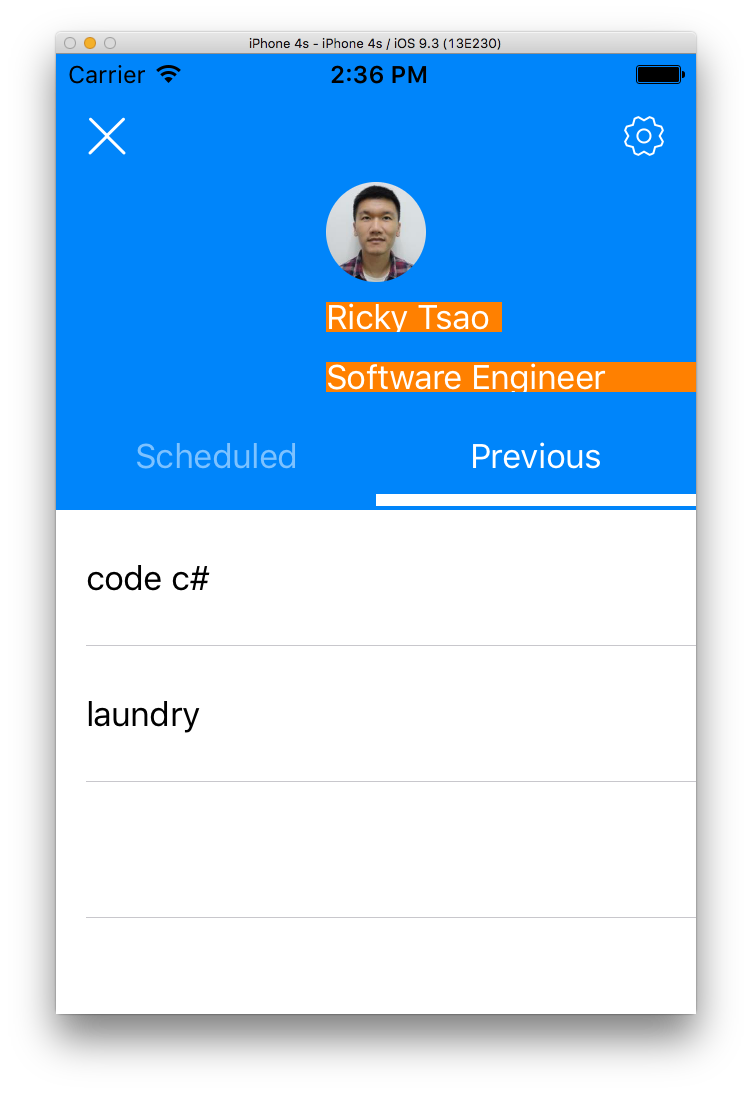
You can verify the data in the Easy Table. You will see that you’ve registered for this event in the past. Also, the event has expired.

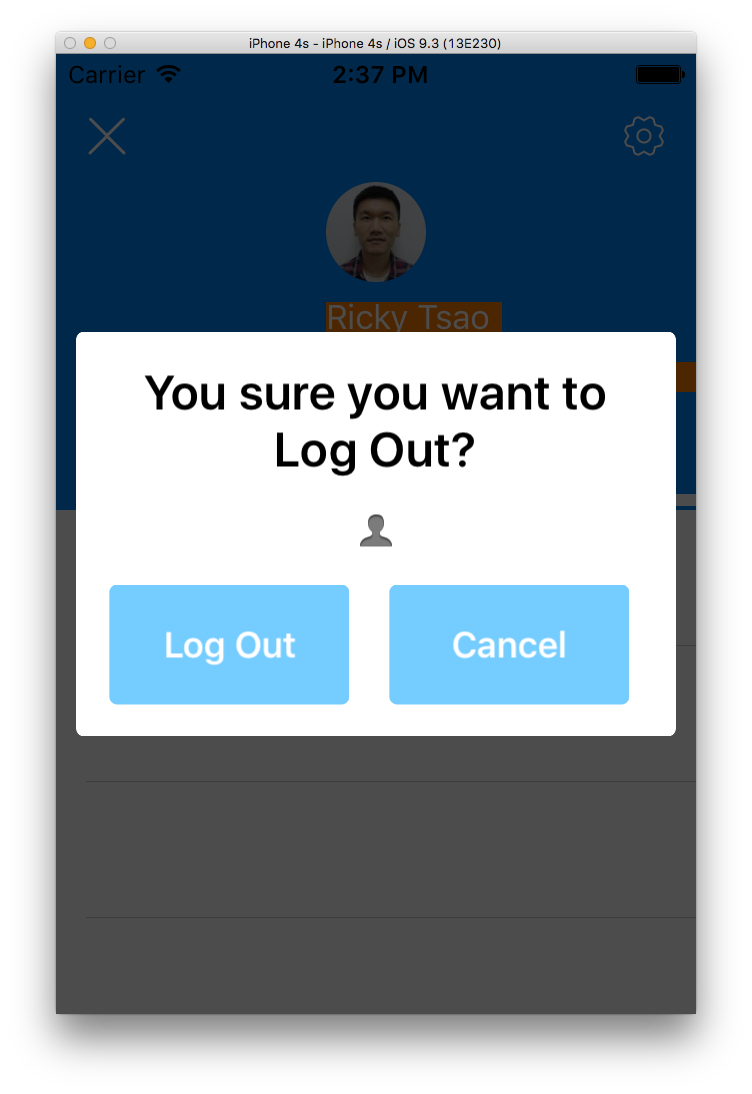
Finally, if someone else wants to log into their account, you need to logout, and let someone else log in.
But if its just you using the app, you don’t need to do anything. The app will automatically refresh your tokens for you.
Refresh Token for Azure Active Directory
30 Days of Zumo.v2 (Azure Mobile Apps): Day 7 – Refresh Tokens
Getting the key from your Azure AD Portal
Go to your Azure Active Directory Portal via manage.windowsazure.com
Sign in, and click on Active Directory, then you should be able to see your app.
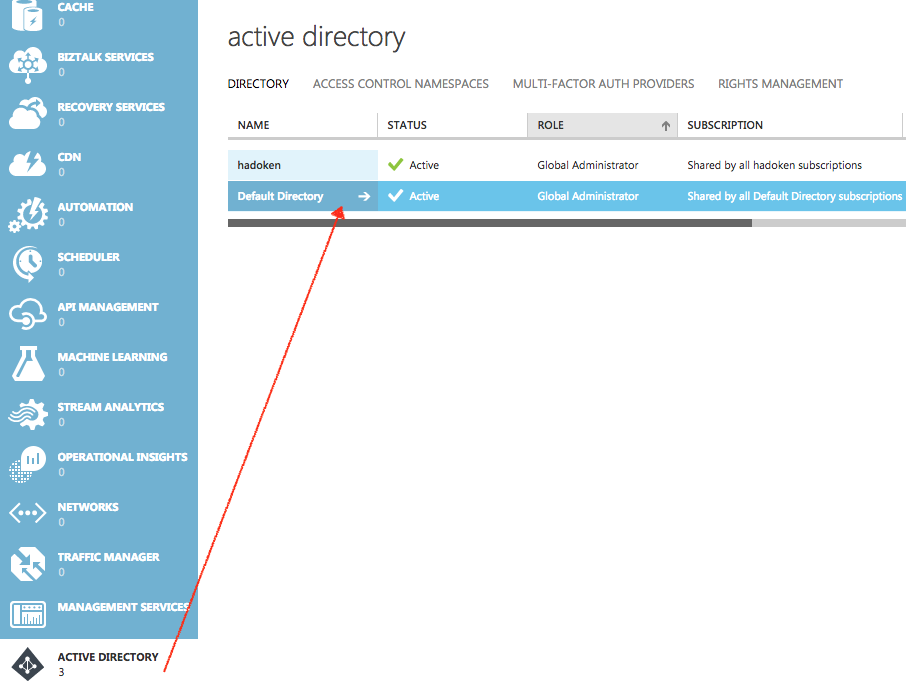
Click on Applications, then your app name
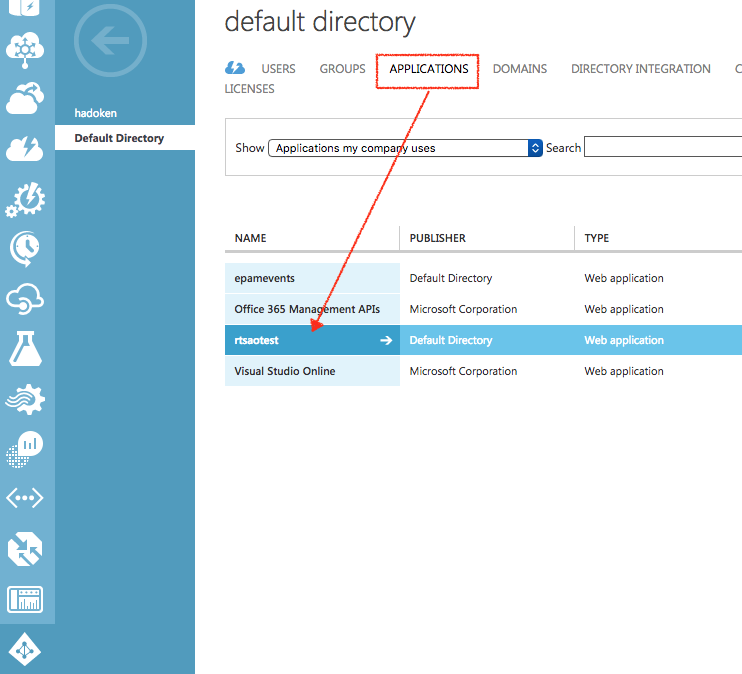
In the next screen, click on Configure, then scroll down the page
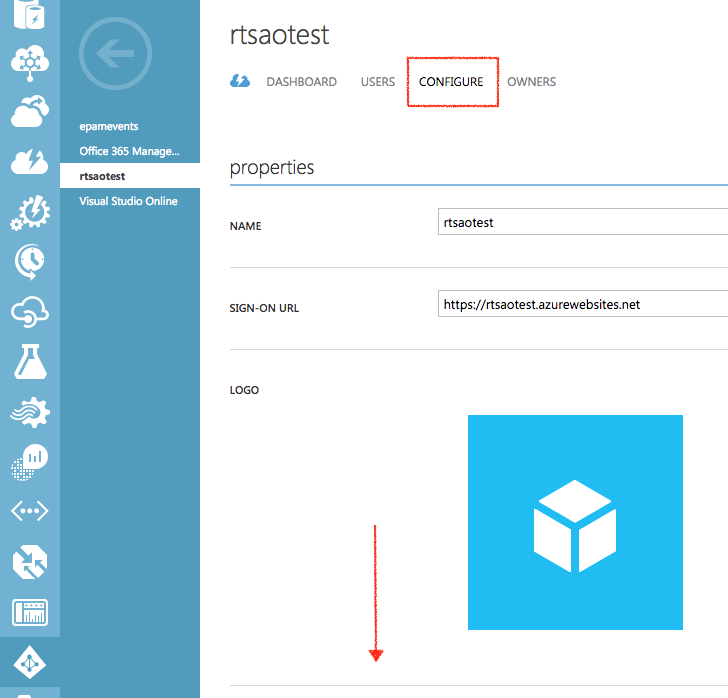
Under ‘Keys”, select a year, and then save. You will then see the secret key appear. Copy that into test.js under the other global variables.
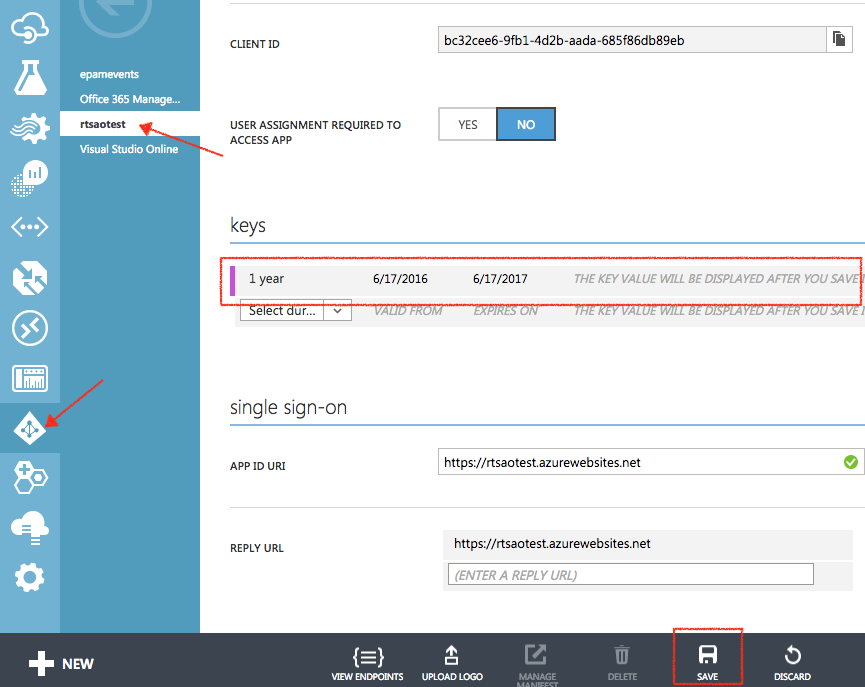
Save your client ID, and your key because we will be using it later.
Configured the Azure AD service to use refresh tokens
Log into your portal, select your app, scroll down to Resource explorer. You’ll see the next blade have a Go link. Click on the go link.

A separate page will appear with a lot of resource data. On the left hand side of the window is a tree explorer of your app’s resources. Expand the tree menu config and then authSettings.
Because this is a dangerous place, it’s set to read-only mode.
Click on the grey Read/Write box at the top of the screen, then click on Edit next to the PUT button.
I need to set two things. Firstly, the key that I created in the Azure AD portal needs to be copied into the clientSecret field as a string. Secondly, I need to set the additionalLoginParams to [“response_type=code id_token”], like this:
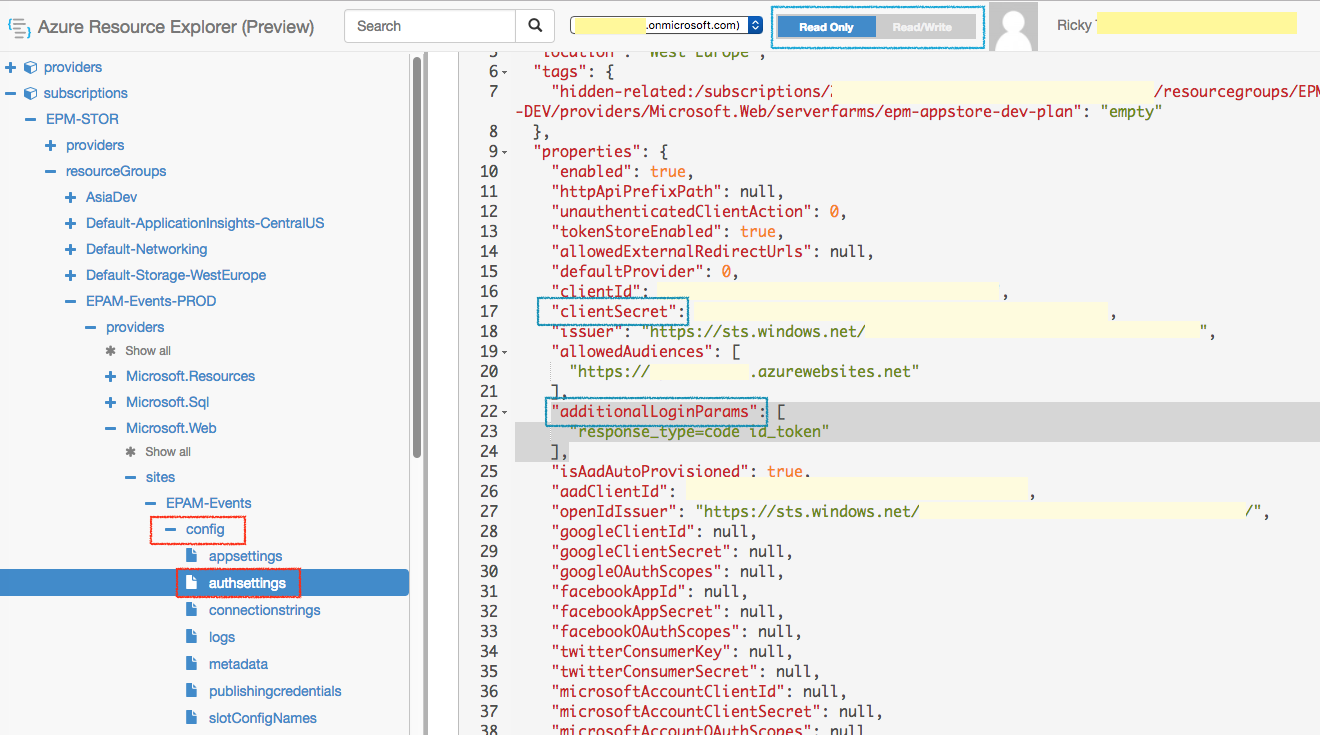
Also make sure the client ID matches from your Active Directory management portal from above.
Protected: EPAM Activities – remote, local synchronization
Protected: EPAM Activities High Level Architecture
How to load profile info
Declare the header file for EpamAuth:
|
1 |
#import "EpamAuth.h" |
Then declare a property that conforms to the Authorization interface.
|
1 2 3 4 5 6 |
@interface ViewController () { } @property (nonatomic, strong) id <Authorization> auth; @end |
Then initialize the property in init or a lazyloading accessor
|
1 |
self.auth = [EpamAuth defaultAutho]; |
Finally, use it like this:
|
1 2 3 4 5 6 7 8 9 10 11 12 13 14 15 16 |
[self.auth loginAndGetProfileDataForController:self withCompletion:^(NSError *error, NSDictionary * profile) { if(!error && profile) { NSLog(@"%@", [profile objectForKey:@"city"]); NSLog(@"%@", [profile objectForKey:@"country"]); NSLog(@"%@", [profile objectForKey:@"department"]); NSLog(@"%@", [profile objectForKey:@"jobTitle"]); NSLog(@"%@", [profile objectForKey:@"givenName"]); NSLog(@"%@", [profile objectForKey:@"mail"]); NSLog(@"%@", [profile objectForKey:@"telephoneNumber"]); NSLog(@"%@", [profile objectForKey:@"usageLocation"]); NSLog(@"%@", [profile objectForKey:@"userPrincipalName"]); } }]; |
If its your first time logging in, you will have a login window appear. Sign in using your EPAM credentials.
If you have previously logged in, your authentication token will be saved in the keychain, and you don’t have to log in a second time. You simply will be automatically logged in.
To log out:
|
1 2 3 4 |
//log out the current user [self.auth logoutWithCompletion:^(NSError *error) { NSLog(@"logged out"); }]; |
Protected: Download async images into your table
Requesting what you need, and getting what you want
How to achieve loose coupling
original article on why loose coupling is needed
http://martinfowler.com/articles/injection.html
how to achieve loose coupling in iOS
http://code.tutsplus.com/articles/design-patterns-delegation–cms-23901
If you do not do this…this will happen
https://blogs.msdn.microsoft.com/scottdensmore/2004/05/25/why-singletons-are-evil/
How we achieve loose coupling in Events App using protocols
In detail: UIViewController to Module
Make sure you conform to RecentActivityViewInterface so that you can receive data from delegate methods.
Then create a delegate that conforms to RecentActivityInterface so you can call methods that you need.
|
1 2 3 4 5 6 7 8 9 |
//conform to @interface HomePageViewController () <RecentActivityModuleDelegate> // your properties //create the interface delegate here so we can tell the other component what to do @property (nonatomic, strong) id<RecentActivityInterface> interface; @end |
ViewController.m
Implement the delegate method so we can receive the results:
|
1 2 3 4 5 |
#pragma mark RecentActivityViewInterface -(void)receivedData:(NSError*)error { NSLog(@"RECEIVED DATA!"); } |
ViewController.m
Hook everything up
|
1 2 3 4 5 6 7 8 9 10 11 12 13 14 |
-(void)initView { .... //get the singleton RecentActivityModule * recentActivityModule = [RecentActivityModule module]; //we need to implement the delegate methods to receive fresh data recentActivityModule.delegate = self; //then finally set our interface to the module to use it self.interface = recentActivityModule; ... } |
Then use it like so:
|
1 2 3 4 5 |
-(void)refresh { [self.refreshControl beginRefreshing]; [self.interface refreshData]; //call interface methods like this [self.refreshControl endRefreshing]; } |
Protected: How to get User Data with minimal access to “management AAD portal”
How to use events app
The registration
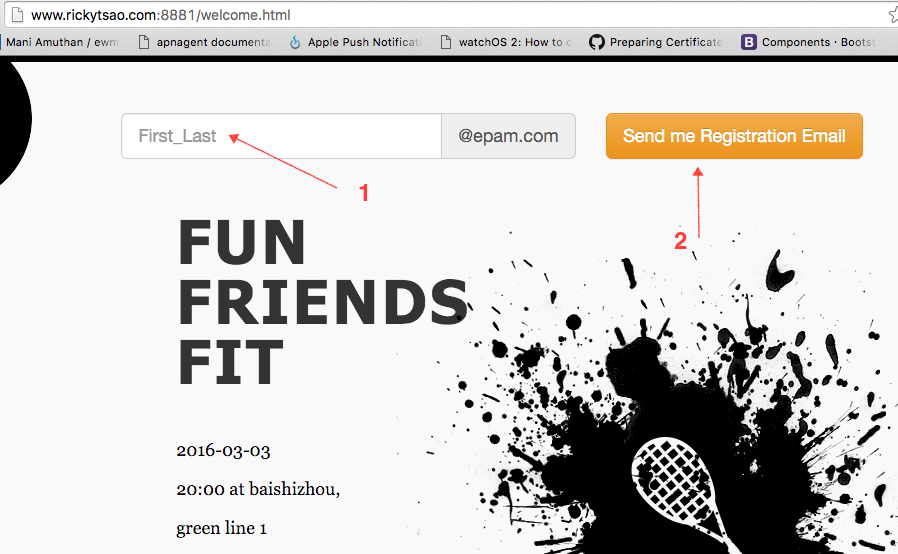
Go to the url that’s set for your app.
Give an email so that the app can send your registration information.
Your email should arrive in a few minutes.
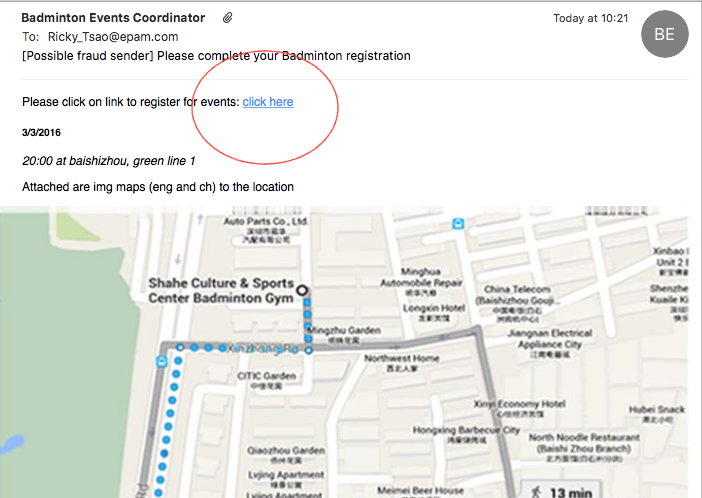
The email contains everything about the event, including the time, date, location, and maps of how to get there.
All you need to do is click on the “click here” to finish your registration so that the app can confirm you.
Once you click on the link, you will be brought to a page where it will tell you that you have finished registration and there’s nothing else to do.
The reminder
There will be an email reminder sent to you a few hours before the event.