Server side
First we put in the route
routes/user.js
|
1 2 3 4 5 6 7 8 9 10 11 12 13 14 15 |
const express = require('express') const { // other code userPhoto, } = require('../controllers/user') const { requireSignin } = require("../controllers/auth"); // other code // photo route router.get("/user/photo/:userId", userPhoto) // other code module.exports = router; |
Then we implement the function responder for when the user goes to /user/photo/:userId
Since we already retrieved the user object at function userById, everything is already in req.profile
We simply check for the image data, and then set the content type.
controllers/user.js
|
1 2 3 4 5 6 7 8 9 10 11 12 |
exports.userPhoto = (req, res, next) => { console.log('content type', req.profile.photo.contentType) if (req.profile.photo.data) { // sets the format of the image res.set("Content-Type", req.profile.photo.contentType); // sends the photo data return res.send(req.profile.photo.data); } next(); } |
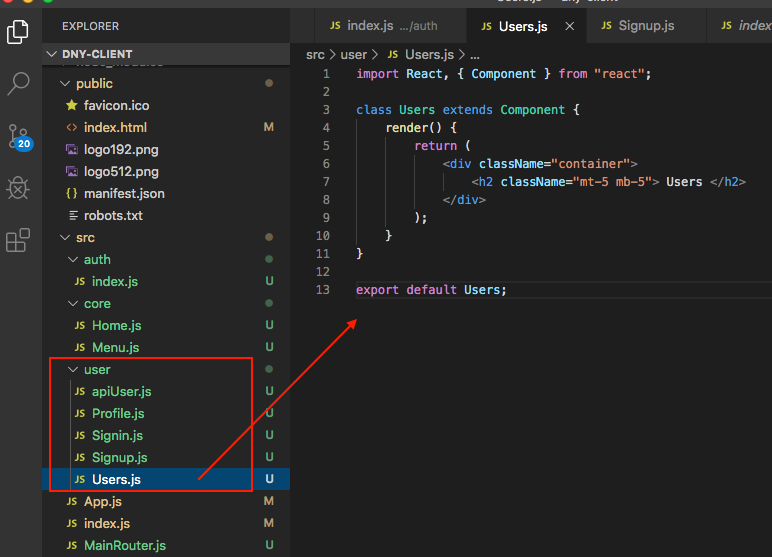
Client Side
we create a photoUrl so that our image control has a src.
src/user/EditProfile.js
|
1 2 3 4 5 6 7 8 9 10 11 12 13 14 15 16 17 18 19 20 21 22 23 24 25 26 27 28 29 30 31 32 33 |
render() { const { id, name, email, password, redirectToProfile, error, loading } = this.state if (redirectToProfile) { return <Redirect to={`/user/${id}`} /> } const photoUrl = data._i`http://localhost:8080/user/photo/${data._id}` : DefaultImage, // cache image issue return ( <div className="container"> <h2 className="mt-5 mb-5">Edit Profile</h2> <div className="alert alert-danger" style={{ display: error ? "" : "none" }} > {error} </div> {loading ? ( <div className="jumbotron text-center"> <h2>Loading...</h2> </div> ) : ("")} <img src={photoUrl} alt={name} /> {this.renderEditForm(name, email, password)} </div> ) } } export default EditProfile |
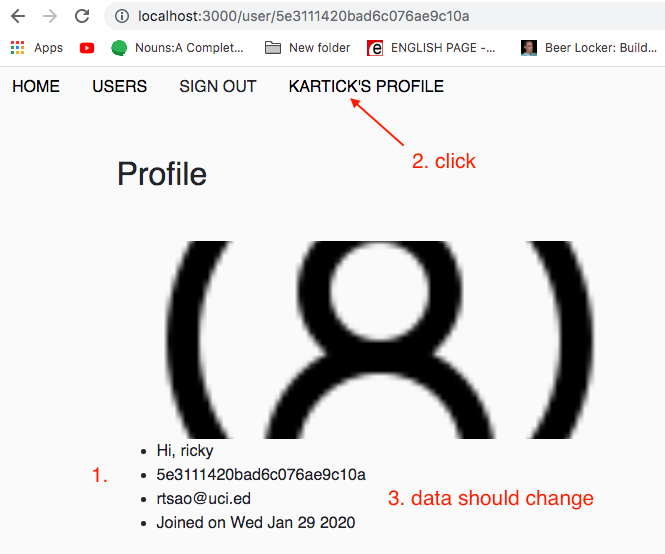
However, there is an issue. The browser cache images and when you try to upload another image, and you come back to this page, the browser will be showing the old image.
In this situation, simply give the latest time and append it to the URL
|
1 2 3 4 5 6 |
<img style={{height: "200px", width: 'auto'}} className="img-thumbnail" alt={user.name} src={`http://localhost:8080/user/photo/${user._id}?${new Date().getTime()}`} onError={i =>(i.target.src=`${DefaultProfile}`)} /> |