Category Archives: iOS

Serializing Data – domain model to persistence

http://nshipster.com/nscoding/

There are many ways you serialize data, or convert domain model to persistence:

Core Data
NSKeyedArchiver
pList
NSUserDefault
etc…

Core Data may not be your answer because:

Not all apps need to query data.
Not all apps need automatic migrations.
Not all apps work with large or complex object graphs.

NSKeyArchiver and NSCoding

Thus, using NSKeyArchiver and NSCoding maybe a great solution in some cases.

NSCoding is a simple protocol, with two methods: -initWithCoder: and encodeWithCoder:. Classes that conform to NSCoding can be serialized and deserialized into data that can be either be archived to disk or distributed across a network.

NSKeyArchiver serializes -compliant classes to and from a data representation.

NSCoding delegates

This is so that you can tell it what properties to encode into objects. Encode means to “convert into a coded form”.
Hence, we inject our properties into encodeObject.

Decode means to convert a coded message into something readable.
Thus, that’s why we have our properties take on data returned by the decoder.

Each property is encoded or decoded as an object or type, using the name of the property of as the key each time.

File System

NSKeyedArchiver and NSKeyedUnarchiver provide a convenient API to read / write objects directly to / from disk.

You first get the path of the directory you want. Then you append a file name to that path. The resulting NSString appFile is your full path to the file you are saving to.

Then, use your Array or Dictionary, and insert it into NSKeyedArchiver’s archiveRootObject toFile method in order to save.
When you want to load, use unarchiveObjectWithFile:appFile.

pLists

A property list (a.k.a. pList) is a structured data representation used by Cocoa and Core Foundation as a convenient way to store, organize, and access standard types of data. You can build little more complex structures but not that much. NSString, NSData, NSNumber, NSDate, NSArray, NSDictionary – these are the only Objective-C data types that property list supports. Sub-entries are only allowed with NSDictionary or NSArray. A property list is used to store “less than a few hundred kilobytes” of data. A very significant and popular use of property lists is to define application settings.

If you open a pList with Xcode this is how it will show a very comfortable view of key-value pairs. But if you open the pList with a text editor you will see the actual format, which is XML. Property list is a subset of XML.
ARC vs MRC

https://www.quora.com/How-does-garbage-collection-happen-in-iOS
http://stackoverflow.com/questions/6385285/why-doesnt-ios-have-automatic-garbage-collection

Manual Reference Counting has the developer take care of the allocation and release of the object life cycle by using new/delete, alloc/release. You have to make sure every alloc is matched with a release.

MRC behind the wheel :
1. Every time you create and allocate an object, you increase the reference count of the variable. So suppose you created object foo , so now the reference count got increased to 1.
2. If any other object is also referring to this object, then the count increases to 2.
3. Now if I decide to remove my ownership and i want to remove my reference, then the reference count drops by -1;

So technically, every reference to an object is referenceCount++ and every release of the object is a referenceCount–

Once the reference count reaches zero, that’s when the object foo becomes eligible garbage collection.

Automatic Reference Counting – the iOS compiler looks after the memory management. Thus, you don’t have to worry about releasing the objects. You just allocate and that’s it.

In other words, it is a memory management enhancement where the task of keeping track of reference counting for objects is removed from the programmer and onto the compiler.

ARC differs from Cocoa’s garbage collection [4] in that there is no background process doing the deallocation of objects.[5] Unlike garbage collection, ARC does not handle reference cycles automatically. It is up to the program to break cycles using weak references.[6]

Developers no longer have to worry about retain / release of objects, you don’t have a garbage collector process slowing execution randomly, and you still maintain fairly tight control over memory usage.

How ARC works

ARC works its magic at compile time to do the reference counting for you thereby making it unnecessary (and actually non-allowed) to use any other sort of memory management.

Now what ARC does is it looks up your code, sees where the scope of the variable ends and then adds autorelease, on those objects, and release is deprecated.
So what autorelease does is it adds the object to AUTORELEASE POOL , which basically means once the scope/block ends, objects in that block will be sent release messages.

Why it does not use Garbage Collection

At WWDC 2011, Apple explained that they didn’t want garbage collection on their mobile devices because they want apps to be able to run with the best use of the provided resources, and with great determinism. The problem with garbage collection is not only that objects build up over time until the garbage collector kicks in, but that you don’t have any control over when the garbage collector will kick in. This causes non-deterministic behavior that could lead to slowdowns that could occur when you don’t want them.

Bottom Line: You can’t say, “OK. I know that these objects will be freed at X point in time, and it won’t collide with other events that are occurring.”

How to load profile info

Declare the header file for EpamAuth:

Then declare a property that conforms to the Authorization interface.

Then initialize the property in init or a lazyloading accessor

Finally, use it like this:

If its your first time logging in, you will have a login window appear. Sign in using your EPAM credentials.

If you have previously logged in, your authentication token will be saved in the keychain, and you don’t have to log in a second time. You simply will be automatically logged in.

To log out:

Adding and Removing Observer in UIView

ref – http://stackoverflow.com/questions/8200775/when-to-unsubscribe-from-a-nsnotification-in-a-uiview

In your UIView custom class:

Converting existing Project to read from Azure Backend

Import Data Model

File >> New >> File >> Data Model. Name it “Activities”.

Ctrl + click >> Show in Finder. Then drag that file onto a text editor such as sublime. You will see basic xml file.

Drag and drop an existing data model file onto the text editor. Copy and paste all the content into your Activities file. Save and close. Your data model should be now updated. Your iOS data model is ready.

Basic Core Stack Class

Create a basic core data stack class with a context, MOC, and PSC.
Make sure the your sql file name, and the data model name are specified.

core data demo

#define DATA_MODEL_FILENAME @”Activities”
#define SQL_FILENAME @”Activities.sqlite”

QSTodoService

Azure should generate a QSTodoService object that does all the reading and writing of data for you.

Unfortunately, it also generates core data code that sits in your AppDelegate. Pull all the core data code out onto your own CoreDataStack class so that AppDelegate is clean.

Then, make these modifications to your QSTodoService:

Use your core stack and its context in QSTodoService’s init method. Commented out code is the original.

ViewController

conform to NSFetchedResultsControllerDelegate protocol

specify what/how you want to fetch for the fetchedResultsController

In the viewDidLoad, make sure you create your QSTodoService because we are going to implement a refresh method that uses it to sync all the data between your app the backend service.

use the fetchedResultsController to get the objects

Programmatically add a Navigation Controller to your project

objective C demo
swift 3 demo

AppDelegate.swift

SWIFT 3

ViewController

CustomViewController.swift

OBJECTIVE C

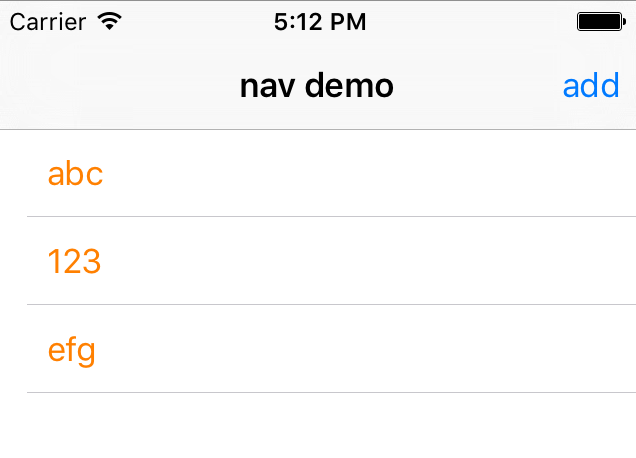
The whole idea is that your window strongs UINavigationController, and UINavigationController strongs your main ViewController.

The UINavigationController is set up in your AppDelegate. Then your UINavigationController is init-ed with your main view controller.

nav-1

Then, in your main view controller, use self.navigationItem to set up the buttons and title.

nav-2

UINavigationController

First we create a UINavigationController property.

Then, we create the UINavigationController and init it with the main view controller of your project.
Set the UINavigationController as the root view controller of our window.

In your main view controller, make sure in your viewDidLoad, you set the navigation button like so:

The nav button has a button responder:

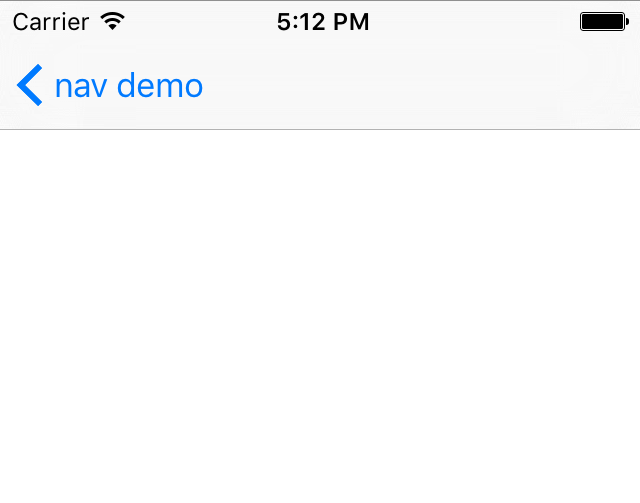
This means when you click on the nav button, we want to navigate to a new view controller. Hence, let’s implement the view controller that we want to navigate to.

File >> New >> File >> Cocoa Touch Class

Put in AddViewController for the “class name”.
Put in UIViewController for the “subclass of”.

Then import AddViewController to your main view controller, and implement the button responder like so:

Make sure you set background color for every view controller because if its default as clear, there may be animation issues.