All posts by admin

HackerRank

Simple Array Sum

reads in input like so:

6 // first # is represents how many #s there are
1 2 3 4 10 11 // your output should be 31

use Array’s reduce.

output:
0 1
1 2
2 3
3 4
4 5
15

answer

Compare the Triplets

Alice and Bob each created one problem for HackerRank. A reviewer rates the two challenges, awarding points on a scale from 1 to 100 for three categories: problem clarity, originality, and difficulty.

The rating for Alice’s challenge is the triplet a = (a[0], a[1], a[2]), and the rating for Bob’s challenge is the triplet b = (b[0], b[1], b[2]).

The task is to find their comparison points by comparing a[0] with b[0], a[1] with b[1], and a[2] with b[2].

If a[i] > b[i], then Alice is awarded 1 point.
If a[i] < b[i], then Bob is awarded 1 point. If a[i] = b[i], then neither person receives a point. Comparison points is the total points a person earned. Given a and b, determine their respective comparison points.

Sample Input 1

17 28 30
99 16 8

bob wins on first compare 17 vs 99
alice wins on second compare 28 vs 16
alice wins on third compare 30 vs 8

Thus output should be alice’s score first, then bob’s score:
2 1

Diagonal Difference

Given a square matrix, calculate the absolute difference between the sums of its diagonals.

input:
3
11 2 4
4 5 6
10 8 -12

so diagonal starting from top left and going down right: 11 + 5 + -12 = 4
diagonal starting from bottom left and going up right: 10 + 5 + 4 = 19

output:
|19-4| = 15

Keep in mind that the matrix can vary in length.

Plus Minus

See how many
positives,
negatives, and
0s

there are in an array.
Calculate their ratio according to the array’s length.
Make sure the results is in 6 decimal places.

Sample Input

6
-4 3 -9 0 4 1

Sample Output

3, 4, 1, so three positives. 3/6 = 0.500000
-4, -9, so two negatives. 2/6 = 0.333333
0, so 1 zero. 1/6 = 0.166667

0.500000
0.333333
0.166667

For rounding to n-th place we use toFixed(n)
The rest, we simply keep counters and keep track of when one of them happens.

another solution:

eval(1 > 0) // 1
eval(-5 < 0) // 1 eval(2 > 5) // -1
eval(0===0) // 1

posCounter is 7
negCounter is 1
zeros is 1

Staircase

input:
4

output:

#
##
###
####

note the spaces in front. Make sure the # appears in the end.

Our solution is to use recursion.

approach is

print backwards

print forward

Min Max Sum

Get the sum of 4 of the 5 items in an array.
Then console out the min and max of it.

Sample Input

1 2 3 4 5
Sample Output

10 14

Workers and jobs

Given an array of orders [10, 20, 30], where each order takes one robot to complete, we have a starting # of robots, say 60.
Calculate how many orders can be completed.

We send 10 to do the first one. 20 to do the second one. We have 30 robots left. The last job takes 30 robots so works out perfectly.
In this case, the answer is (3) where all three orders can be completed.

Let’s say we have an array of orders [20, 20, 40, 10]. We only have 50 robots this time. The return answers should be 3. Because we can only afford to do 3 jobs. Job 1, 2, and 4.

Mosh React Tutorial (part 13)

source download

Now, let’s create the data structure to store list of movies, which comes in an array of objects:

First, we create GPMovieDataClass.js class component. We put this in utils folder.

Our test data list of movies will have genre objects. Many movies will have the same genres. So let’s build a unique genre dictionary first.
The genre dictionary will have the genre name as its key, and the genre object (name, _id) as the value.

We create private dictionary _genres:

Notice we also create private Map object data. This is so that each genre can point to the movies that belongs to this genre:

{ _id: “5b21ca3eeb7f6fbccd471814”, name: “Comedy” } –> [ {name: “Airplane”..}, {name:’Baseball’, …}, {…} … ];

We then execute buildGenres so that _genres dictionary is filled in and complete.
Each genre in _genres has an array. We place the specified genre movie in those arrays.

In the callback, we fill up the genre arrays with movies. When it has finished, we would have all movies with their genre objects as keys.

Now, one of the functionalities is to get all genre names.
We do this with function getGenres to return an array of genre names.

We also need our list of genres as objects:

Get all movies by genre name:

Finally, get all movies. We basically through every genre available, and get their movies.

movies.jsx

Incorporate GPMovieDataClass into Movies component

We first import it and then create an instance. We stick the movies data into it.

moviesData.getGenreAsArrayOfObjects() will return array of genre objects
moviesData.getMoviesByGenreName(genre.name) will return array of movies by genre name

We will be using them in our React code.

We use genres in our state object. We simply use getGenreAsArrayOfObjects to give our state’s genres an array of Genres to display.
Notice that by default, we initialize our state’s movies to all the movies.
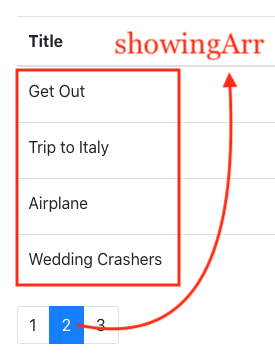
State property showingArr maintains the array to be shown on the UI. We can’t just show ALL of the movies. We have to show the paginated portion of the movies.

movies.jsx

Notice paginateMovies function. All it does is that depending on which number you give it, it gives you the starting pagination page, and ending pagination page. What we need is the pageSize in order to calculate this:

movies.jsx

Then we simply return that paginated part of the movies array. Remember that movies contain all movies right now. We just paginate according to page number.
We give the paginated array to state property showingArr. This will let us show just the paginated pages.

In render, we use showingArr to display the movie data for this page:

movies.jsx

Thus, we always use showingArr to hold the movies that we’re showing on the page.

Displaying the Pagination links

So we create a Pagination component to display the links. The idea is that we need:

1) the total list of movies
2) page size

That way, we can calculate the total # of pages:

Once we have page count, we know how many links to display.

Then, we simply fill an array from 1 to pagesCount. This is to signal the page number the user have clicked. Once the user clicks it, it gives that page number back to movies component to render the movies for this particular page. The showingArr in movies will paginate and calculate it.

Then for each element in the array, we simply return a list item with a link in it:

We also give it isActive functionality. We compare if the currentPage number is the same as ours. If it is, we give ‘active’ to its class.
Also, notice we give a callback function onPageChange. If a user clicks this link, we give the number back to the parent component movies.jsx so that it can change its showingArr.

Changing Paginated Movies UI

If you want to change the paginated movies that are shown, simply give it a different page number and it will calculate the starting and ending pagination number for you. Remember to give the array back to showingArr so that render will work. We pass function handlePageChange into the prop of Pagination component as described above. When the user clicks a link in Pagination component, that number will come back to this function as page parameter. We then change our showingArr accordingly.

movies.jsx

Changing Genre

We need a selectedGenre property in our state object to keep track what genre the user have selected.

movies.jsx

Changing genre requires us to get all the movies associated with this genre. We use getMoviesByGenreName to get the movies by genre name.
We need to update our movies with this newly list of movies. This way, the total # of movies will appear correctly, and also paginateMovies depend on this movies array to show the paginated results. We then update selectedGenre to keep track of what genre we’re on.

Finally, all that is done, we update showingArr and paginate the new list of movies.

movies.jsx

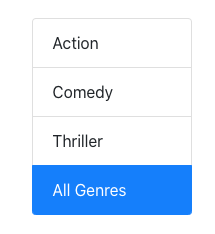
Genre List

So remember in our GPMovieDataClass, we filter out all the unique genres from our movies test data. We then implemented getGenreAsArrayOfObjects
to get the list of genres as full objects. We pass this list into our ListGroup to render the genres via items.

We then map through the items and display the names and unique ids for these genres.

Notice we used defaultProps for property names. This is because its cleaner for us to specify the property names we’re looking for in the genre objects.

For putting ‘active’ in the className to specify the active selected genre, we already selectedGenre in movies component state object. That way, when we select a link here, it gives the genre name back up to movies component via onItemSelect. Movies component then puts the string into selectedGenre to keep track.

Type Checking

Notice in Pagination component, we have propTypes object that can let you specify the ‘type’ of the property. For example, in itemCount, we specify that it must be a number and is required.

This means that in Movies Component, if you do something like this:

You’ll get an error:

This ensures that we check the type of the prop we inject.

In order to use this, make sure you install and import prop-types.

You can also specify the default values you want your prop types to be:

in our case, we use textProperty and valueProperty prop passed in from Movies component to specify the property names to retrieve from each Genre object.
We give it a default to say that we should look for ‘name’ and ‘_id”. This can save space when you are putting all these props into components which makes it look messy:

Mosh React Tutorial (part 12)

Pagination – Type Checking with Prop Type

What if the user passes something unexpected. Instead of an integer count. It passes a string “abc”.

In Pagination functional component, the string divides by integer. And thus, pagesCount becomes NaN. NaN gets calculated further and nothing comes of it.

npm i prop-types@15.6.2

pagination.jsx

Now let’s put a string, instead of an integer.
movies.jsx

In the console, we’ll get a warning:

Mosh React Tutorial (part 11)

source

Paginating the Data

So the concept is that we should add a property showingArr to our state.
showingArr holds the items to be shown according to what pagination page we’re on.

For example, if we’re on page 1, it should show items 1-4
If its page 2, 5-8
page 3, 9-12, and so on.

What we’re interested in is the first and last item #.
The last item # is always the current page * 4.

So if we’re on page 1, the last item is 4, page 2, last item is 8…etc.

so last item is currentPage * 4

The first item will always be last time – 4

Thus, using them, we paginate the movies array like so:

We create a private function paginateMovies.

In the beginning all the state will be set up when the virtual DOM is being built. When it finishes, it will call render which shows the default state, then in componentDidMount, we will set our state’s showingArr to the correct array. Hence in our componentDidMount():

the setState will trigger a second render, which then will show the paginated items.

full source (movies.jsx)

Mosh React Tutorial (part 10)

download source

Handling Pagination Changes

When we click on each pagination, let’s make that pagination index active.

First, let’s put a callback for when the pagination happens.

movies.jsx
In the render function:

The handler itself:

update our state:

Whenever a pagination is clicked, it calls the movies component to update and set its state’s currentPage.

Hence, in our Pagination, we get the currentPage successfully. We do UI updates, so let’s put the class ‘active’ in our HTML whenever the currentPage matches our current displayed page.

When we loop through each pagination page number to be displayed, if that page number equals our currentPage, then we put the active class. Else, don’t put it. That way, we highlight the page that we’re on.

You should now see the highlighted pagination

Mosh React Tutorial (part 9)

to run: npm install, npm start
download source

Pagination

Under components/common, create pagination.jsx:

We put this in movies.jsx’s render function:

Run the app, and we should see our Pagination.

Now, in order to implement Pagination, we should be clear on what it does. Pagination is a component that takes in a total items count, and a specified # of items per page. That way we calculate how many paginations there are for that # of pages.

For example, if we have 10 items, and each page displays 4 items, then our pagination should be 1, 2, 3.
If we have 8 items, and each page displays 4 items, then our pagination should be 1, 2.

Hence, our pagination is actually some HTML that displays an array of numbers. In order to do so, we must pass in total items, with page size from the movies component.

We also add a delete button for future implementation.

movies.jsx

Notice in the Pagination component, we pass in props total movie count, and specified pageSize. Finally, a callback for pageChange.
Our Pagination will take the total count and page size via props, then calculate how many pages should be in our pagination.

Now, we implement Pagination. In order to easily create a function where it puts start…end into an array for you, we install lodash into our app. In your terminal, npm i lodash@4.7.10

Now the pagination should look like this:

Mosh React Tutorial (part 8)

source
Before moving on…let’s update our code to have more functionality

Decrement button

Add the onDecrement callback in our App’s render, and increment it to manipulate our state counters.

App.js

Insert a decrement button, and other UI attributes.

counter.jsx

Add onDecrement props so counter component uses App component’s functionalities.

counters.jsx

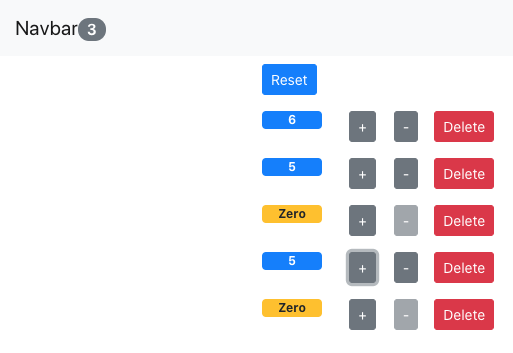
Our Counters should look like this:

Movies

First import the services folder with fakeMoviesService.js and fakeGenreService.js files into your project.
Under components, create movies.jsx

We import getMovies function from our fakeMOvieService.js file and use them to fill up our state.
Then we simply use bootstrap’s table html in our render and display the data.

movies.jsx

App.js

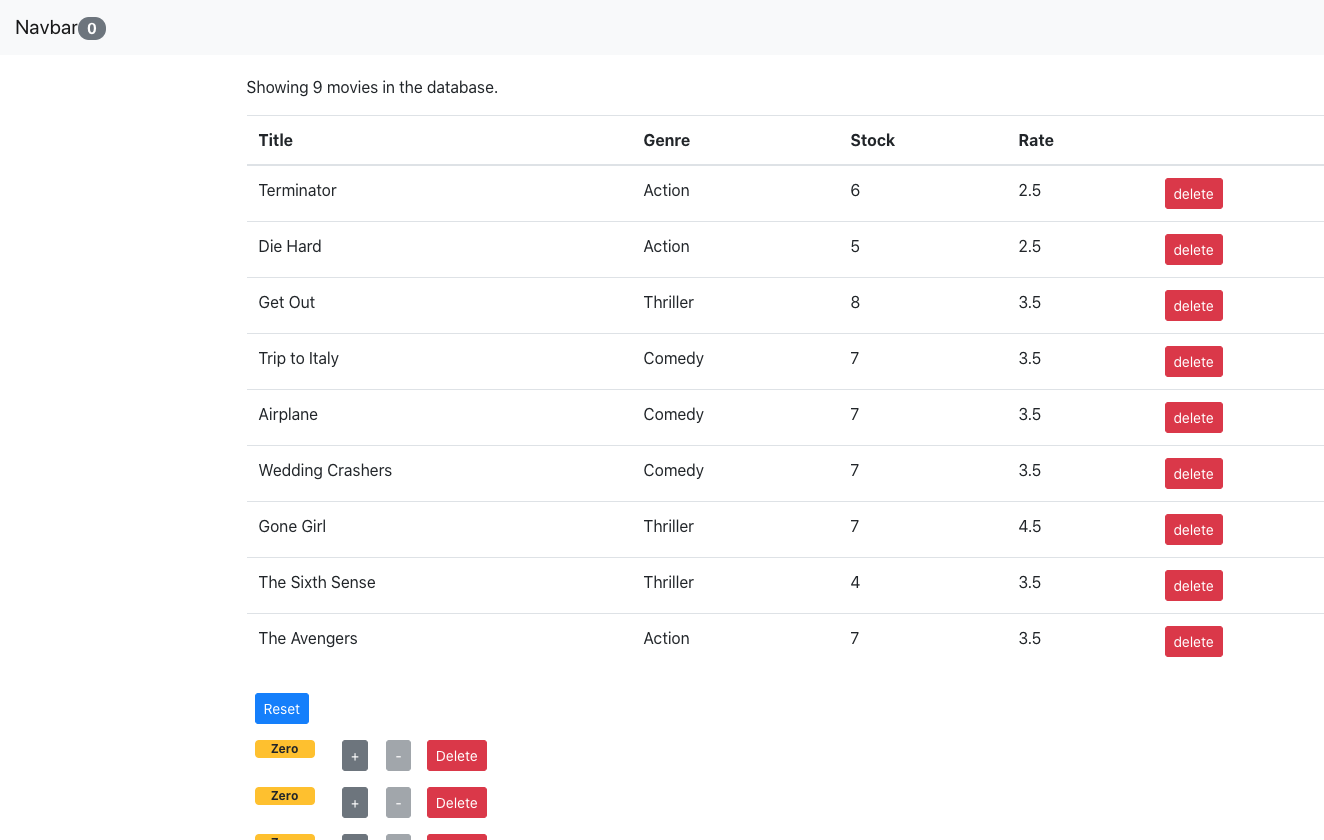
Our Movies list should look like this:

Mosh React Tutorial (part 7)

Updating Phase

Whenever new props is drilled down, our component updates and we look at the props and state.

In our case, say our Counter is at 4. Once we update it to 5, the state changes and triggers a render.

The render passes the updated 5 down to the prop. Hence our prevProps.counter.value will be 4, and our this.props.counter.value will b e 5. This signifies that our component did update and there is a change condition.

Unmounting Phase

When we delete, the state literally removes that Counter (object) in the array in the App class.

Thus, the change to the state makes App Render. Which then makes NavBar render. Which then makes Counters render.

As each Counter gets rendered, out of the Counters will Unmount because its id-ed object in the array has been removed.

Timers, listeners, all should be cleaned up in Unmount.

Mosh Redux part 7 (Consuming APIs)

In the Ultimate Redux Source code, go into bugs-backend project.
Install by typing npm i
then npm start

Now a node server should be running at localhost:9001

The approach

reducer should not make any outside manipulations, like DOM or calling APIS. It get current state, an d return new state. It should be pure.

Hence in our actionCreator, we can encapsulate code with side effects.

However, whenever we get data, we always call this actionCreator. It can get repetitive.

Middlware

Filter Photos in React

To run the sample, first make sure you install the backend node server that will give you the images:

Node backend download

Then install the front end, which is what this tutorial is about:

React project download

Create the React App


create-react-app photo-filter
cd photo-filter
npm start

Import Theme

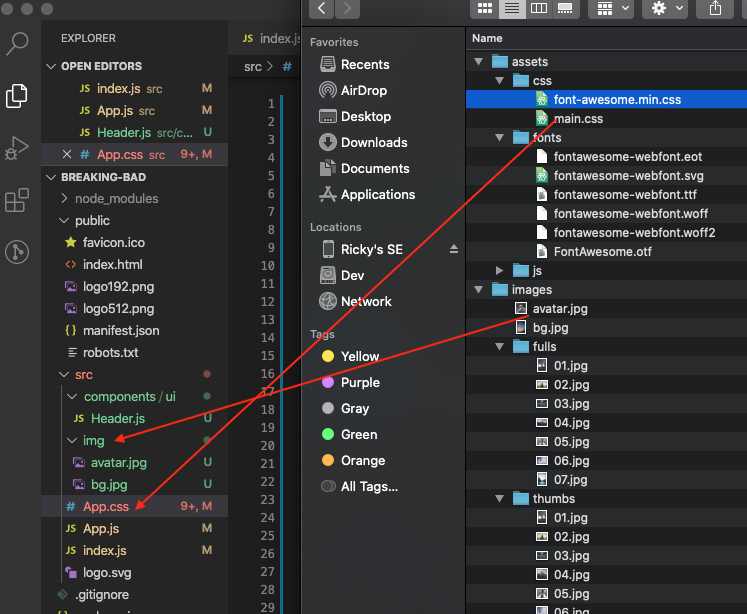
Under src, create img folder. Then copy avatar.jpg and bg.jpg into that folder.

App.css
In the visualize template, copy the CSS from main.css into your App.css:

– remove the @import of awesome font at the very top of the
– Then look for background-image and replace url with:

this is so that we reference the imported image.

Under src, create components folder. Then under components folder, create ui folder. In ui, create Header.js

Let’s make use of hooks in our app so that we can fetch the data text from our backend.

App.js

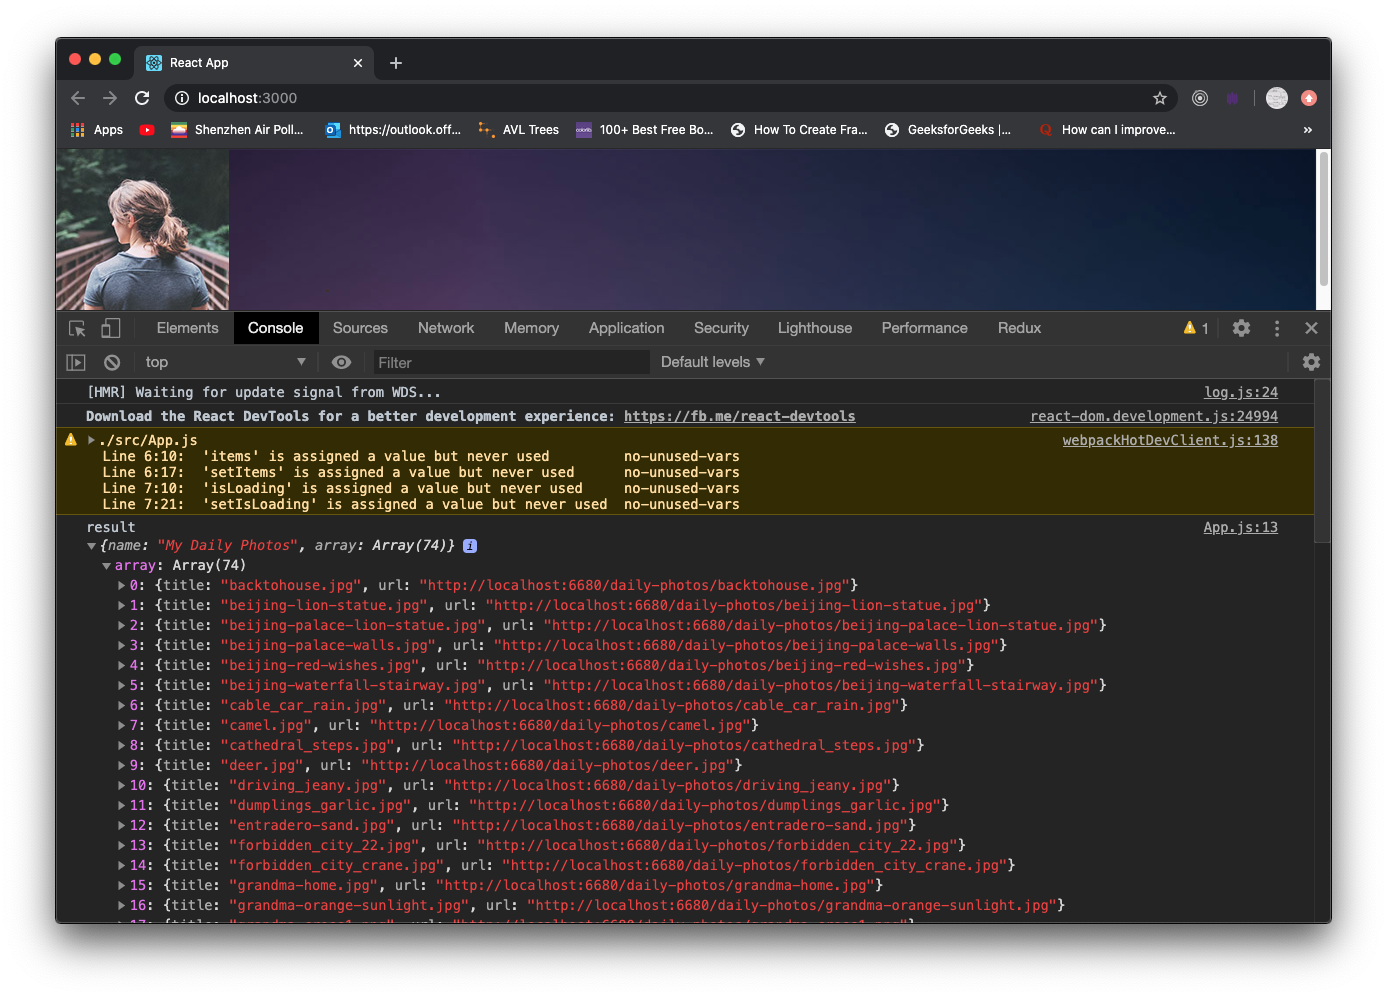
Once you’re done, you should be able to see the background and avatar image appear. You should also see the logged data retrieved from the backend.

Import Redux

npm i redux@4.0

Creating Reducer
Now that we know how actions are put together, we need to write a function in order to decide how we going to properly receive these actions.

In src, create a store folder.

Know that actions is what drives the store to keep your data.

It looks like this:

So as you can see, it’s basically an object with properties type and payload.

Create a file called action.js

We first create macros for actions that will be happening, such as fetching photos, error, fetching finished, etc.
When then go on to create action objects. As mentioned, each action has properties type and payload
So we create action objects for when getting photos start, finished, runs into an error, etc.

Now create a new file called reducer.js.

A reducer is a function with parameters state and action. The role of the reducer is to return new state, based on incoming actions.

We first have our state reference a default object with properties:
– photoData
– photoLoading
– photoError

This is the default of our photo array.

We then take care of all the actions objects that will be passed into our photoReducer.

reducer.js

Finally create our store. We stick our reducer as a function parameter so the store knows how to keep data.
The reducer has been defined to take certain actions. These action objects will be used in our main file to apply certain actions to the store.

src/store/store.js

Storing and getting data in our App

We import the store in our app. We import action objects and pass them as parameter to dispatch these actions to the store. Before fetching data from our API, we let the store know we’re going to do that.
In turn, the store will update its isLoading property to true. Thus, any other place that needs to show a load image will depend on this isLoading property.

Once the data fetch is complete, we dispatch action requestPhotosFinishAction, which updates the store’s state object photoData property to the data, and flips isLoading to false.

App.js

Displaying the Data

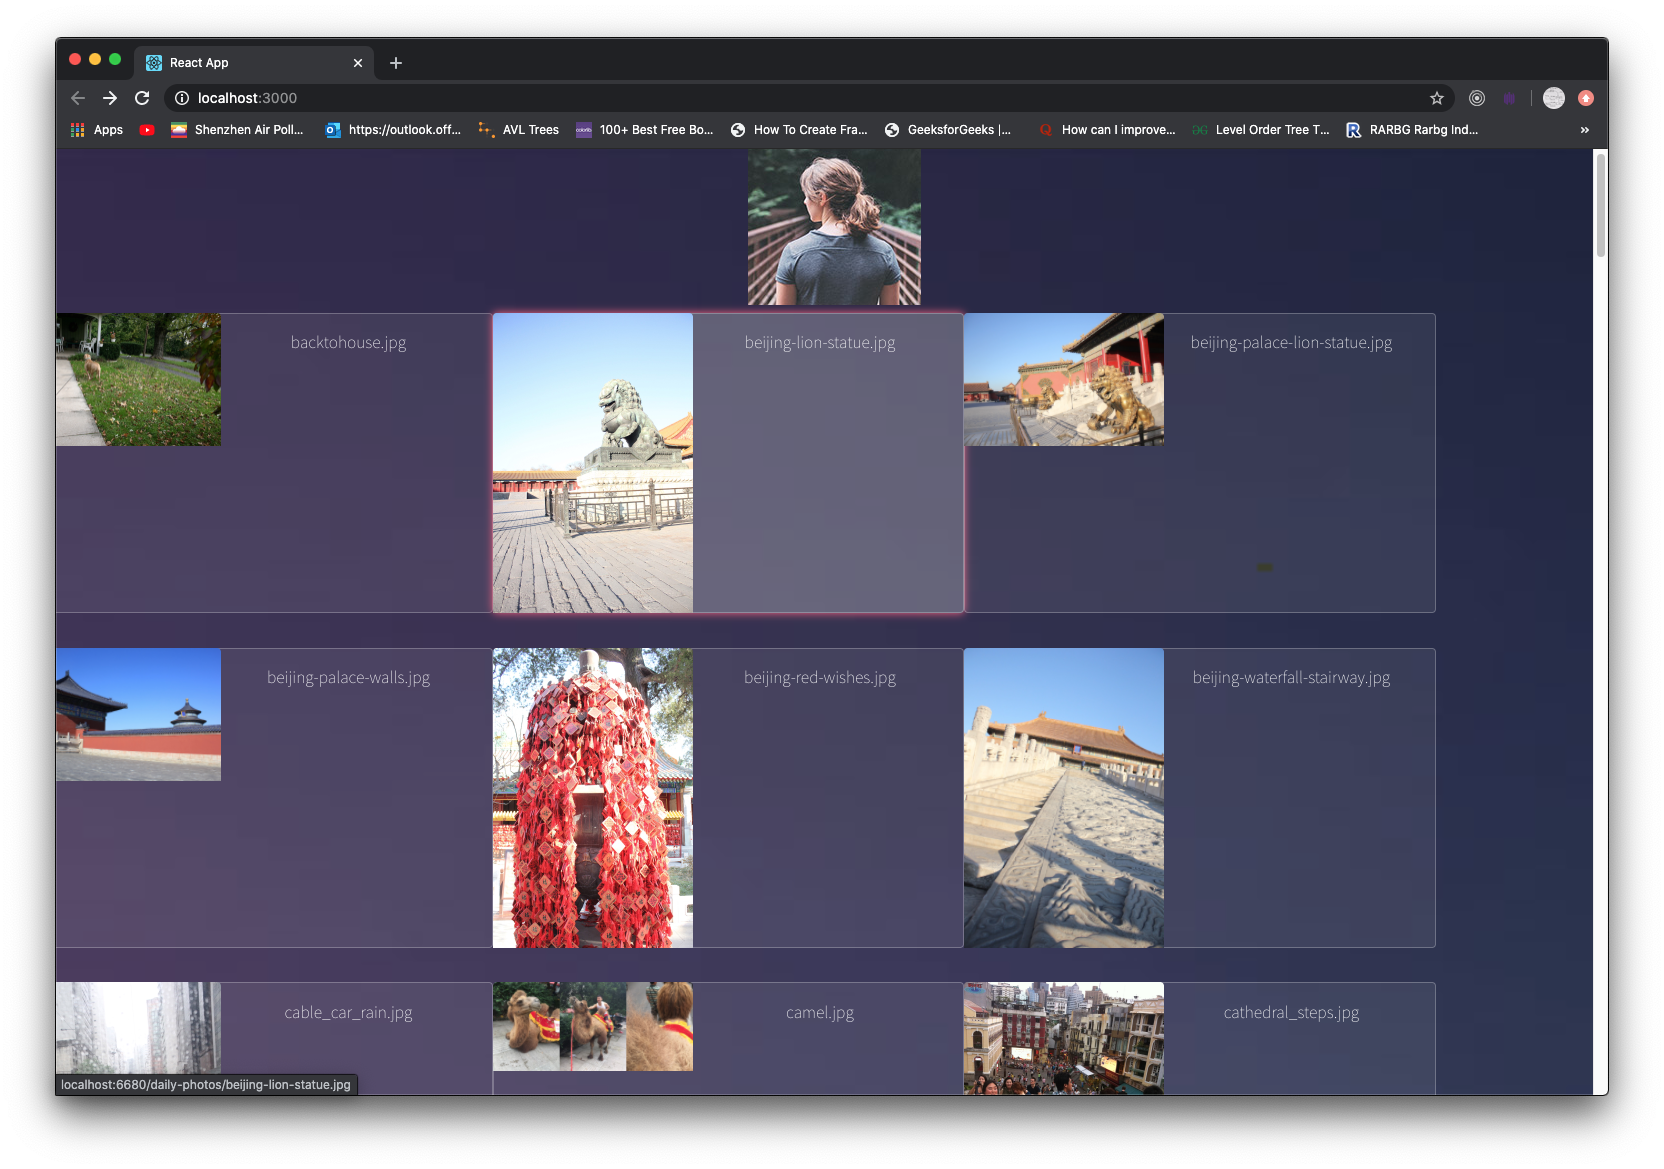
Displaying the data requires us to write a component that loops through the data. Then another component that simply outputs the UI.

We first create a PhotoGrid that takes the array of photos and use map on it. The map() method creates a new array with the results of calling a provided function on every element in the calling array. In other words, map() calls a provided callback function once for each element in an array, in order, and constructs a new array from the results.

Thus, in this way, map() does not modify the original array. It creates a new array, take in the custom modifications, and apply those changes onto the new array. Then returns it to the JSX to render.

PhotoGrid.js

Notice the main job PhotoGrid does is to map the items. It uses another component PhotoItem that solely does the UI rendering.

PhotoItem.js

PhotoItem is straightforward as it only displays the data.

So in App, we need to set our state after receiving the data from the store. We set the image data array, and then the isLoading property.

When the state is set, it will trigger a render. The render will process PhotoGrid, which then renders our images onto the screen.

App.js

Filtering the Images

First we create a Search component

src/components/ui/Search.js

This components is a controlled component. Which means its input control has its own value. We connects its value to our state and keep tract of it there. This state comes from the parent component App. We then update the parent component’s state by executing a callback function whenever a letter is typed. That way we pass the query text up to the parent component to be processed.

When we receive updated query, we simply set the control text, and set query. This will drive the app to re-render.
src/App.js

Filtering using AVL tree

For filtering, we will use an AVL tree for data structure. It filters data for you according to text that you input. It finds all the urls with the text that you give it. Then return them as an array for you to use.

Under src, create custom folder. Then drag AVLtree.js and BadHeuristic.js into it.

Then in App.js, import it:

we first define useEffect. Basically it runs when the DOMS has been updated with its batch of UI updates. It acts as componentDidMount, and componentDidUpdate. So whatever effect we put in here will be run after a render, and in the beginning with the component mounts.

Let’s then define fetchData function to fetch data.

We dispatch action to the store to let it know that we’re starting to retrieve data. We then use built-in fetch to get the data. After receiving the data, we dispatch a finish action to the store and pass in the resulting array to store it.

We then use the hooks to set the state.

Notice that every setState call will trigger a re-render. And a useEffect will be paired with a render. This will create an infinite loop. In order to solve this, we just test to see if the item length and query is empty. If they are, then we retrieve from online API.

If there is existing items or if there is a query to filter, then we DO NOT fetch data. We simply filter our existing data and reset the items.

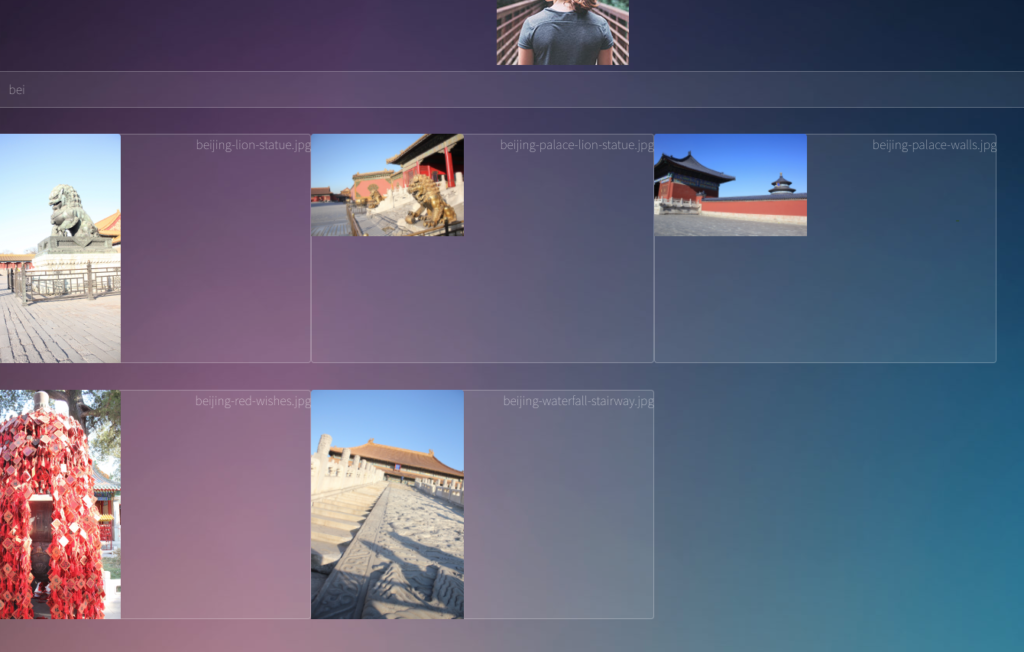
Take note that the AVL tree class itself will return an array of objects, which houses various data. Our state object property items take in an array of urls (strings). So after we filter the data from the tree, we need to extract just the urls and place them into another array. Then setItems of that array of urls.

Now you can type in text, it uses that text and filters all the image titles with that text from the tree. It puts all the search results into an array and returns it for your UI to render.