ref – https://www.youtube.com/watch?v=VE8BkImUciY
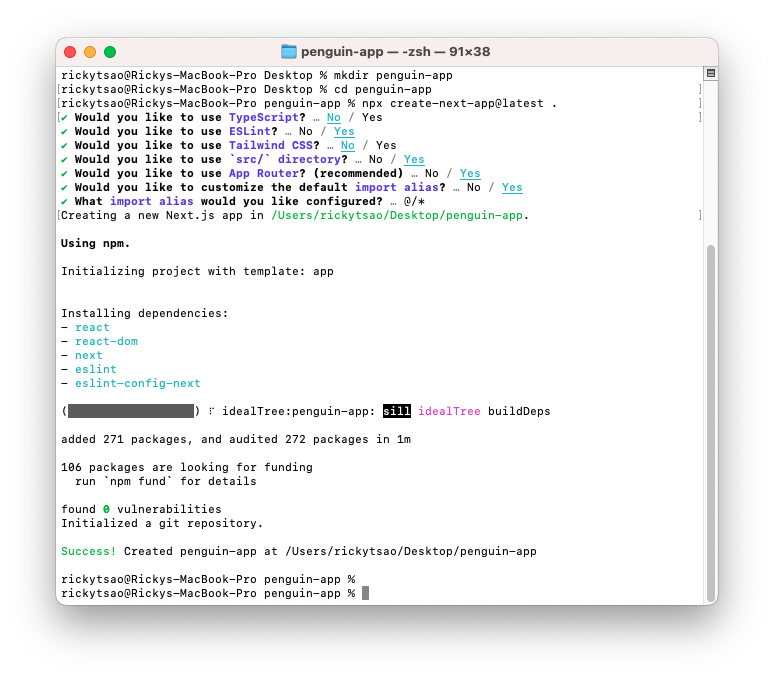
go t o your dirctory folder
npx create-next-app@latest .
no typescript
yes lint
no tailwind
yes /src
yes app router
yes import alias
Client Side
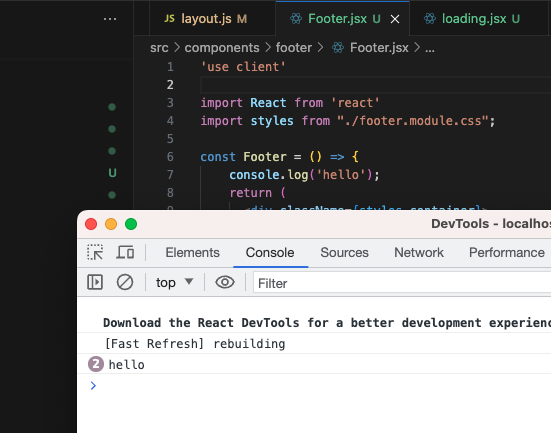
Next JS has client side and server side. Client side is usually components that will be rendered on the client, such as dashboard components, header, footers, etc.
We signify it by using “use client” at the very top.
|
1 2 3 4 5 6 7 8 9 10 11 12 13 14 15 16 17 18 19 20 21 22 23 24 |
"use client"; import React, { useEffect, useState } from "react"; import styles from "./page.module.css"; import useSWR from "swr"; import { useSession } from "next-auth/react"; import { useRouter } from "next/navigation"; import Image from "next/image"; const Dashboard = () => { const session = useSession(); const router = useRouter(); ... ... if (session.status === "authenticated") { return ( // JSX ) } } export default Dashboard; |
Now if you log, you’ll be able to see it on the browser log. We need our footer components to be rendered on the client side. So we must do it for our Footer component.
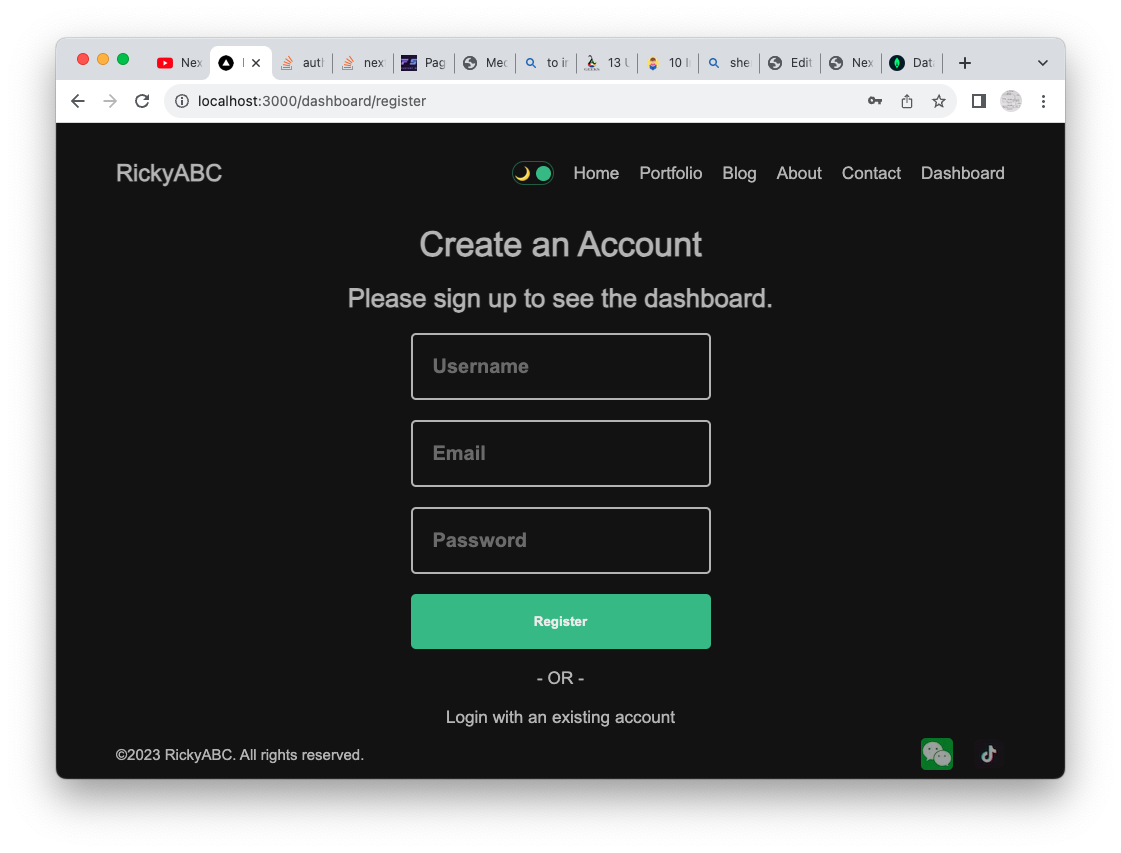
Similarly, for Register page, Login Page…whatever page that should be rendered on the client side.
src/app/dashboard/(auth)/register/page.jsx
|
1 2 3 4 5 6 7 8 9 10 11 12 13 14 15 16 17 18 |
"use client"; import React, { useState } from "react"; import styles from "./page.module.css"; import Link from "next/link"; import { useRouter } from "next/navigation"; const Register = () => { const [error, setError] = useState(null); const router = useRouter(); .. .. return ( <div className={styles.container}> ... </div> ) } export default Register; |
We create a AuthProvider component that uses SessionProvider to keep a session going in its children.
We use this AuthProvider
src/components/AuthProvider/AuthProvider.jsx
|
1 2 3 4 5 6 7 8 9 10 |
"use client" import { SessionProvider } from "next-auth/react"; import React from "react"; const AuthProvider = ({ children }) => { return <SessionProvider>{children}</SessionProvider>; }; export default AuthProvider; |
we use it in client side layout:
src/app/layout.js
|
1 2 3 4 5 6 7 8 9 10 11 12 13 14 |
export default function RootLayout({ children }) { return ( <html lang="en"> <body className={inter.className}> <AuthProvider> <div className="container"> <Navbar /> {children} <Footer /> </div> </AuthProvider> </body> </html> ) |
Server Side (API)
On the client side, we have client component dashboard. In our dashboard’s register’s page.jsx, we have a form, and in the submit handler, have this implementation to do a POST request on our server side api:
src/app/dashboard/(auth)/register/page.jsx
|
1 2 3 4 5 6 7 8 9 10 11 12 13 14 |
try { const res = await fetch("/api/auth/register", { method: "POST", headers: { "Content-Type": "application/json", }, body: JSON.stringify({ name, email, password, }), }); } |
We fetch from our server api (/api/auth/register).
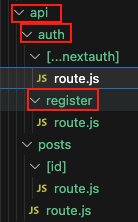
There, we have a route file, which has a POST implementation. The parameter is a request object sent from dashboard/(auth)/register.page.jsx
1) We retrieve the body data from via JSON.
2) We’re on the server, so we connect to our mongo db.
3) We then hash the password.
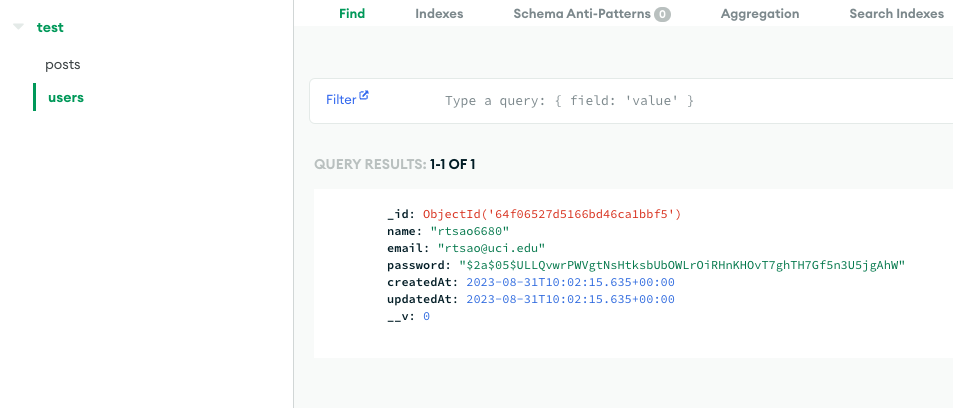
4) Create a new User model, and then save it into the mongo db collections.
src/app/api/auth/register/route.js
|
1 2 3 4 5 6 7 8 9 10 11 12 13 14 15 16 17 18 19 20 21 22 23 24 |
export const POST = async (request) => { const { name, email, password } = await request.json(); console.log('Make a POST request with body data: ', `${name}, ${email}, ${password}`); await connect(); const hashedPassword = await bcrypt.hash(password, 5); if (hashedPassword) console.log('Password hashed successfully: ', hashedPassword); const newUser = new User({ name, email, password: hashedPassword }); try { await newUser.save(); console.log(`User ${name} has been created √`); return new NextResponse("User has been created", { status: 201, }); } catch (err) { return new NextResponse(err.message, { status: 500, }); } }; |
Create user
Creating a User starts at the client page dashboard/(auth)/register/page.jsx. We have a form, and after inputting data, we execute the submit handler.
src/app/dashboard/(auth)/register/page.jsx
|
1 2 3 4 5 6 7 8 9 10 11 12 13 14 15 16 17 18 19 20 21 22 |
<form onSubmit={handleSubmit} className={styles.form}> <input type="text" placeholder="Username" required className={styles.input} /> <input type="text" placeholder="Email" required className={styles.input} /> <input type="password" placeholder="Password" required className={styles.input} /> <button className={styles.button}>Register</button> {error && "Something went wrong!"} </form> |
The request object gets passed into the POST implementation.
We extract it.
We then need to connect to the mongodb because we need to make an INSERT into the mongodb via Models.
But first, let’s has our password before we save it into the db.
When the hashedPassword is successfull, we create a new User model from it and the rest of the request body data.
Then since this is a mongoose model, we simply call save() on it to INSERT the data into the remote database.
src/app/api/auth/register/route.js
|
1 2 3 4 5 6 7 8 9 10 11 12 13 14 15 16 17 18 19 20 21 22 23 24 25 26 27 28 |
import User from "@/models/User"; import connect from "@/utils/db"; import bcrypt from "bcryptjs"; import { NextResponse } from "next/server"; export const POST = async (request) => { const { name, email, password } = await request.json(); console.log('Make a POST request with body data: ', `${name}, ${email}, ${password}`); await connect(); const hashedPassword = await bcrypt.hash(password, 5); if (hashedPassword) console.log('Password hashed successfully: ', hashedPassword); const newUser = new User({ name, email, password: hashedPassword }); try { await newUser.save(); console.log(`User ${name} has been created √`); return new NextResponse("User has been created", { status: 201, }); } catch (err) { return new NextResponse(err.message, { status: 500, }); } }; |
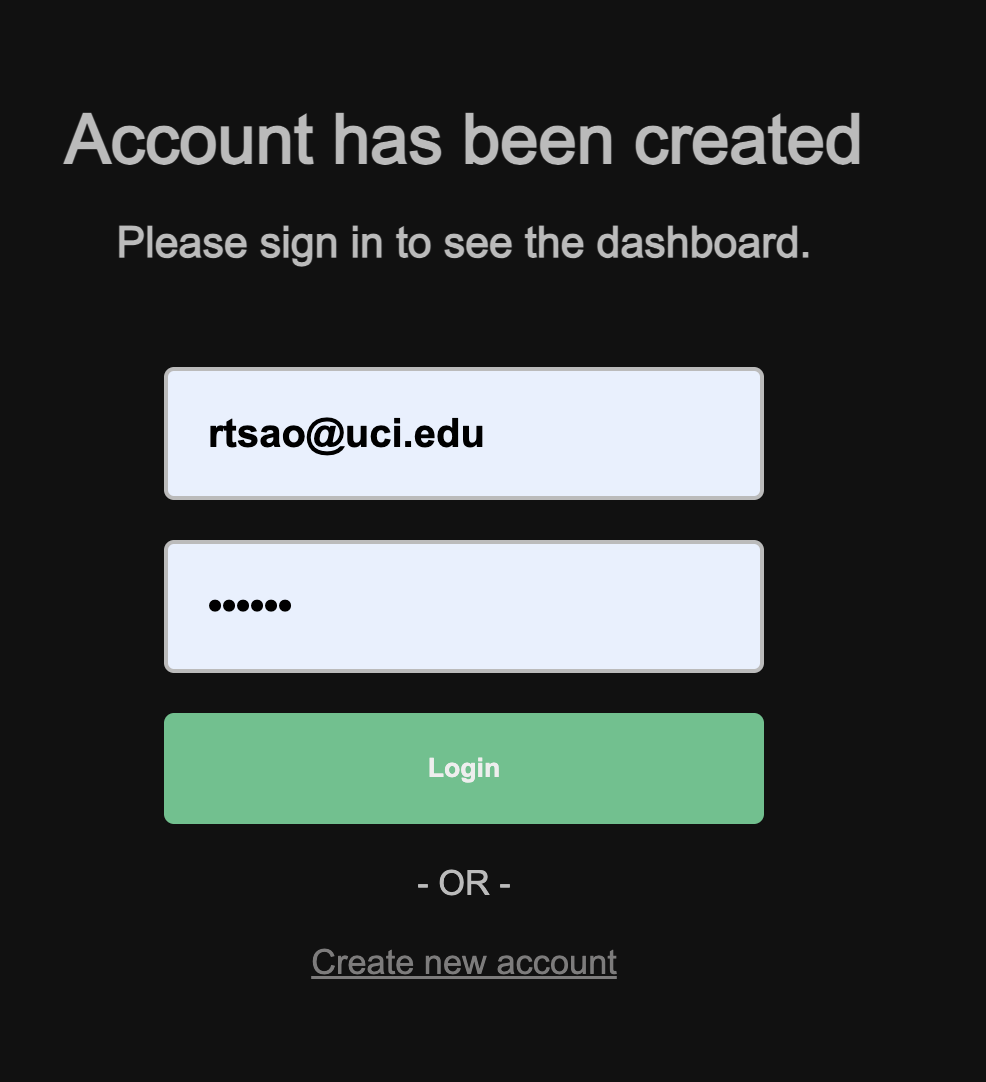
After successful insertion, we have our router go to dashboard’s login:
|
1 |
router.push("/dashboard/login?success=Account has been created") |
with parameter key success and a value Account has been created.
|
1 |
success=Account has been created |
This means that we have a param object that will be available in Login component.
|
1 |
const params = useSearchParams(); |
In it, useEffect will see that params have been updated and then setSuccess to get the value of the key ‘success’, which is ‘Account has been created’.
|
1 2 3 4 5 |
useEffect(() => { console.log('Lets evaluate updated params'); setError(params.get("error")); setSuccess(params.get("success")); }, [params]); |
Therefore, it will set the state success to “Account has been created”.
|
1 |
<h1 className={styles.title}>{success ? success : "Welcome Back"}</h1> |

Finally, make sure your user exists in the db
After you create a User, you Log In
We start off at dashboard’s login component.
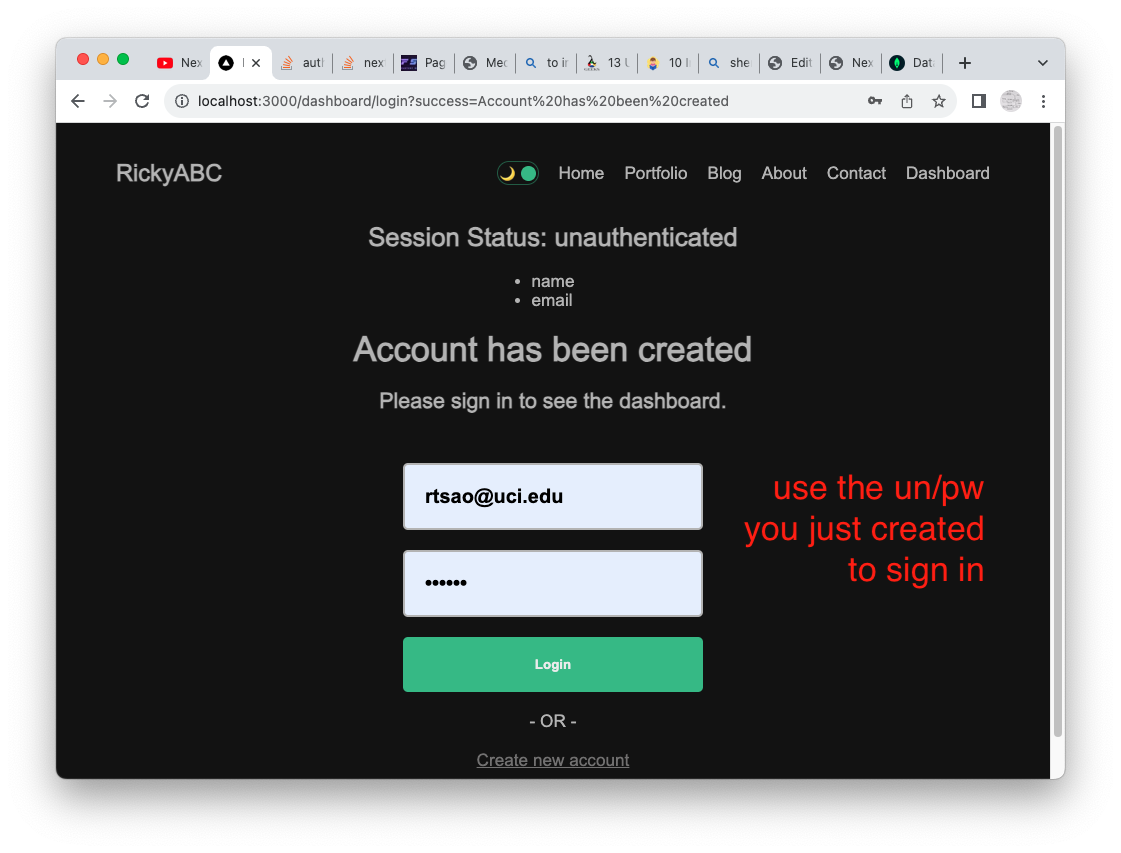
We fill in the email/pwd and click the submit handler.
src/app/dashboard/(auth)/login/page.jsx
|
1 2 3 4 5 6 7 8 9 10 11 12 13 14 15 16 |
<form onSubmit={handleSubmit} className={styles.form}> <input type="text" placeholder="Email" required className={styles.input} /> <input type="password" placeholder="Password" required className={styles.input} /> <button className={styles.button}>Login</button> {error && error} </form> |
The submit handler is simply:
src/app/dashboard/(auth)/login/page.jsx
|
1 2 3 4 5 6 7 |
const handleSubmit = (e) => { e.preventDefault(); const email = e.target[0].value; const password = e.target[1].value; console.log('Lets login with', `${email} ${password}`); signIn("credentials", { email, password }); }; |
The event object’s target property has all the values stored.
We use signIn with the provider name “credential”, and a param object.
src/app/api/auth/[…nextauth]/route.js
In our Server api’s auth, we use NextAuth to authenticate credentials:
|
1 2 3 4 5 6 |
const handler = NextAuth({ providers: [], pages: {} }); export { handler as GET, handler as POST }; |
We specify how we want to authenticate credentials. Earlier we saw that we used signIn(“credentail”, {..})
“credential” matches ouCredentialsProvider’s id “credentials”. So this means that we will hit this authorize function.
|
1 2 3 4 5 6 7 |
CredentialsProvider({ id: "credentials", name: "Credentials", async authorize(credentials) { console.log('credentials came through: ', credentials); } }); |
The credential object looks like this:

Then we connect to the DB. When we connect to the DB, all models’ functionalities will update the mongo db. So we use User model to findOne with the email.
Once its found, we use bcrypt’s compare to see if the incoming password and the db password match.
If the password is correct, we return the user object.
Else, we throw a Wrong Credential msg.
|
1 2 3 4 5 6 7 8 9 10 11 12 13 14 15 16 17 18 19 20 21 22 |
await connect(); try { const user = await User.findOne({ email: credentials.email, }); if (user) { const isPasswordCorrect = await bcrypt.compare( credentials.password, user.password ); if (isPasswordCorrect) { return user; } else { throw new Error("Wrong Credentials!"); } } else { throw new Error("User not found!"); } } |
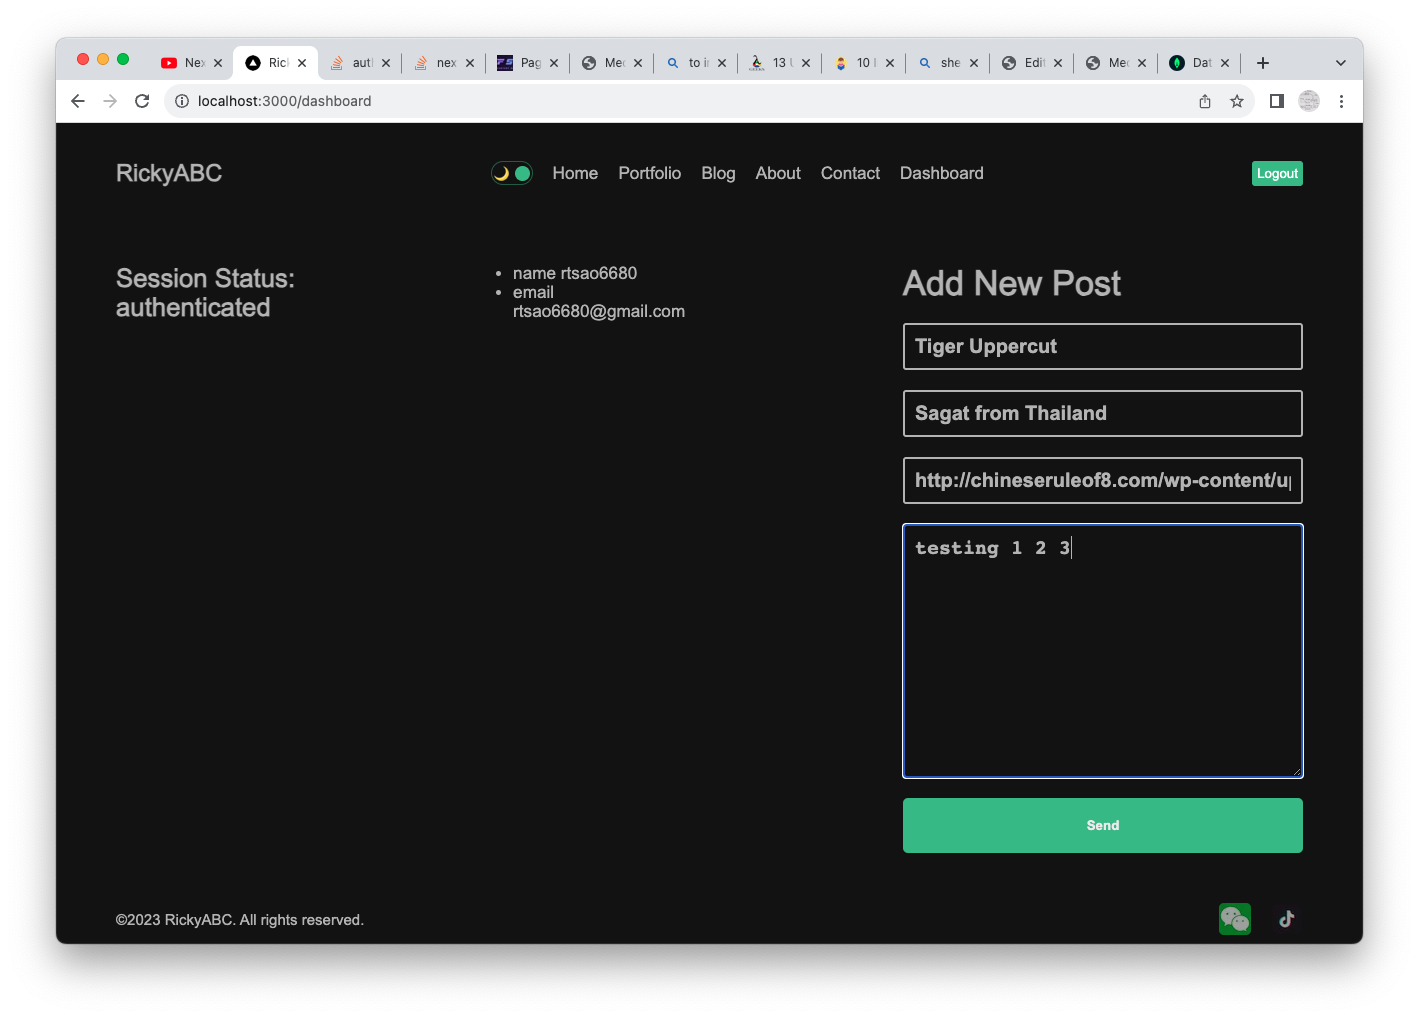
Logged in and ready to Create New Post
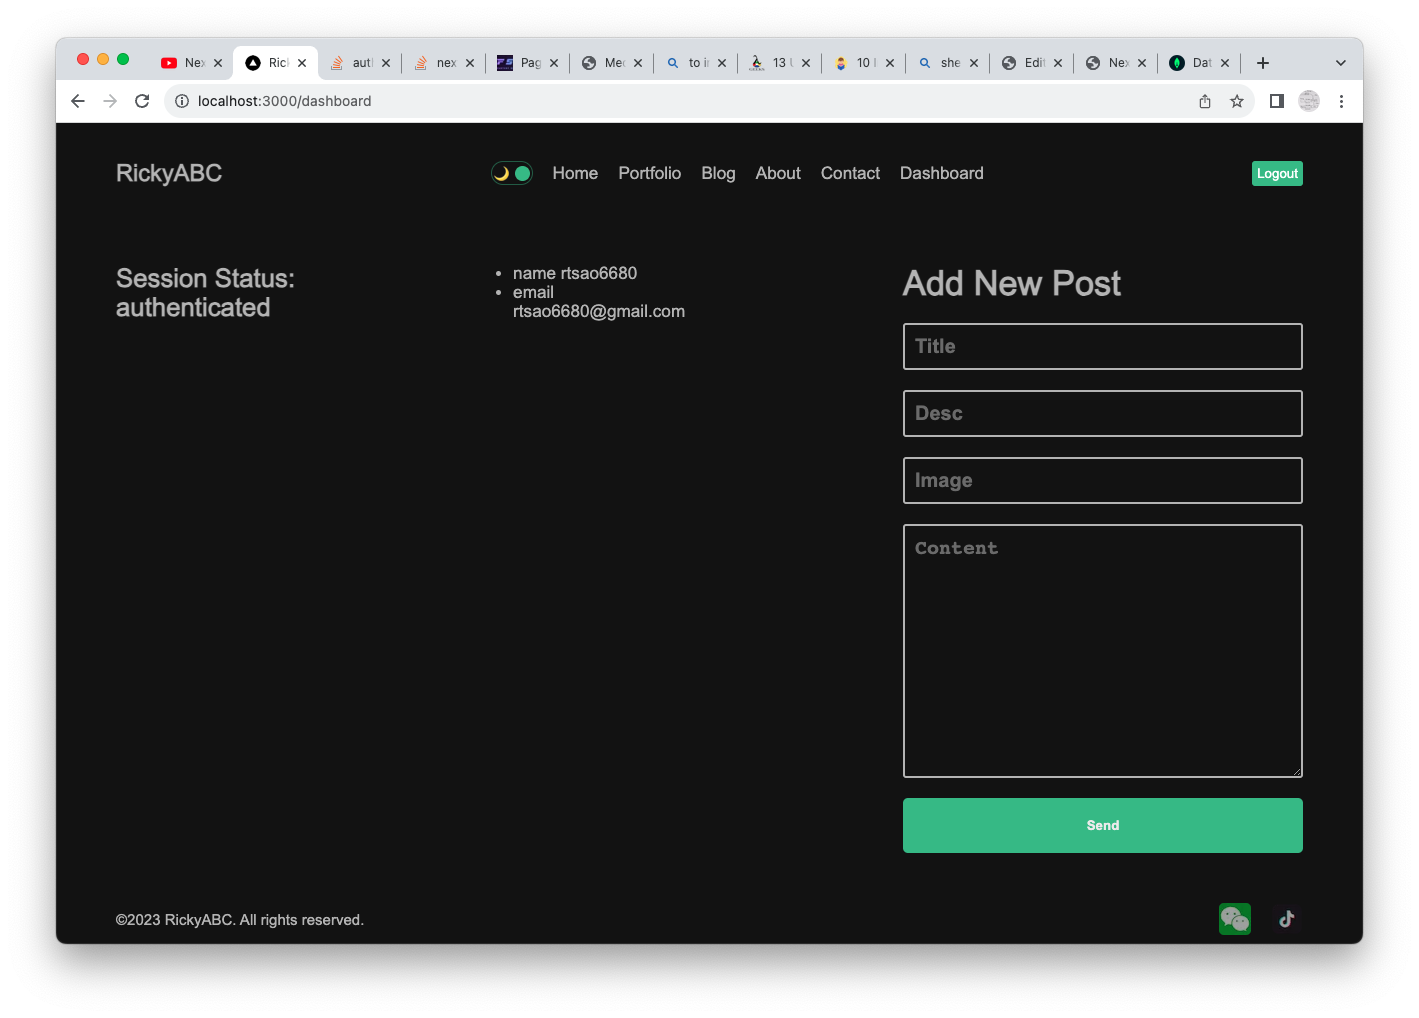
Add New Post form is in dashboard’s page.
src/app/dashboard/page.jsx
|
1 2 3 4 5 6 7 8 9 10 11 12 13 |
<form className={styles.new} onSubmit={handleSubmit}> <h1>Add New Post</h1> <input type="text" placeholder="Title" className={styles.input} /> <input type="text" placeholder="Desc" className={styles.input} /> <input type="text" placeholder="Image" className={styles.input} /> <textarea placeholder="Content" className={styles.textArea} cols="30" rows="10" ></textarea> <button className={styles.button}>Send</button> </form> |
The submit handler gets all textfield values and then put inside of a body of the fetch.
We do a fetch using POST on api/posts
|
1 2 3 4 5 6 7 8 9 10 11 12 13 14 15 16 17 18 19 20 |
const handleSubmit = async (e) => { console.log('click handler for Create Post'); e.preventDefault(); const title = e.target[0].value; const desc = e.target[1].value; const img = e.target[2].value; const content = e.target[3].value; console.log('entered data: ', `${title}, ${desc}, ${content}`); try { await fetch("/api/posts", { method: "POST", body: JSON.stringify({ title, desc, img, content, username: session.data.user.name, }), }); |
This is very straightforward because we simply hit the POST function, extract the body, and create a new Post model from that body.
We call save on the model, and this updates the mongo db.
src/app/api/posts/route.js
|
1 2 3 4 5 6 7 8 9 10 11 12 13 14 15 16 |
export const POST = async (request) => { console.log('\n√ YOU ARE TRYING TO MAKE A (POST) REQUEST AT: ', request.url); const body = await request.json(); console.log('body', body); const newPost = new Post(body); console.log('new post: ', newPost); try { await connect(); await newPost.save(); return new NextResponse("Post has been created", { status: 201 }); } catch (err) { return new NextResponse("Database Error", { status: 500 }); } }; |
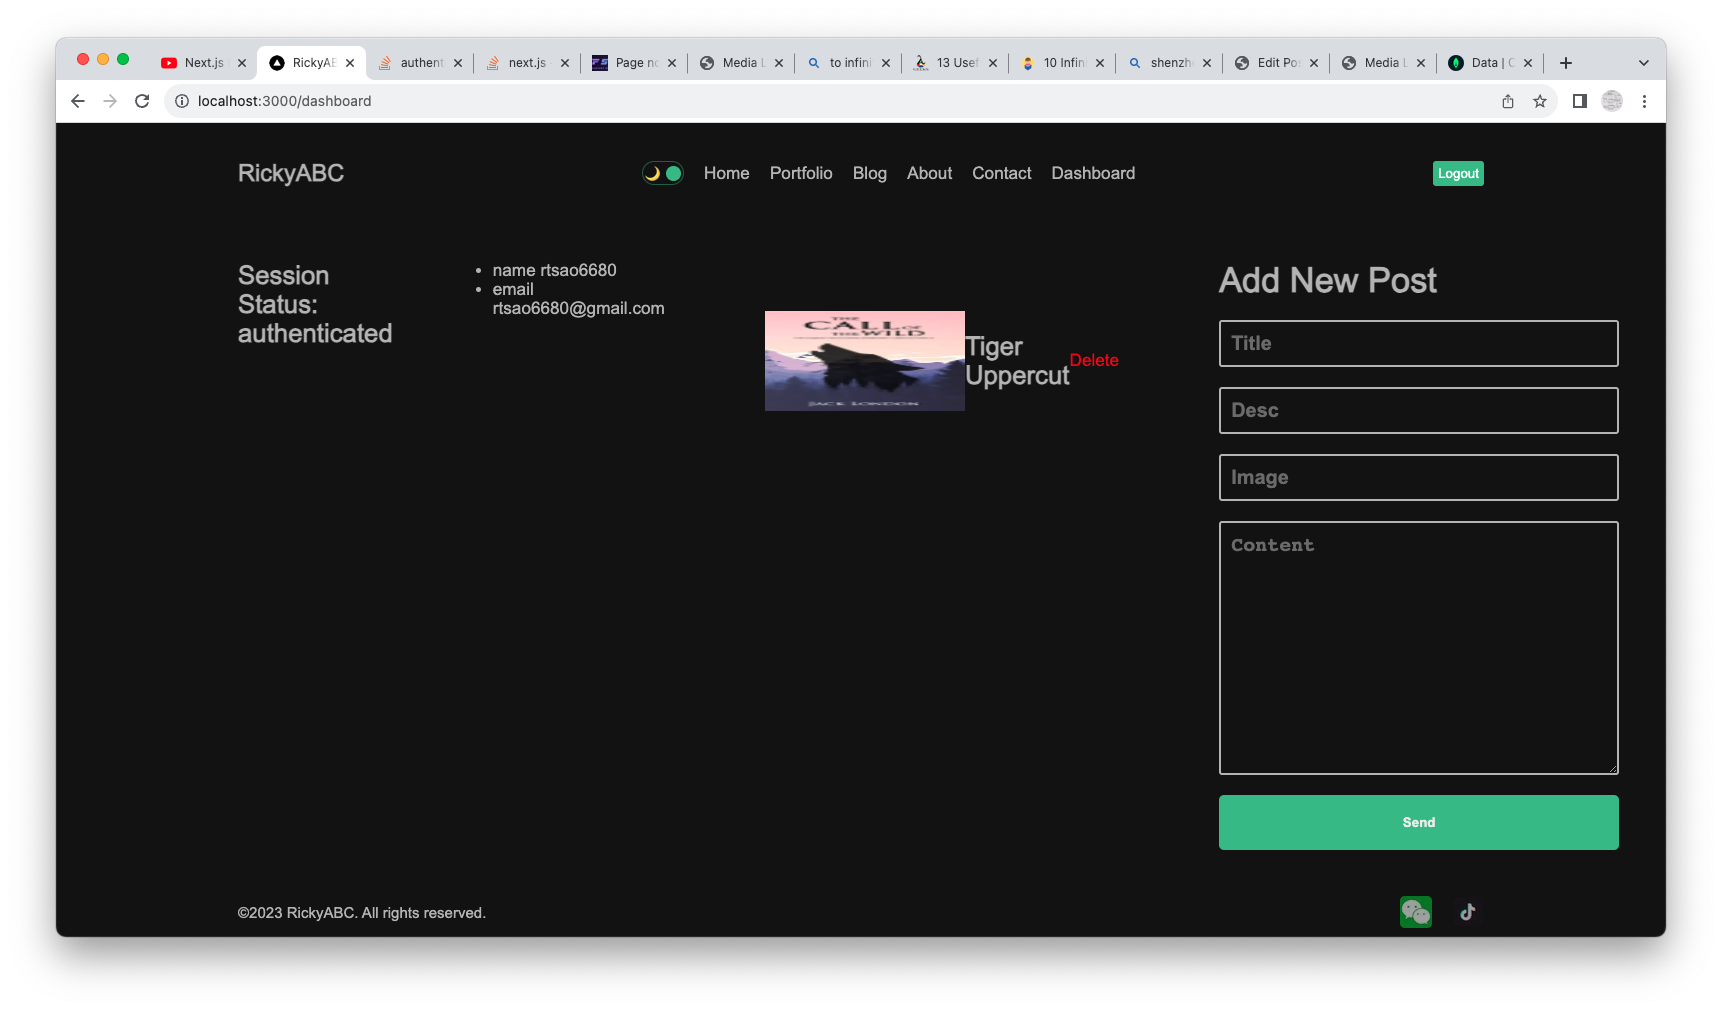
Delete Post
Simply click on the delete link to delete the Post. We make a DELETE request on /api/posts/:id to trigger the DELETE function in the API.
src/app/dashboard/page.jsx
|
1 2 3 4 5 6 7 8 9 10 11 |
const handleDelete = async (id) => { try { await fetch(`/api/posts/${id}`, { method: "DELETE", }); mutate(); } catch (err) { console.log(err); } }; |
the id of the post gets passed as params.
When you delete, you’ll see the log:
API – You are trying to (DELETE) post id 64f1d35062e470734364fc72
So the id of the posts matches that of the document in our mongodb.
|
1 2 3 4 5 6 7 8 9 10 11 |
export const DELETE = async (request, { params }) => { const { id } = params; console.log('API - You are trying to (DELETE) post id', id); try { await connect(); await Post.findByIdAndDelete(id); return new NextResponse("Post has been deleted", { status: 200 }); } catch (err) { return new NextResponse("Database Error", { status: 500 }); } }; |