ref – https://www.esparkinfo.com/node-js-with-mysql-using-sequelize-express.html
setup MySQL
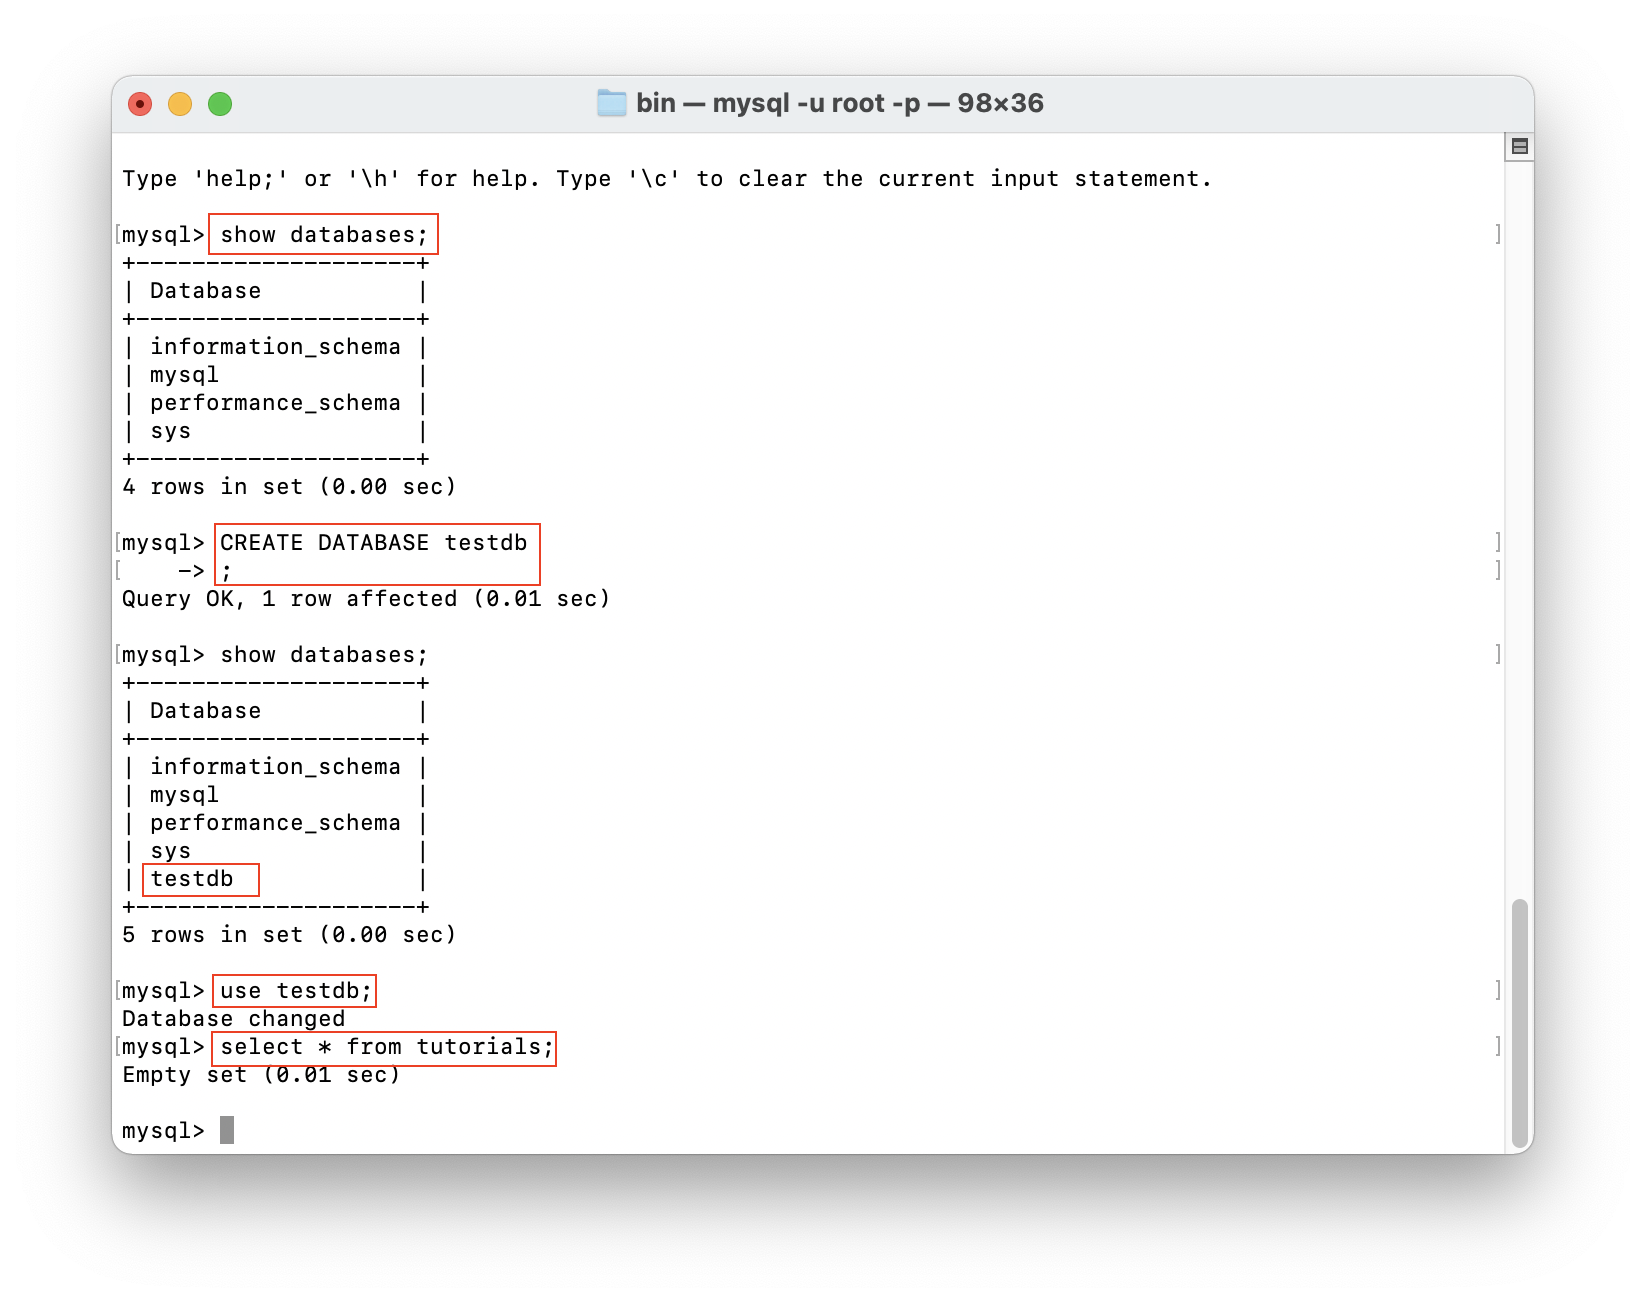
Make sure your mySQL is installed on a mac like this:
http://chineseruleof8.com/code/index.php/2016/05/17/install-mysql-and-use-terminal-to-use-it/’
When you set up your mySQL, create a database called testdb
Node JS
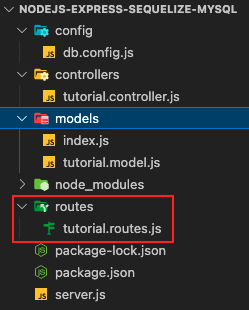
$ mkdir nodejs-express-sequelize-mysql
$ cd nodejs-express-sequelize-mysql
|
1 |
npm init |
name: (nodejs-express-sequelize-mysql)
version: (1.0.0)
description: Node.js Rest Apis with Express, Sequelize & MySQL.
entry point: (index.js) server.js
test command:
git repository:
keywords: nodejs, express, sequelize, mysql, rest, api
author: esparkinfo
license: (ISC)
|
1 |
npm install express sequelize mysql2 body-parser cors --save |
Setting Up Express JS Web Server
in the root directory, create server.js
|
1 2 3 4 5 6 7 8 9 10 11 12 13 14 15 16 17 18 19 20 21 22 23 24 25 26 27 28 |
const express = require("express"); const bodyParser = require("body-parser"); const cors = require("cors"); const app = express(); var corsOptions = { origin: "http://localhost:8081" }; app.use(cors(corsOptions)); // parse requests of content-type - application/json app.use(bodyParser.json()); // parse requests of content-type - application/x-www-form-urlencoded app.use(bodyParser.urlencoded({ extended: true })); // simple route app.get("/", (req, res) => { res.json({ message: "Welcome to my application." }); }); // set port, listen for requests const PORT = process.env.PORT || 8080; app.listen(PORT, () => { console.log(`Server is running on port ${PORT}.`); }); |
Configuring MySQL Database & Sequelize
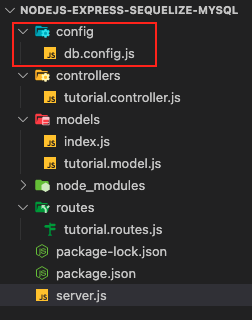
In the root directory, create a config folder.
In that folder, create db.config.js
|
1 2 3 4 5 6 7 8 9 10 11 12 13 |
module.exports = { HOST: "localhost", USER: "root", PASSWORD: "YOUR DB PASSWORD THAT MATCHES USER", DB: "testdb", dialect: "mysql", pool: { max: 5, min: 0, acquire: 30000, idle: 10000 } }; |
Note – The first five parameters are intended for MySQL. The pool parameter is optional and is deployed in the Sequelize connection pool config. The parameters are explained below.
max -maximum number of connections permissible in a pool
min – minimum number of connections permissible in a pool
idle – maximum time, in terms of milliseconds, that a connection can be held idly before being released
acquire – maximum time, in terms of milliseconds, that the pool seeks to make the connection before an error message pops up on screen
Sequelize
In the root directory, create a models folder
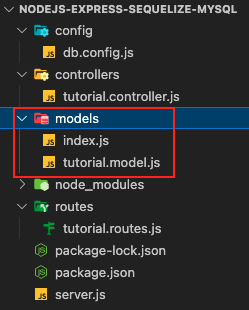
In the models folder, create index.js by entering the following code :
models/index.js
|
1 2 3 4 5 6 7 8 9 10 11 12 13 14 15 16 17 18 19 20 21 22 |
const dbConfig = require("../config/db.config.js"); const Sequelize = require("sequelize"); const sequelize = new Sequelize(dbConfig.DB, dbConfig.USER, dbConfig.PASSWORD, { host: dbConfig.HOST, dialect: dbConfig.dialect, pool: { max: dbConfig.pool.max, min: dbConfig.pool.min, acquire: dbConfig.pool.acquire, idle: dbConfig.pool.idle } }); const db = {}; db.Sequelize = Sequelize; db.sequelize = sequelize; db.tutorials = require("./tutorial.model.js")(sequelize, Sequelize); module.exports = db; |
In MySQL databases, this model represents tutorial tables. The columns are automatically generated, a few of which are id, description, createdAt, and published.
tutorial.model.js
|
1 2 3 4 5 6 7 8 9 10 11 12 13 14 15 16 |
module.exports = (sequelize, Sequelize) => { const Tutorial = sequelize.define("tutorial", { title: { type: Sequelize.STRING }, description: { type: Sequelize.STRING }, published: { type: Sequelize.BOOLEAN } }); return Tutorial; }; |
Then in server.js, we require this model, and use
|
1 2 3 4 |
const db = require("./models"); db.sequelize.sync({ force: true }).then(() => { console.log("Drop and re-sync db."); }); |
What happens is that in in model/index.js, we allocated a new Sequelize object and initialized it with a mysql database connection using our db configuration. We import this functionality into our server.js. We call the sync function with the force option set to true in order to DROP TABLE IF EXISTS before trying to create the table – if you force, existing tables will be overwritten.
You’ll be signed in as db user root with your password before this takes place, so make sure its all correct.
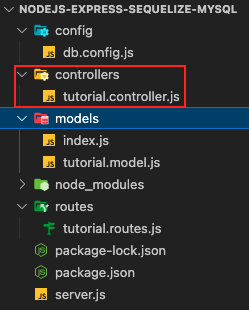
Controller
Routes import Controllers and Controller’s exported functions create, find, update, delete, etc.
Controller’s create will first error check all the incoming parameters, then uses model. Thus controllers are the middleman.
|
1 2 3 4 5 6 7 8 9 10 11 12 13 14 15 16 17 18 19 20 21 22 23 24 25 26 27 28 29 30 31 32 33 34 35 36 37 38 39 40 41 42 43 44 45 46 47 48 49 50 51 52 53 54 55 56 57 58 59 60 61 62 63 64 65 66 67 68 69 70 71 72 73 74 75 76 77 78 79 80 81 82 83 84 85 86 87 88 89 90 91 92 93 94 95 96 97 98 99 100 101 102 103 104 105 106 107 108 109 110 111 112 113 114 115 116 117 118 119 120 121 122 123 124 125 126 127 128 129 130 131 132 133 134 135 136 137 |
const Sequelize = require('sequelize'); const Op = Sequelize.Op; const db = require("../models"); // models path depend on your structure const Tutorial = db.tutorials; exports.create = (req, res) => { // Validate request if (!req.body.title) { res.status(400).send({ message: "Content can not be empty!" }); return; } // Create a Tutorial const tutorial = { title: req.body.title, description: req.body.description, published: req.body.published ? req.body.published : false }; // Save Tutorial in the database Tutorial.create(tutorial) .then(data => { res.send(data); }) .catch(err => { res.status(500).send({ message: err.message || "Some error occurred while creating the Tutorial." }); }); }; exports.findAll = (req, res) => { const title = req.query.title; var condition = title ? { title: { [Op.like]: `%${title}%` } } : null; Tutorial.findAll({ where: condition }) .then(data => { res.send(data); }) .catch(err => { res.status(500).send({ message: err.message || "Some error occurred while retrieving tutorials." }); }); }; exports.findOne = (req, res) => { const id = req.params.id; Tutorial.findByPk(id) .then(data => { res.send(data); }) .catch(err => { res.status(500).send({ message: "Error retrieving Tutorial with id=" + id }); }); }; exports.update = (req, res) => { const id = req.params.id; Tutorial.update(req.body, { where: { id: id } }) .then(num => { if (num == 1) { res.send({ message: "Tutorial was updated successfully." }); } else { res.send({ message: `Cannot update Tutorial with id=${id}. Maybe Tutorial was not found or req.body is empty!` }); } }) .catch(err => { res.status(500).send({ message: "Error updating Tutorial with id=" + id }); }); }; exports.delete = (req, res) => { const id = req.params.id; Tutorial.destroy({ where: { id: id } }) .then(num => { if (num == 1) { res.send({ message: "Tutorial was deleted successfully!" }); } else { res.send({ message: `Cannot delete Tutorial with id=${id}. Maybe Tutorial was not found!` }); } }) .catch(err => { res.status(500).send({ message: "Could not delete Tutorial with id=" + id }); }); }; exports.deleteAll = (req, res) => { Tutorial.destroy({ where: {}, truncate: false }) .then(nums => { res.send({ message: `${nums} Tutorials were deleted successfully!` }); }) .catch(err => { res.status(500).send({ message: err.message || "Some error occurred while removing all tutorials." }); }); }; exports.findAllPublished = (req, res) => { Tutorial.findAll({ where: { published: true } }) .then(data => {res.send(data);}) .catch(err => { res.status(500).send({message: err.message || "Some error occurred while retrieving tutorials."}); }); }; |
Routes
If the client sends a request for an endpoint via an HTTP request such as POST, DELETE, PUT, or GET, the user must determine how the server responds.
Such a response from the server is possible by setting up the below routes:
/api/tutorials: GET, POST, DELETE
/api/tutorials/:id: GET, PUT, DELETE
/api/tutorials/published: GET
To create a tutorial.routes.js inside the app/routes folder, the user performs the following steps:
|
1 2 3 4 5 6 7 8 9 10 11 12 13 14 15 16 17 18 19 20 21 22 23 24 25 26 27 28 |
module.exports = app => { const tutorials = require("../controllers/tutorial.controller.js"); var router = require("express").Router(); // Create a new Tutorial router.post("/", tutorials.create); // Retrieve all Tutorials router.get("/", tutorials.findAll); // Retrieve all published Tutorials router.get("/published", tutorials.findAllPublished); // Retrieve a single Tutorial with id router.get("/:id", tutorials.findOne); // Update a Tutorial with id router.put("/:id", tutorials.update); // Delete a Tutorial with id router.delete("/:id", tutorials.delete); // Create a new Tutorial router.delete("/", tutorials.deleteAll); app.use('/api/tutorials', router); }; |
In order to use routes, remember to put
|
1 |
require("./app/routes/tutorial.routes")(app); |
in server.js, right above code for port.
Hence, our server.js has code for routes, which routes to middleman controller, which then uses models to make changes to the database.
In the end, your server should look like this:
server.js
|
1 2 3 4 5 6 7 8 9 10 11 12 13 14 15 16 17 18 19 20 21 22 23 24 25 26 27 28 29 30 31 32 33 34 35 |
const express = require("express"); const bodyParser = require("body-parser"); const cors = require("cors"); const app = express(); var corsOptions = { origin: "http://localhost:8081" }; app.use(cors(corsOptions)); // parse requests of content-type - application/json app.use(bodyParser.json()); // parse requests of content-type - application/x-www-form-urlencoded app.use(bodyParser.urlencoded({ extended: true })); const db = require("./models"); db.sequelize.sync({ force: true }).then(() => { console.log("Drop and re-sync db."); }); // simple route app.get("/", (req, res) => { res.json({ message: "Welcome to esparkinfo application." }); }); require("./routes/tutorial.routes")(app); // set port, listen for requests const PORT = process.env.PORT || 8080; app.listen(PORT, () => { console.log(`Server is running on port ${PORT}.`); }); |
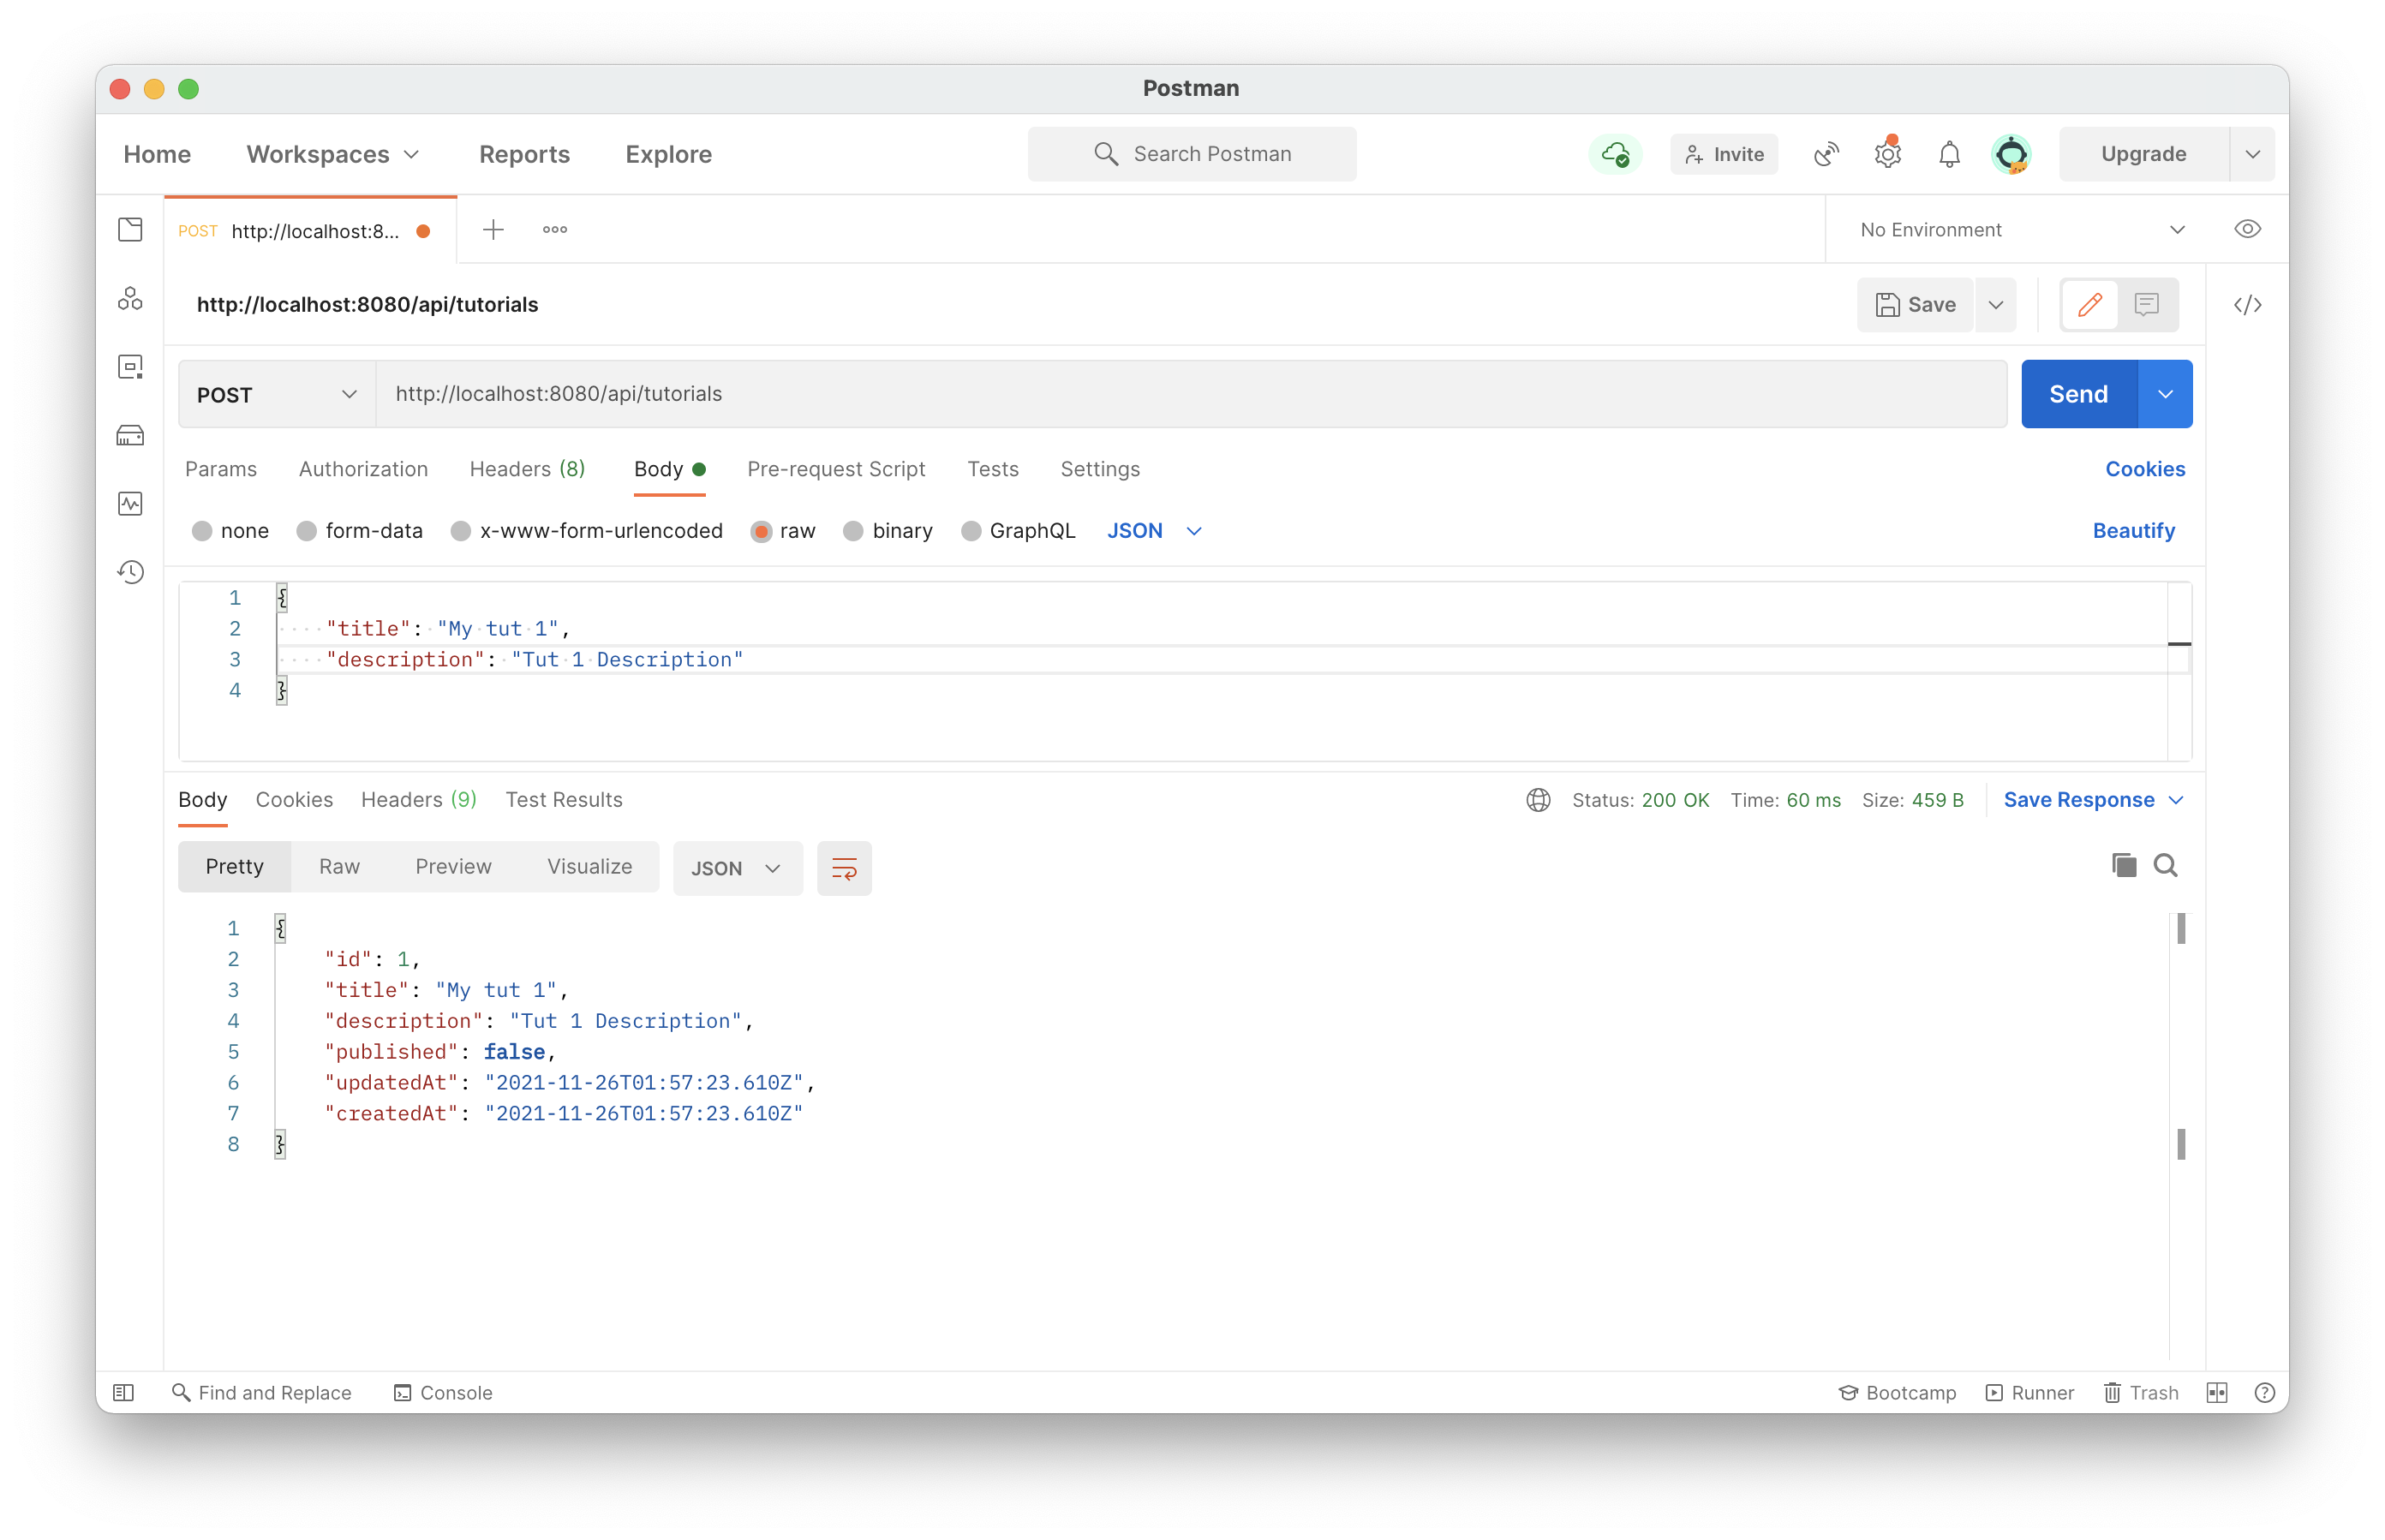
Using Postman to test
In Postman, new tab:
POST on http://localhost:8080/api/tutorials
Body, raw, then select JSON.
In the body:
|
1 2 3 4 |
{ "title": "My tut 3", "description": "Tut 3 Description" } |
In your database terminal, to see what you’ve inserted, get all results:
select * from tutorials;

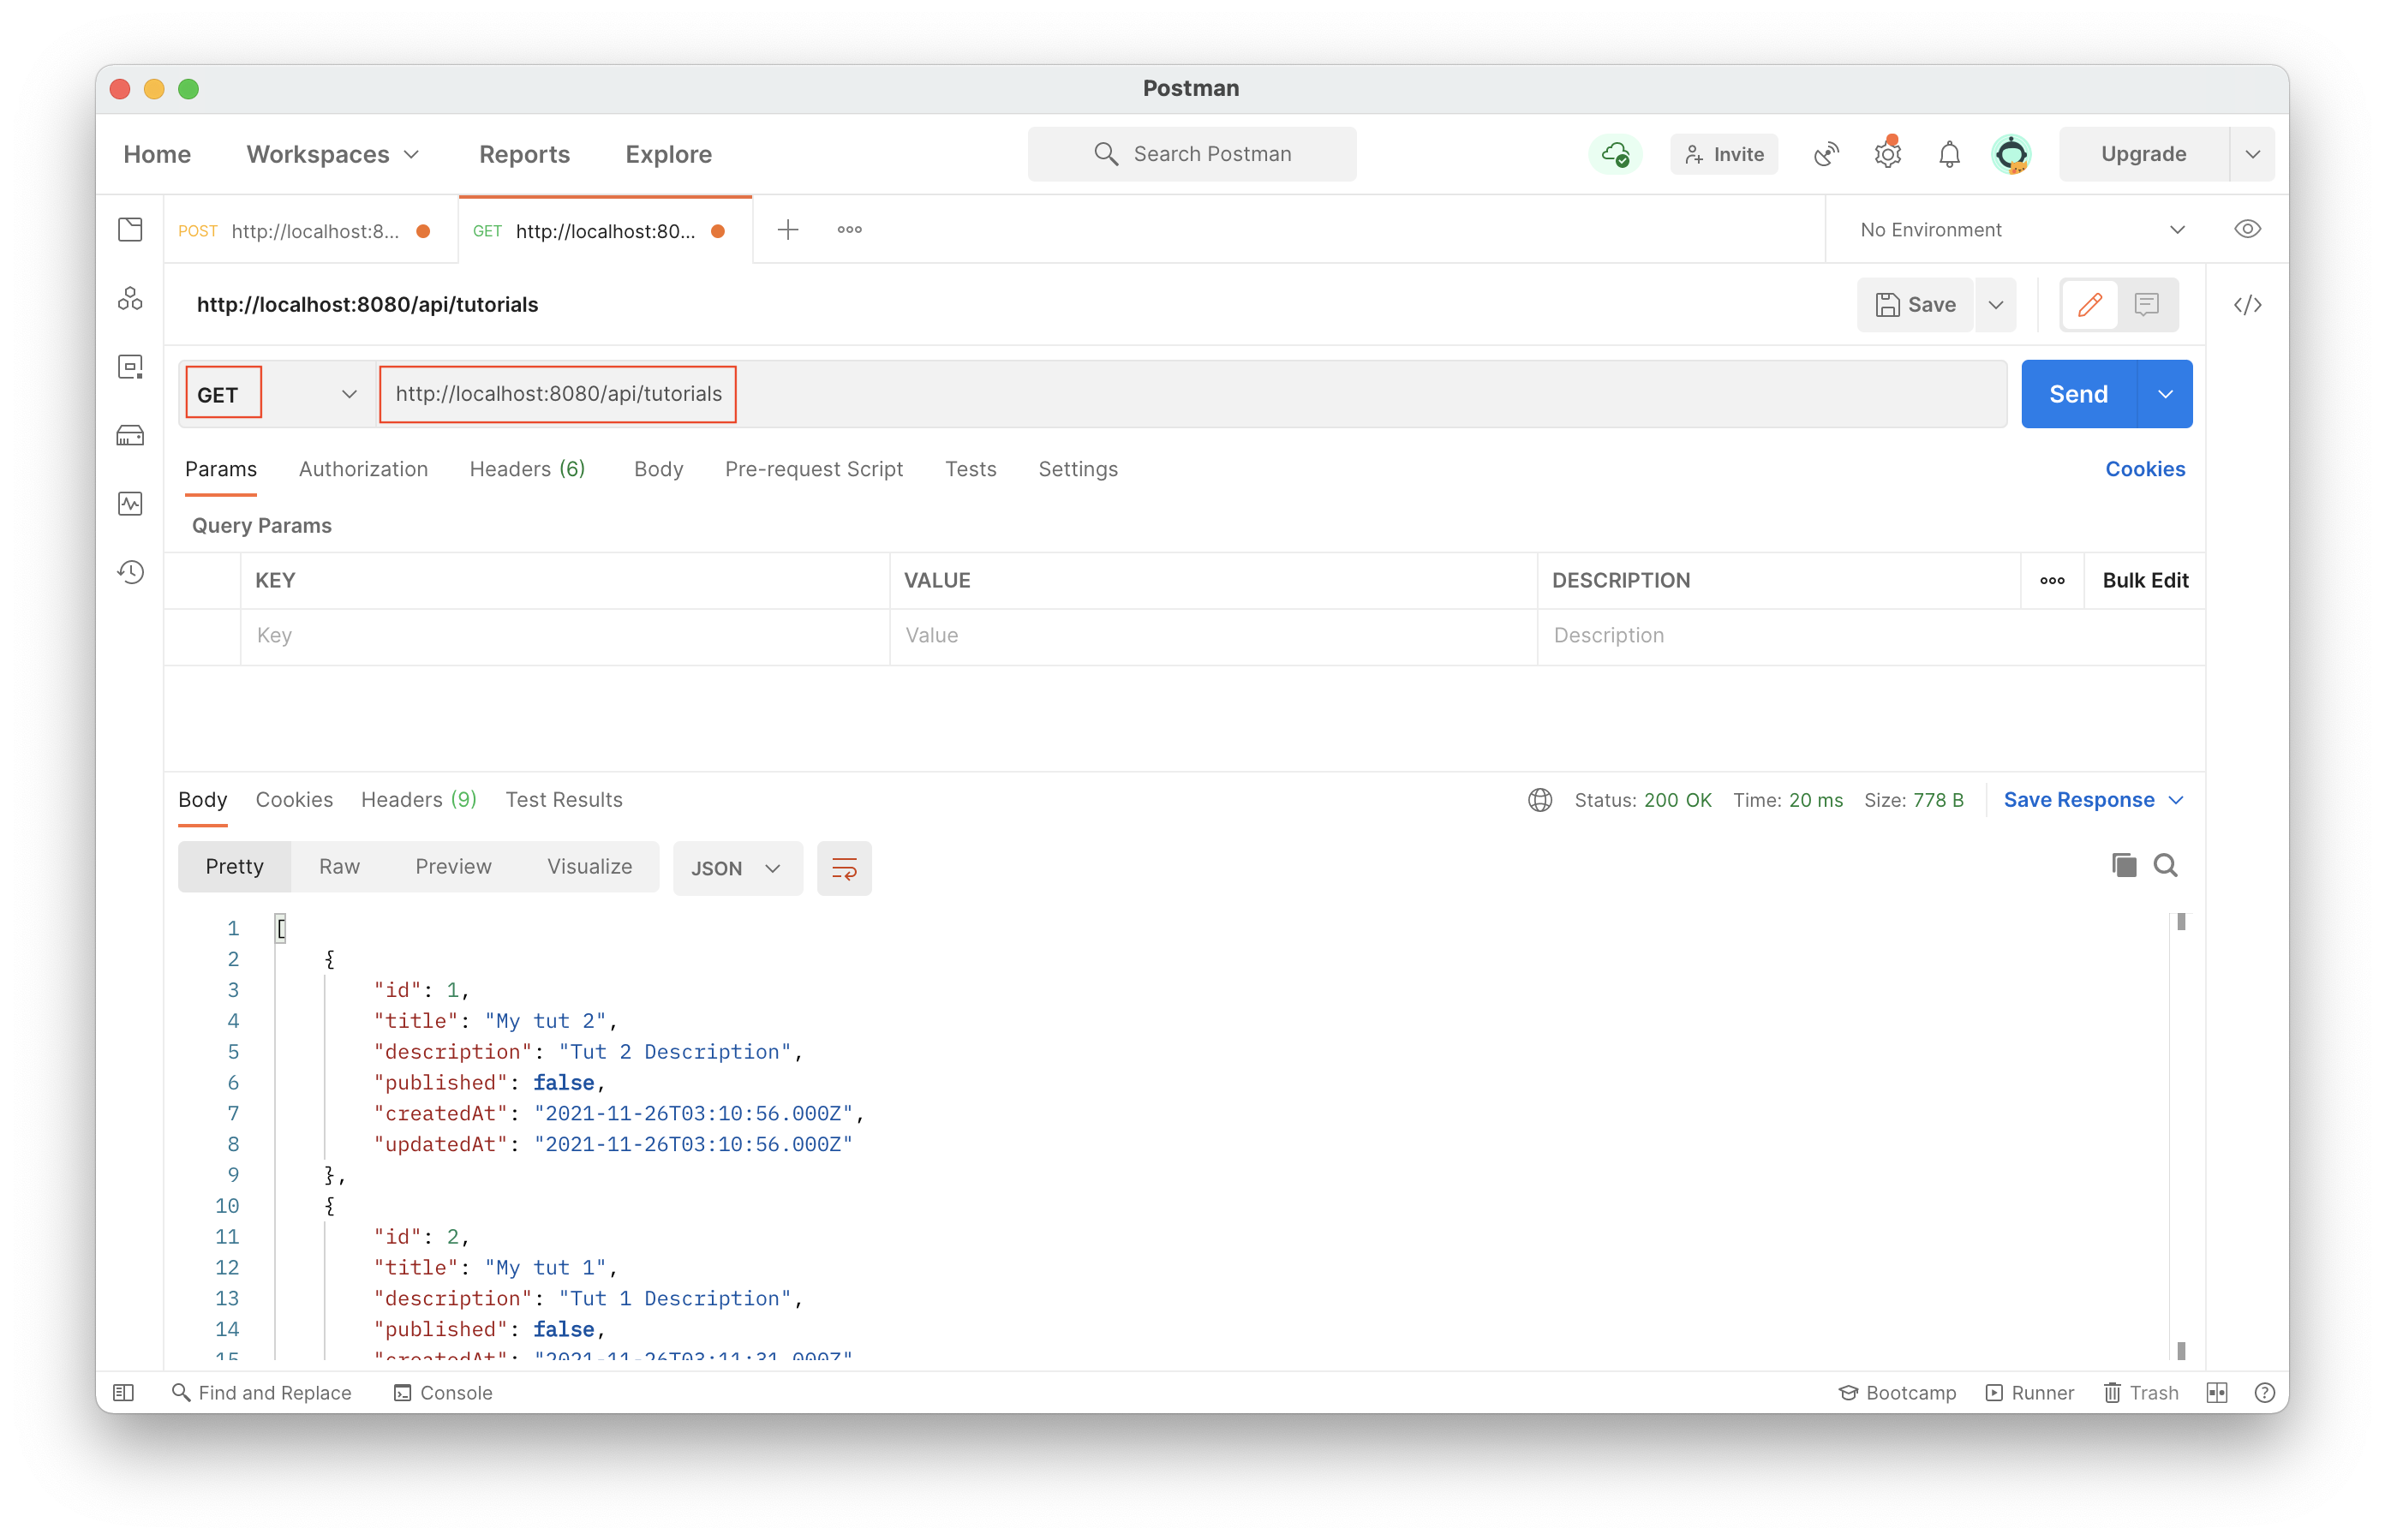
Get all tutorials
Get specific tutorial
GET on http://localhost:8080/api/tutorials/2
Finding All Tutorials where Title=”node”
GET on http://localhost:8080/api/tutorials?title=tut
Find all published posts
GET on http://localhost:8080/api/tutorials/published
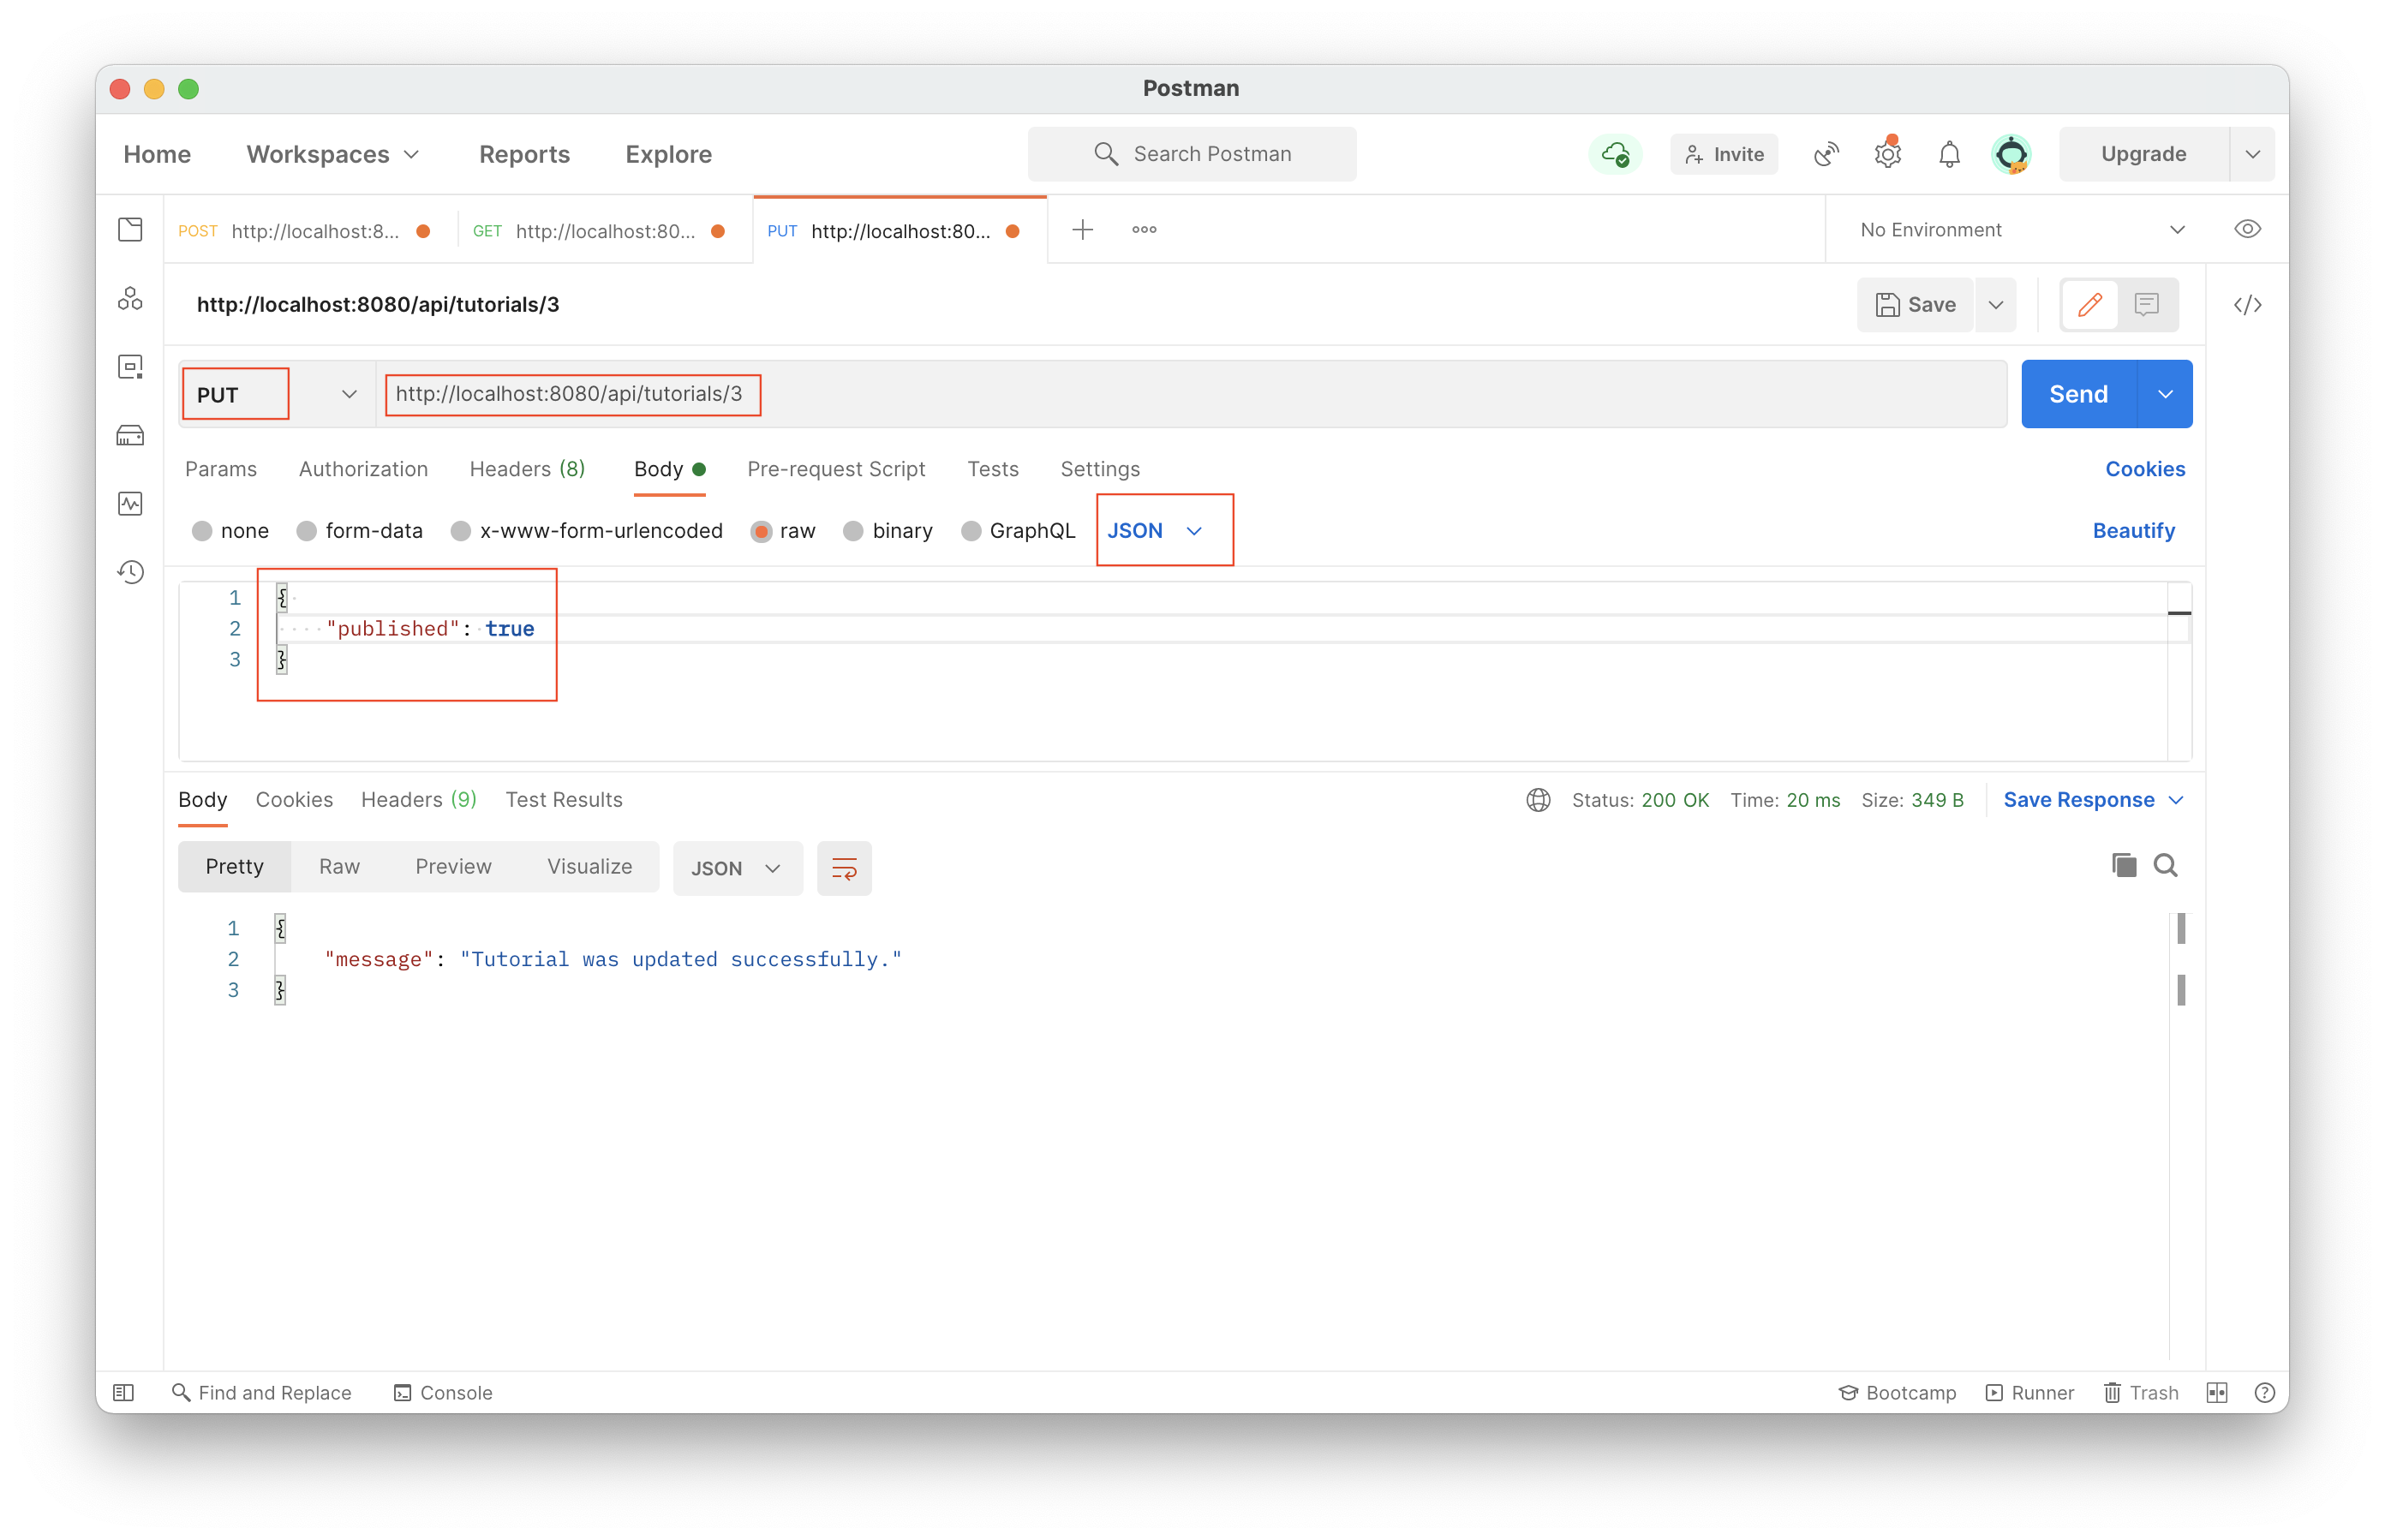
Delete depending on request param id
DELETE on http://localhost:8080/api/tutorials/2