ref –
- https://blog.codemagic.io/how-to-add-flutter-modules-to-native-ios-project-and-test-it-on-codemagic/
- https://www.programmersought.com/article/24365560827/
Create an iOS native project
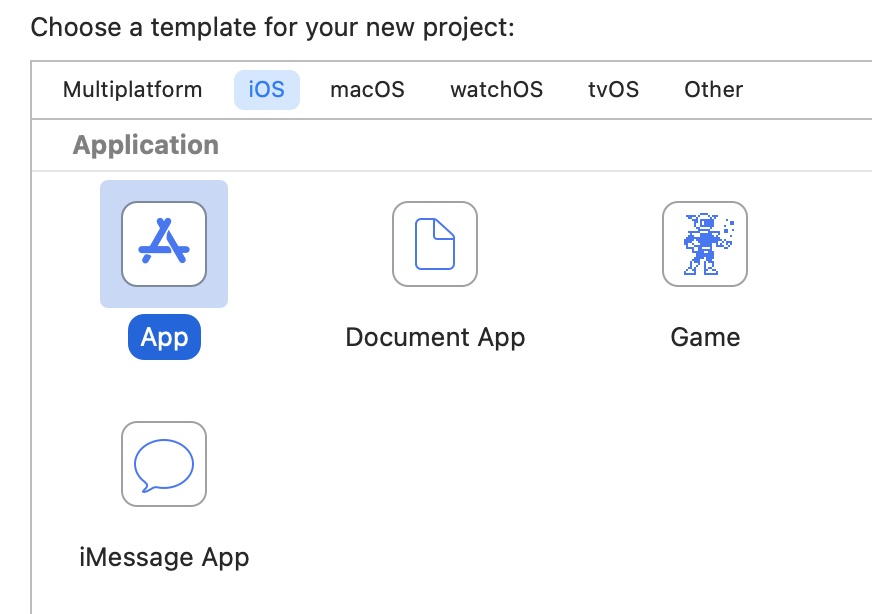
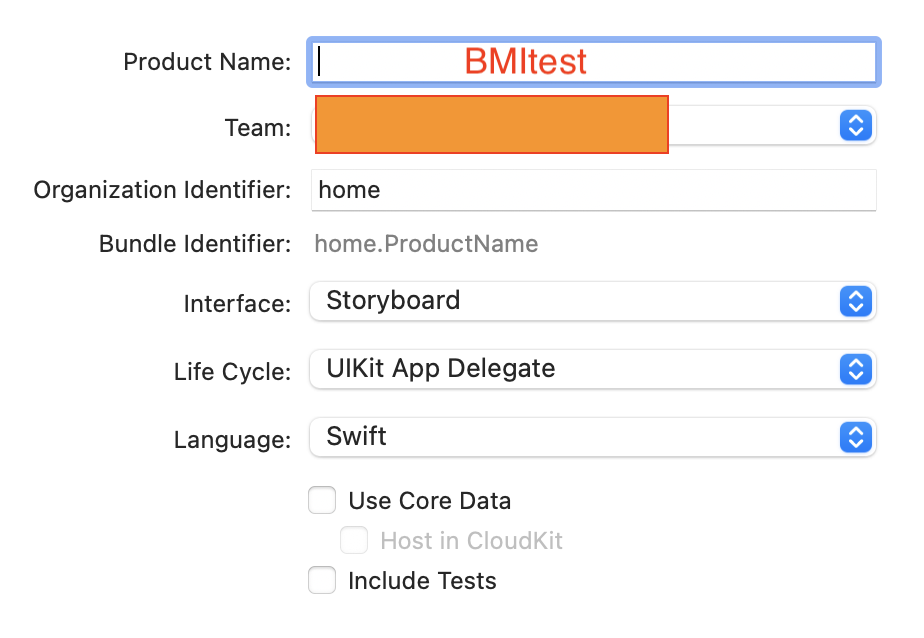
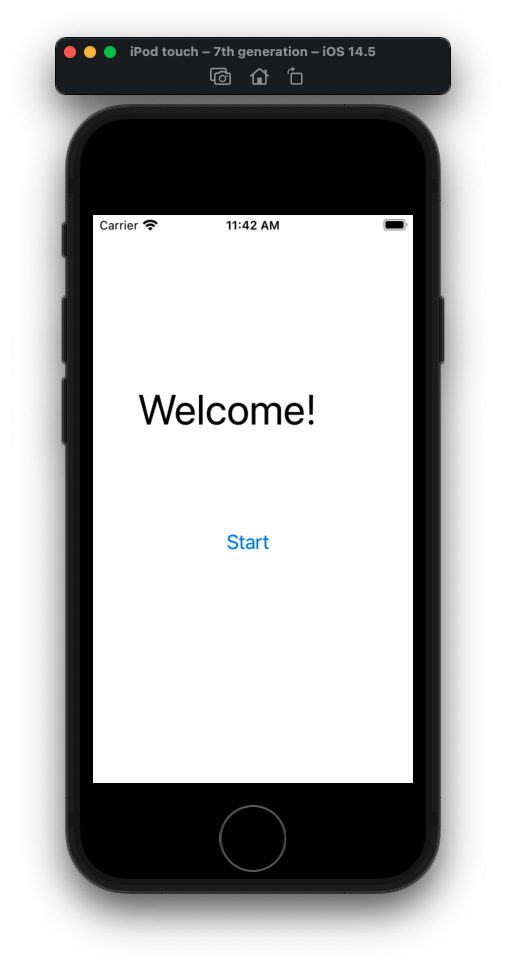
First we create a native iOS project.
click on tab option iOS, select App.
Create a text Welcome, and a button.
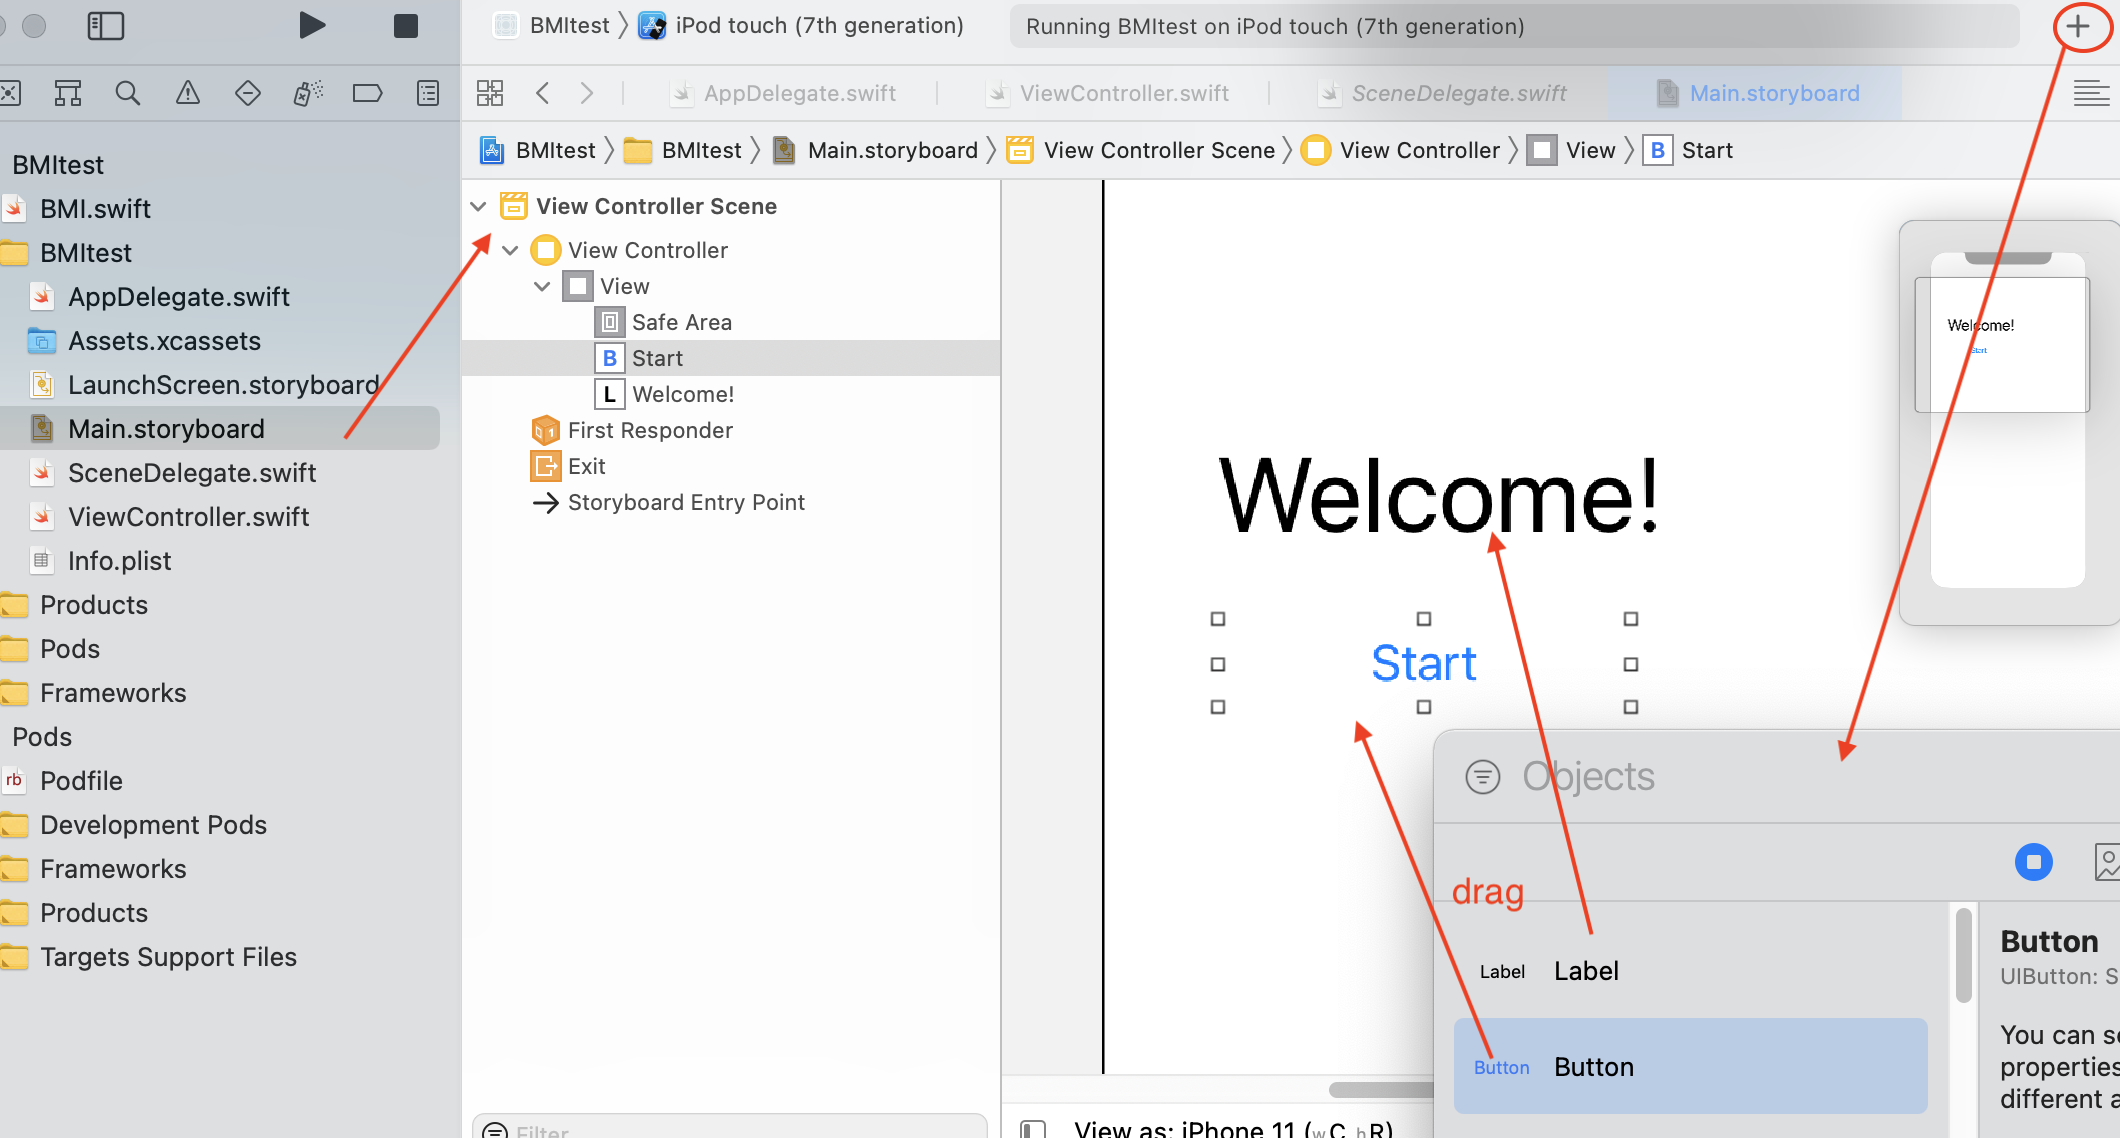
Right click on the start button and let’s implement a handler of the event touch up inside
Open up a side window and make sure ViewController.swift is open next to our Main.storyboard. Your can literally drag the event handler into ViewController.swiftConnect a button handler like so:

ViewController.swift
|
1 2 3 4 5 6 7 8 9 |
@IBAction func calculateBtn(_ sender: Any) { let flutterEngine = (UIApplication.shared.delegate as! AppDelegate).flutterEngine let flutterViewController = FlutterViewController(engine: flutterEngine, nibName: nil, bundle: nil) flutterViewController.modalPresentationStyle = .overFullScreen present(flutterViewController, animated: false, completion: nil) } |
(your directory)/BMI_Calculator/BMItest/AppDelegate.swift
|
1 2 3 4 5 6 7 8 9 10 11 12 13 14 15 |
import UIKit import Flutter import FlutterPluginRegistrant @UIApplicationMain class AppDelegate: FlutterAppDelegate { lazy var flutterEngine = FlutterEngine(name: "my flutter engine") override func application(_ application: UIApplication, didFinishLaunchingWithOptions launchOptions: [UIApplication.LaunchOptionsKey: Any]?) -> Bool { flutterEngine.run(); GeneratedPluginRegistrant.register(with: self.flutterEngine); return super.application(application, didFinishLaunchingWithOptions: launchOptions); } } |
Save the project.
create folder bmi_calculator in a directory
copy and paste the iOS native project we just created into this folder.
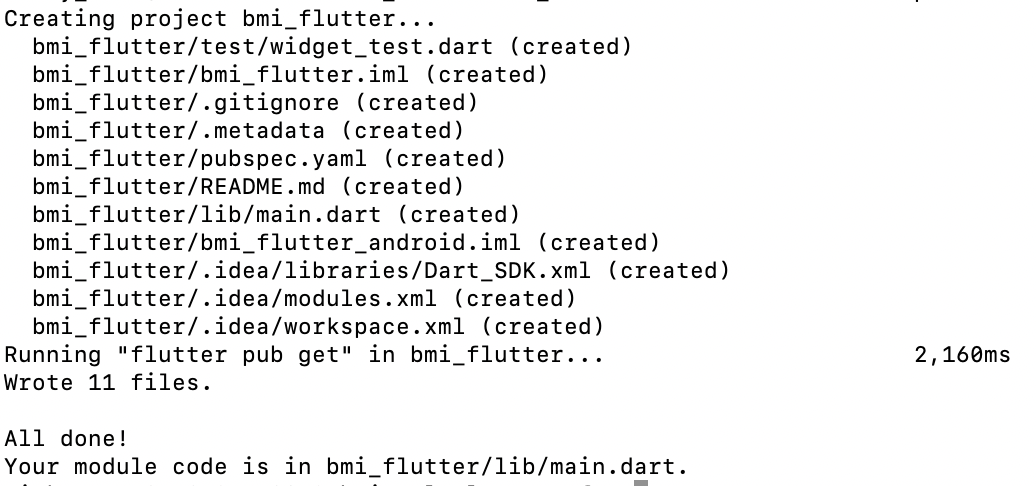
Creating Flutter Module
Make sure you are in bmi_calculator folder.
|
1 |
flutter create --template module bmi_flutter |
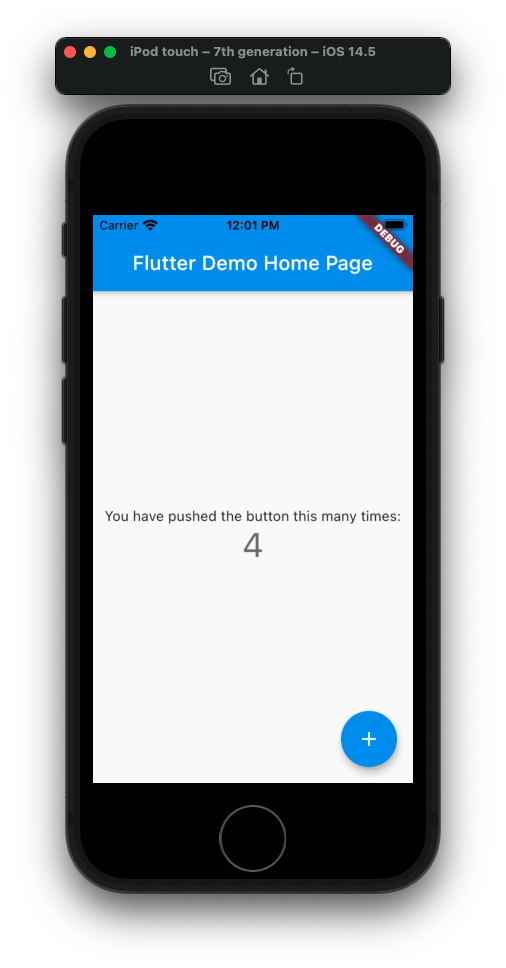
Let’s make sure our app runs correctly by double clicking on .xcodeproj file and running the app.
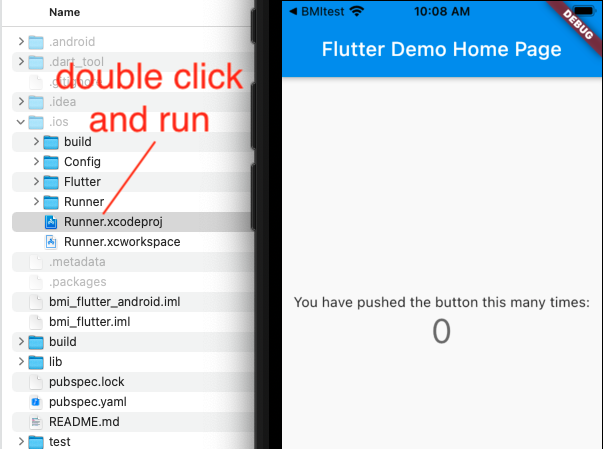
This screen will later be used and appear in our iOS project.
Integrating Flutter module to native iOS
cd into the previous created BMI_calculator and create a pod file:
pod init
You’ll have a directory like so:
bmi_calculator/
├── bmi_flutter/
│ └── .ios/
│ └── Flutter/
│ └── podhelper.rb
└── BMI Calculator/
└── Podfile
In the Podfile:
|
1 2 3 4 5 6 7 8 9 10 11 12 13 14 |
# Uncomment the next line to define a global platform for your project # platform :ios, '9.0' flutter_application_path = '../bmi_flutter' load File.join(flutter_application_path, '.ios', 'Flutter', 'podhelper.rb') target 'BMItest' do install_all_flutter_pods(flutter_application_path) # Comment the next line if you don't want to use dynamic frameworks use_frameworks! # Pods for BMItest end |
flutter_application_path = ‘../bmi_flutter’
This is so that in your xcode project, it will go one directory up into bmi_calculator, and look for bmi_flutter.
load File.join(flutter_application_path, ‘.ios’, ‘Flutter’, ‘podhelper.rb’)
Once it finds bmi_flutter folder, it will go into folder .ios, folder Flutter, and finally access the podhelper.rb file
Now run pod install in BMI_calculator.
Make sure you see the log messages where it says installing flutter…etc:
Downloading dependencies
Installing Flutter (1.0.0)
Installing FlutterPluginRegistrant (0.0.1)
Installing my_flutter (0.0.1)
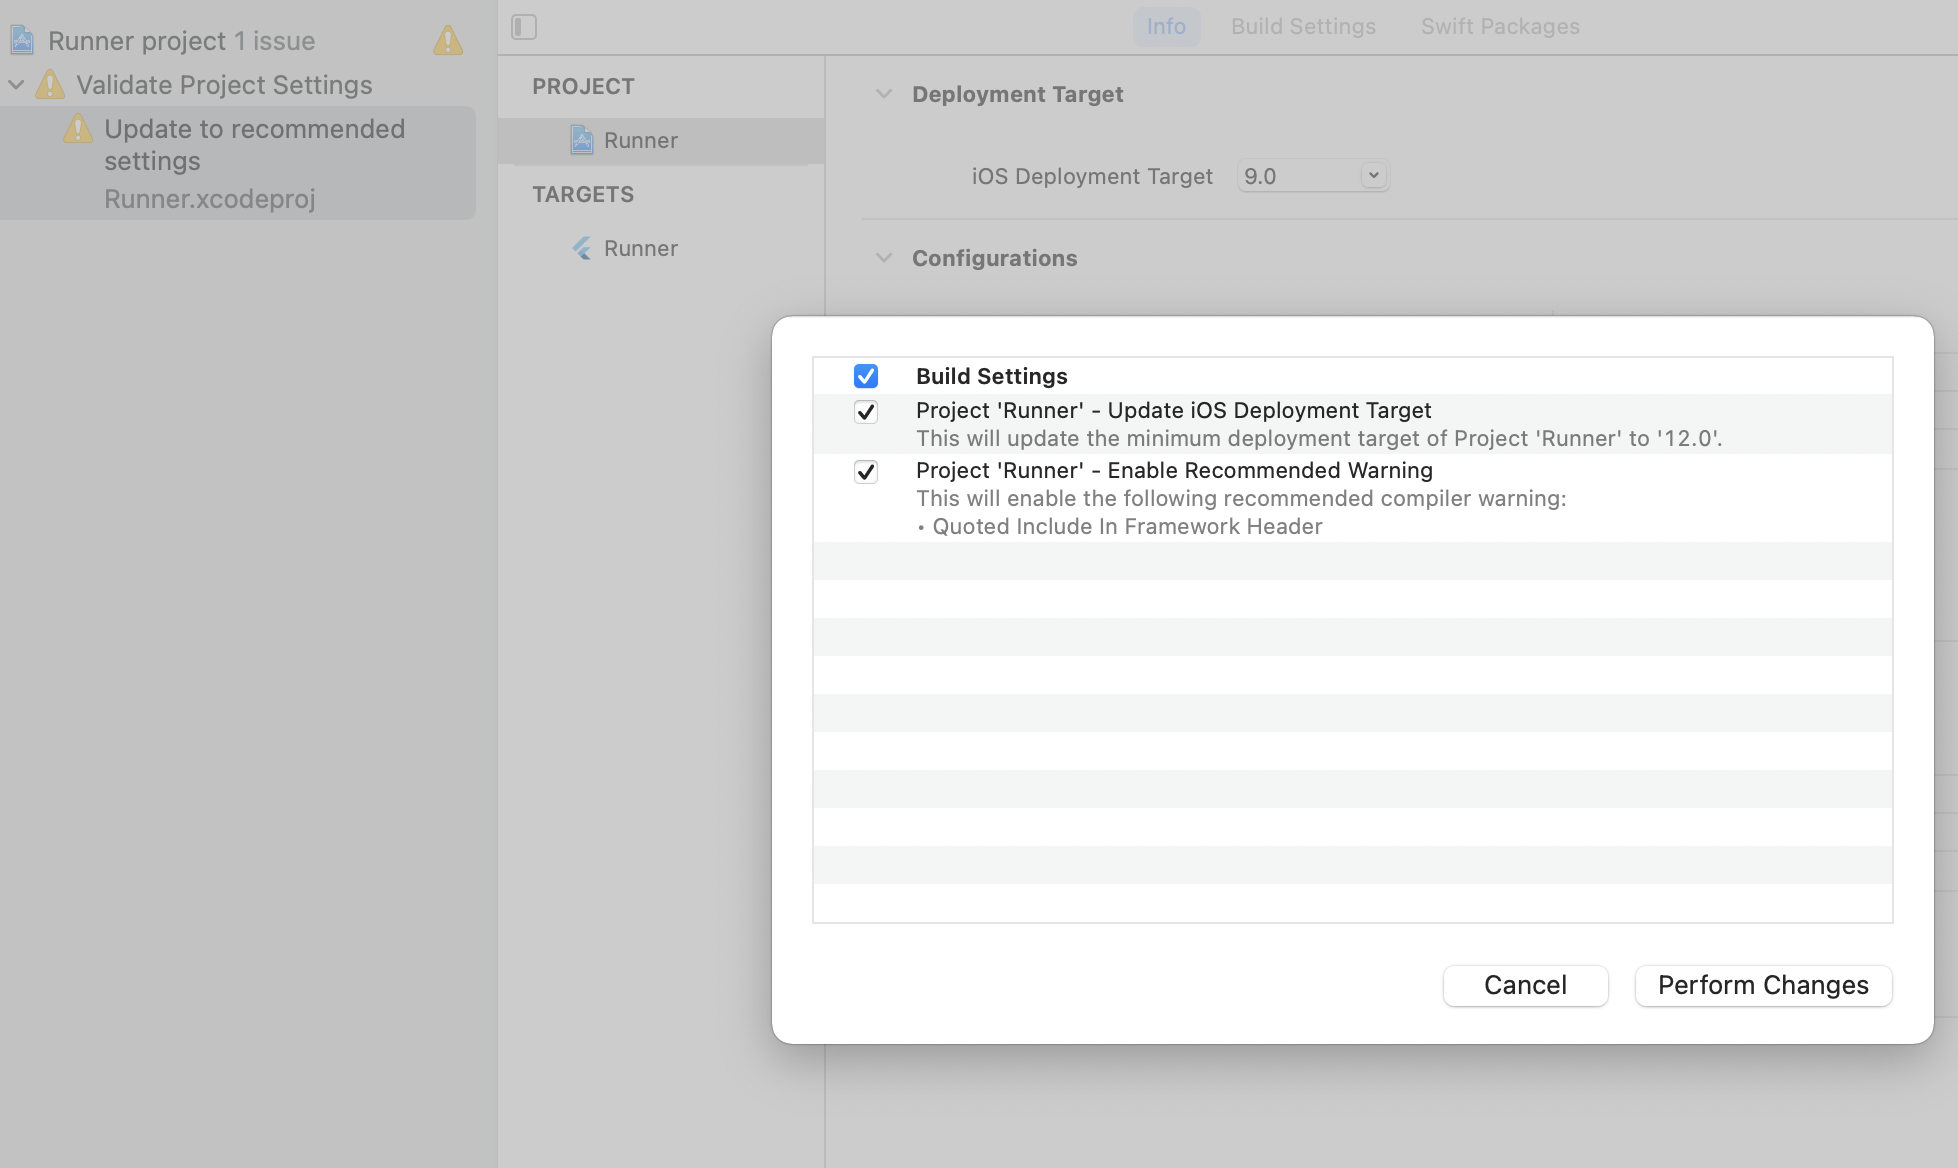
Now, reopen the project using the file with .xcworkspace extension.
You’ll see some warnings about converting it to Swift. Go ahead and do that.
Also be sure that your provisioning is correct.
Now make sure you press run and it should work on your simulator.
Now, when you click on the start button, you’ll see Flutter demo app come up.
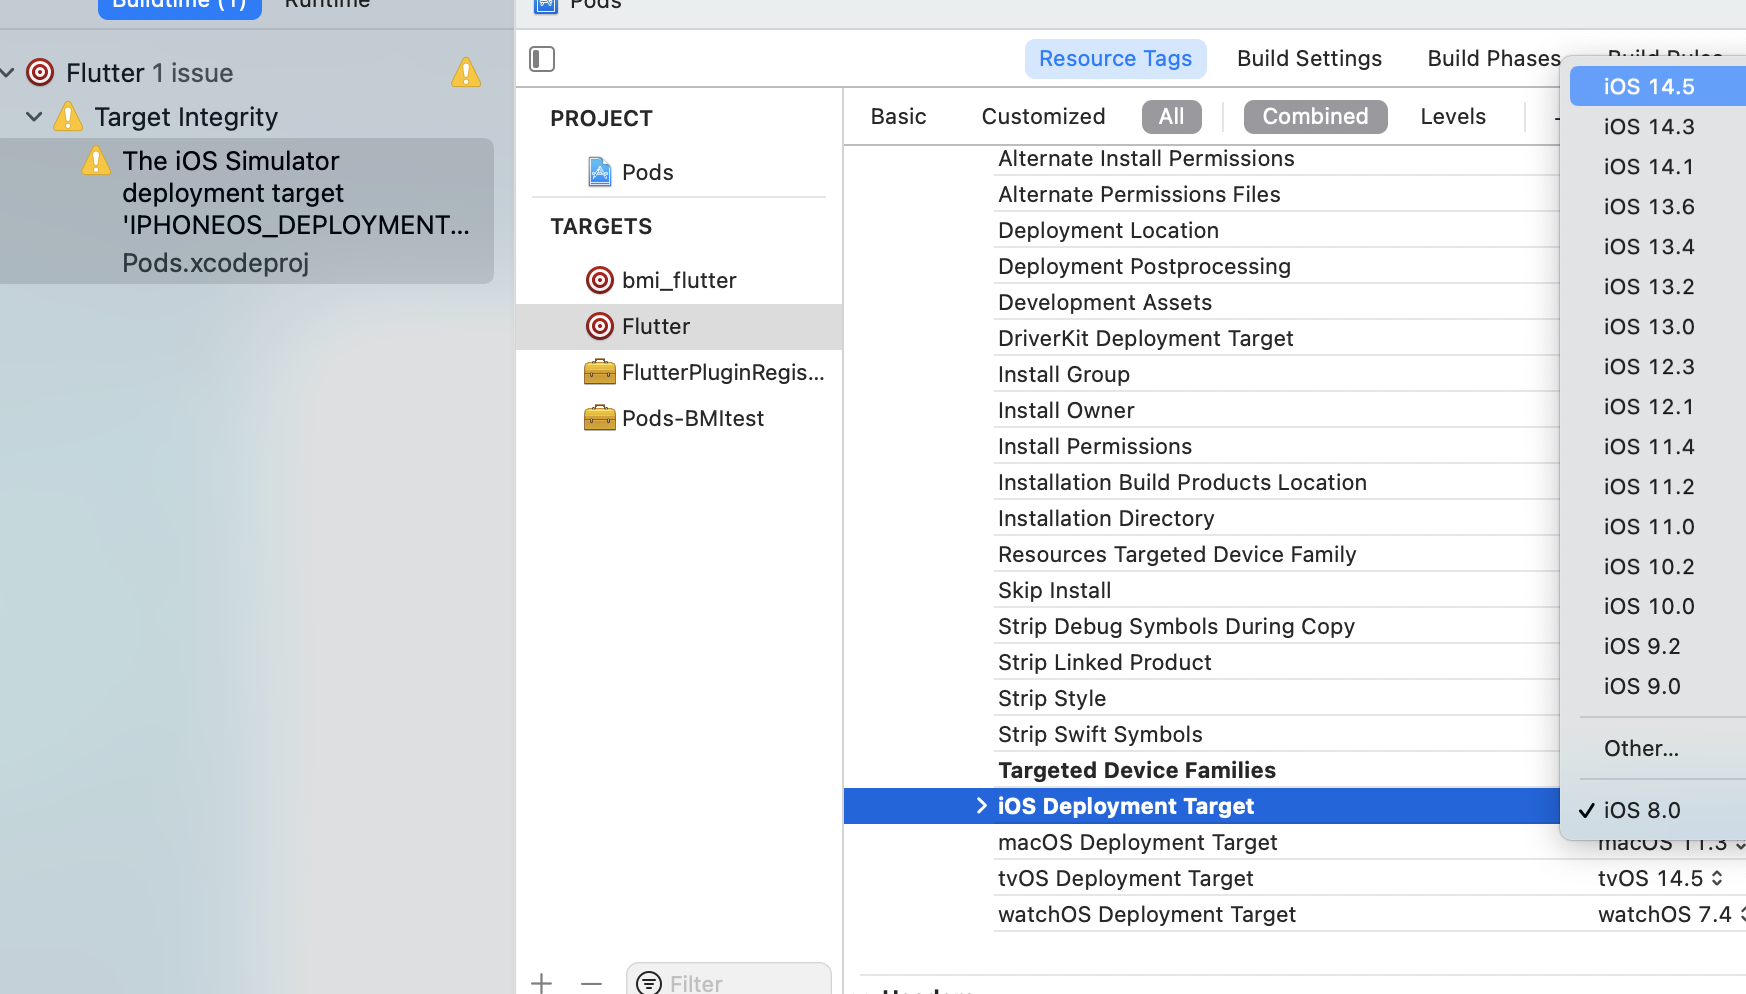
Issues
If you get errors that says can’t find Flutter for your header files, make sure you do a clean build and then build in your xCode.