To run the sample, first make sure you install the backend node server that will give you the images:
Then install the front end, which is what this tutorial is about:
Create the React App
create-react-app photo-filter
cd photo-filter
npm start
Import Theme
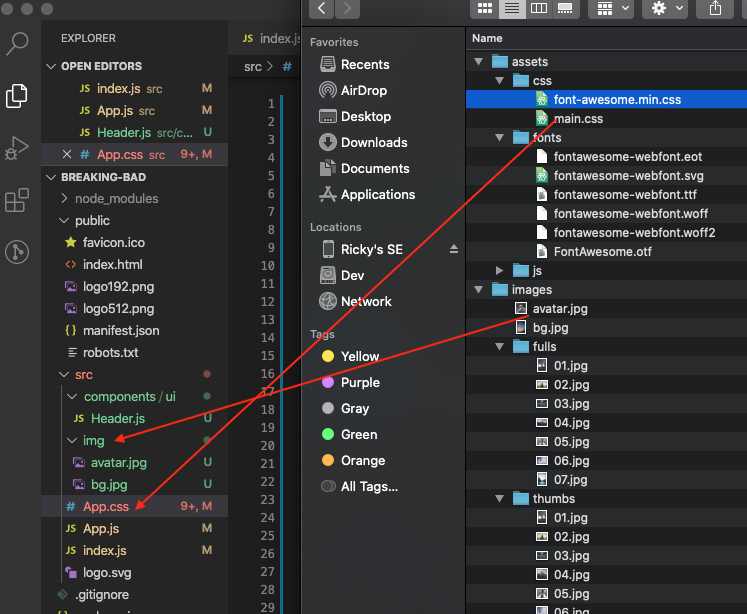
Under src, create img folder. Then copy avatar.jpg and bg.jpg into that folder.
App.css
In the visualize template, copy the CSS from main.css into your App.css:
– remove the @import of awesome font at the very top of the
– Then look for background-image and replace url with:
|
1 |
background-image: url("./img/bg.jpg"); |
this is so that we reference the imported image.
Under src, create components folder. Then under components folder, create ui folder. In ui, create Header.js
|
1 2 3 4 5 6 7 8 9 10 11 12 |
import React from 'react' import logo from '../../img/avatar.jpg' const Header = () => { return ( <header className='center'> <img src={logo} alt='' /> </header> ) } export default Header |
Let’s make use of hooks in our app so that we can fetch the data text from our backend.
App.js
|
1 2 3 4 5 6 7 8 9 10 11 12 13 14 15 16 17 18 19 20 21 22 23 24 |
import React, { useState, useEffect } from 'react' import Header from './components/ui/Header'; import './App.css'; const App = () => { const [items, setItems] = useState([]); const [isLoading, setIsLoading] = useState(true); useEffect(() => { fetch('http://localhost:6680/') .then(res => res.json()) .then(result => { console.log('result', result); }); }) return ( <div className='container'> <Header /> </div> ) } export default App; |
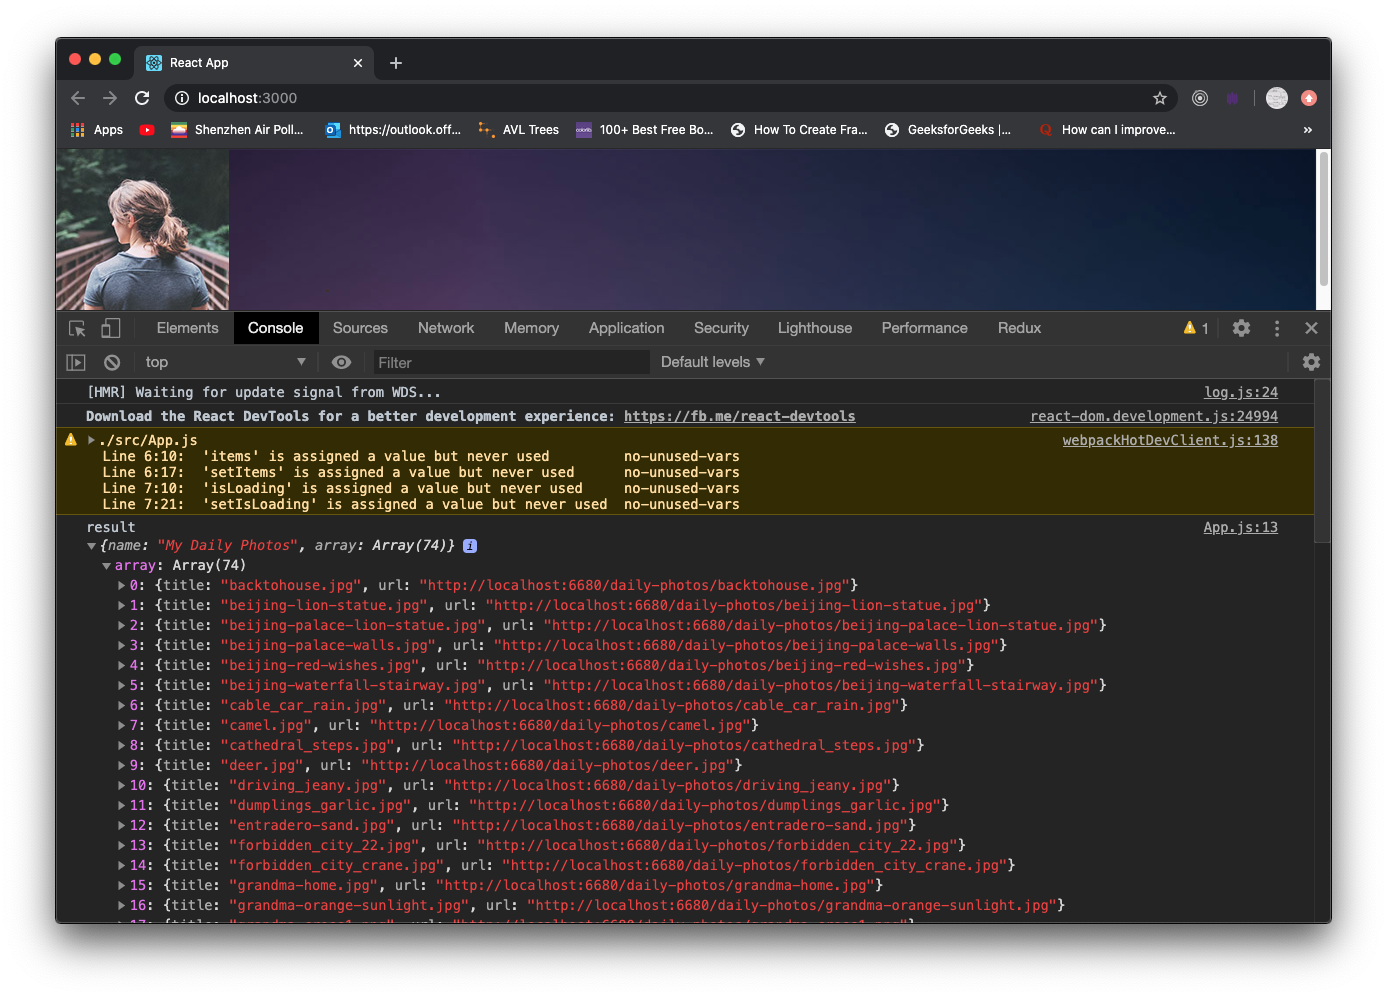
Once you’re done, you should be able to see the background and avatar image appear. You should also see the logged data retrieved from the backend.
Import Redux
npm i redux@4.0
Creating Reducer
Now that we know how actions are put together, we need to write a function in order to decide how we going to properly receive these actions.
In src, create a store folder.
Know that actions is what drives the store to keep your data.
It looks like this:
|
1 2 3 4 |
{ type: "DO_SOMETHING", payload: {} } |
So as you can see, it’s basically an object with properties type and payload.
Create a file called action.js
We first create macros for actions that will be happening, such as fetching photos, error, fetching finished, etc.
When then go on to create action objects. As mentioned, each action has properties type and payload
So we create action objects for when getting photos start, finished, runs into an error, etc.
|
1 2 3 4 5 6 7 8 9 10 11 12 13 14 15 16 17 18 19 20 21 22 23 24 25 26 |
export const FETCH_PHOTOS_STARTED = 'FETCH_PHOTOS_STARTED'; export const FETCH_PHOTOS_ERRORED = 'FETCH_PHOTOS_ERRORED'; export const FETCH_PHOTOS_FINISHED = 'FETCH_PHOTOS_FINISHED'; export const FETCH_PHOTOS_INITIAL = 'FETCH_PHOTOS_INITIAL'; export const PHOTO_URL = 'http://localhost:6680/'; export const requestPhotosStartAction = payload => ({ type: FETCH_PHOTOS_STARTED, payload }); export const requestPhotosFinishAction = payload => ({ type: FETCH_PHOTOS_FINISHED, payload }); export const requestPhotosErrorAction = payload => ({ type: FETCH_PHOTOS_ERRORED, payload, }); export const initialArrayAction = payload => ({ type: FETCH_PHOTOS_INITIAL, payload, }); |
Now create a new file called reducer.js.
A reducer is a function with parameters state and action. The role of the reducer is to return new state, based on incoming actions.
We first have our state reference a default object with properties:
– photoData
– photoLoading
– photoError
This is the default of our photo array.
We then take care of all the actions objects that will be passed into our photoReducer.
reducer.js
|
1 2 3 4 5 6 7 8 9 10 11 12 13 14 15 16 17 18 19 20 21 22 23 24 25 26 27 28 29 30 31 32 33 34 35 36 37 38 39 40 41 |
import { FETCH_PHOTOS_STARTED, FETCH_PHOTOS_ERRORED, FETCH_PHOTOS_FINISHED, } from './action'; const photoReducer = (state = { // all primitives, so no need for immer photoData: null, photoLoading: false, photoError: null, }, action) => { switch (action.type) { case FETCH_PHOTOS_STARTED: console.log(`reducers.js - FETCH_PHOTOS_STARTED`); console.log('current state', state); return { ...state, photoLoading: true, photoData: null, // we initialize to null } case FETCH_PHOTOS_FINISHED: console.log(`reducers.js - FETCH_PHOTOS_FINISHED`); return { ...state, photoLoading: false, photoData: action.payload, // we assign to payload } case FETCH_PHOTOS_ERRORED: console.log(`reducers.js - FETCH_PHOTOS_ERRORED`); return { ...state, photoLoading: false, photoData: null, } default: return state; } }; export default photoReducer; |
Finally create our store. We stick our reducer as a function parameter so the store knows how to keep data.
The reducer has been defined to take certain actions. These action objects will be used in our main file to apply certain actions to the store.
src/store/store.js
|
1 2 3 4 5 6 |
import { createStore } from 'redux'; import reducer from './reducer'; const store = createStore(reducer); export default store; |
Storing and getting data in our App
We import the store in our app. We import action objects and pass them as parameter to dispatch these actions to the store. Before fetching data from our API, we let the store know we’re going to do that.
In turn, the store will update its isLoading property to true. Thus, any other place that needs to show a load image will depend on this isLoading property.
Once the data fetch is complete, we dispatch action requestPhotosFinishAction, which updates the store’s state object photoData property to the data, and flips isLoading to false.
App.js
|
1 2 3 4 5 6 7 8 9 10 11 12 13 14 15 16 17 18 19 20 21 22 23 24 25 26 27 28 29 30 31 32 33 34 35 36 37 38 |
import React, { useState, useEffect } from 'react' import Header from './components/ui/Header'; import './App.css'; import store from './store/store'; import { requestPhotosStartAction, requestPhotosFinishAction } from './store/action'; const unsubscribe = store.subscribe( () => { console.log('store changed!', store.getState()); }); const App = () => { const [items, setItems] = useState([]); const [isLoading, setIsLoading] = useState(true); store.dispatch(requestPhotosStartAction()); useEffect(() => { fetch('http://localhost:6680/') .then(res => res.json()) .then(result => { console.log('result', result); store.dispatch(requestPhotosFinishAction(result.array)); let s = store.getState(); console.log(s.photoData); }); }) return ( <div className='container'> <Header /> </div> ) } export default App; |
Displaying the Data
Displaying the data requires us to write a component that loops through the data. Then another component that simply outputs the UI.
We first create a PhotoGrid that takes the array of photos and use map on it. The map() method creates a new array with the results of calling a provided function on every element in the calling array. In other words, map() calls a provided callback function once for each element in an array, in order, and constructs a new array from the results.
Thus, in this way, map() does not modify the original array. It creates a new array, take in the custom modifications, and apply those changes onto the new array. Then returns it to the JSX to render.
PhotoGrid.js
|
1 2 3 4 5 6 7 8 9 10 11 12 13 |
import React from 'react' import PhotoItem from './PhotoItem'; const PhotoGrid = ({ items, isLoading }) => { return isLoading ? (<h1>Loading...</h1>) : (<section className = 'thumbnails'> {items.map(item => ( <PhotoItem key ={item.title} item={item} /> ))} </section>) } export default PhotoGrid |
Notice the main job PhotoGrid does is to map the items. It uses another component PhotoItem that solely does the UI rendering.
PhotoItem.js
|
1 2 3 4 5 6 7 8 9 10 11 |
import React from 'react' const PhotoItem = ({ item }) =>{ return ( <a href={item.url}> <img src={item.url} alt='test' /> <h3>{item.title}</h3> </a> ) } export default PhotoItem |
PhotoItem is straightforward as it only displays the data.
So in App, we need to set our state after receiving the data from the store. We set the image data array, and then the isLoading property.
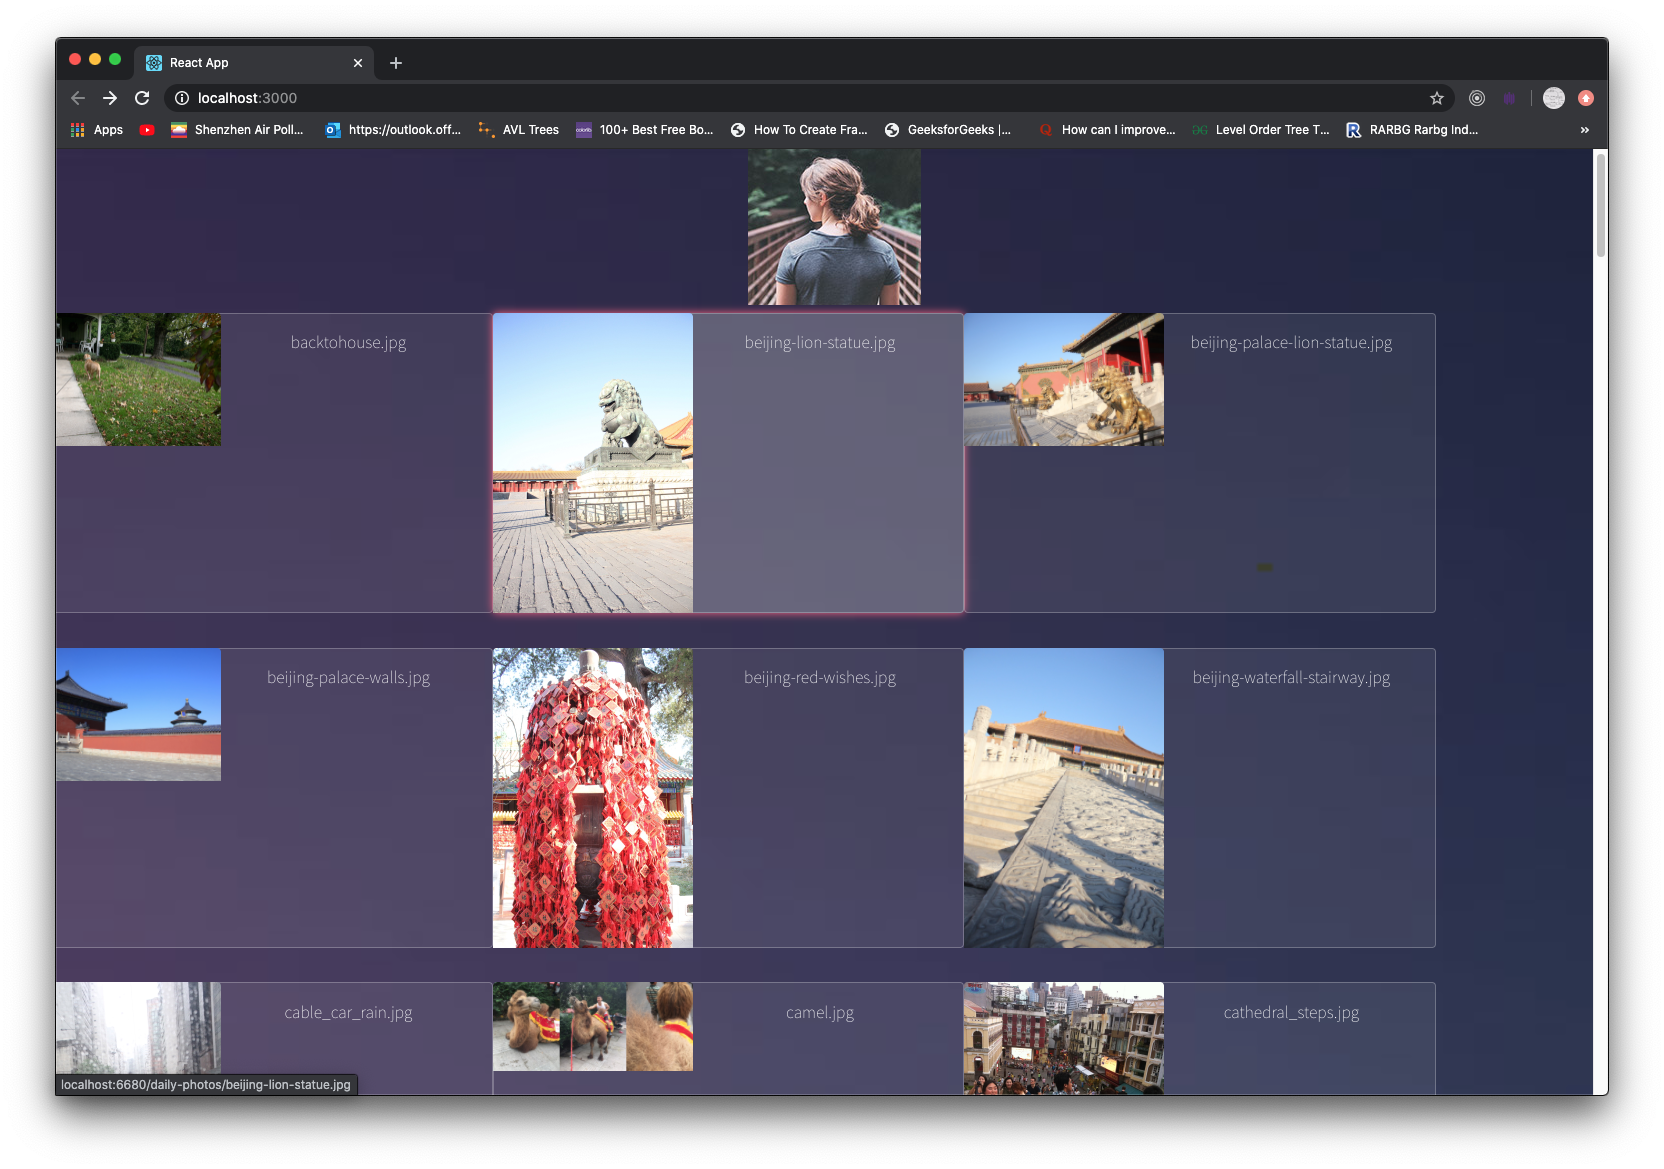
When the state is set, it will trigger a render. The render will process PhotoGrid, which then renders our images onto the screen.
App.js
|
1 2 3 4 5 6 7 8 9 10 11 12 13 14 15 16 17 18 19 20 21 22 23 24 25 26 27 28 29 30 31 32 33 34 35 36 37 38 39 |
import React, { useState, useEffect } from 'react' import Header from './components/ui/Header'; import './App.css'; import store from './store/store'; import { requestPhotosStartAction, requestPhotosFinishAction } from './store/action'; import PhotoGrid from './components/photos/PhotoGrid'; const unsubscribe = store.subscribe( () => { console.log('store changed!', store.getState()); }); const App = () => { const [items, setItems] = useState([]); const [isLoading, setIsLoading] = useState(true); store.dispatch(requestPhotosStartAction()); useEffect(() => { fetch('http://localhost:6680/') .then(res => res.json()) .then(result => { console.log('result', result); store.dispatch(requestPhotosFinishAction(result.array)); let s = store.getState(); console.log(s.photoData); setItems(s.photoData); setIsLoading(false); }); }, []); return ( <div className='container'> <Header /> <PhotoGrid isLoading={isLoading} items={items} /> </div> ) } export default App; |
Filtering the Images
First we create a Search component
src/components/ui/Search.js
|
1 2 3 4 5 6 7 8 9 10 11 12 13 14 15 16 17 18 19 20 21 22 23 24 |
import React from 'react' const Search = ({ text, updateQuery }) => { const updateParentQuery = latestQuery => { updateQuery(latestQuery); } return ( <section className='search'> <form> <input type='text' className='form-control' placeholder='Search characters' value={text} onChange={e => updateParentQuery(e.target.value)} autoFocus /> </form> </section> ) } export default Search |
This components is a controlled component. Which means its input control has its own value. We connects its value to our state and keep tract of it there. This state comes from the parent component App. We then update the parent component’s state by executing a callback function whenever a letter is typed. That way we pass the query text up to the parent component to be processed.
When we receive updated query, we simply set the control text, and set query. This will drive the app to re-render.
src/App.js
|
1 2 3 4 5 6 7 8 9 10 11 |
return ( <div className='container'> App.js - {text} <Header /> <Search text={text} updateQuery = {q => { setText(q); setQuery(q); }} /> <PhotoGrid isLoading={isLoading} items={items} /> </div> ) |
Filtering using AVL tree
For filtering, we will use an AVL tree for data structure. It filters data for you according to text that you input. It finds all the urls with the text that you give it. Then return them as an array for you to use.
Under src, create custom folder. Then drag AVLtree.js and BadHeuristic.js into it.
Then in App.js, import it:
|
1 2 3 4 |
import AVLtreeClass from './custom/AVLtree'; const tree = new AVLtreeClass(); const PREPEND = `http://localhost:6680/daily-photos/`; |
we first define useEffect. Basically it runs when the DOMS has been updated with its batch of UI updates. It acts as componentDidMount, and componentDidUpdate. So whatever effect we put in here will be run after a render, and in the beginning with the component mounts.
|
1 2 3 |
useEffect(() => { }, [query]); |
Let’s then define fetchData function to fetch data.
|
1 2 3 4 5 6 7 8 9 10 11 12 13 14 15 16 17 18 19 |
const fetchData = (setItems, setIsLoading) => { store.dispatch(requestPhotosStartAction()); fetch('http://localhost:6680/') .then(res => res.json()) .then(result => { store.dispatch(requestPhotosFinishAction(result.array)); let s = store.getState(); for ( let i = 0; i < s.photoData.length; i++) { tree.insert(s.photoData[i].url); } // setting state will cause us to re-render // if we put this here, it would go into an infinite loop. setItems(tree.firstToLast()); // trigger re-render setIsLoading(false); // trigger re-render // sets loading to false so photos can display }); } |
We dispatch action to the store to let it know that we’re starting to retrieve data. We then use built-in fetch to get the data. After receiving the data, we dispatch a finish action to the store and pass in the resulting array to store it.
We then use the hooks to set the state.
Notice that every setState call will trigger a re-render. And a useEffect will be paired with a render. This will create an infinite loop. In order to solve this, we just test to see if the item length and query is empty. If they are, then we retrieve from online API.
If there is existing items or if there is a query to filter, then we DO NOT fetch data. We simply filter our existing data and reset the items.
|
1 2 3 4 5 6 7 8 9 10 11 12 |
useEffect(() => { if (items.length <= 0 && query == '') { fetchData(setItems, setIsLoading); } else { let result = tree.searchForAnyMatch(PREPEND, query); let arr = []; for (let i = 0; i < result.length; i++) { arr.push(result[i].url); } setItems(arr); } }, [query]); |
Take note that the AVL tree class itself will return an array of objects, which houses various data. Our state object property items take in an array of urls (strings). So after we filter the data from the tree, we need to extract just the urls and place them into another array. Then setItems of that array of urls.
Now you can type in text, it uses that text and filters all the image titles with that text from the tree. It puts all the search results into an array and returns it for your UI to render.
