https://medium.com/@musawiralishah/creating-custom-uitableviewcell-using-nib-xib-files-in-xcode-9bee5824e722#.lbixf1y87
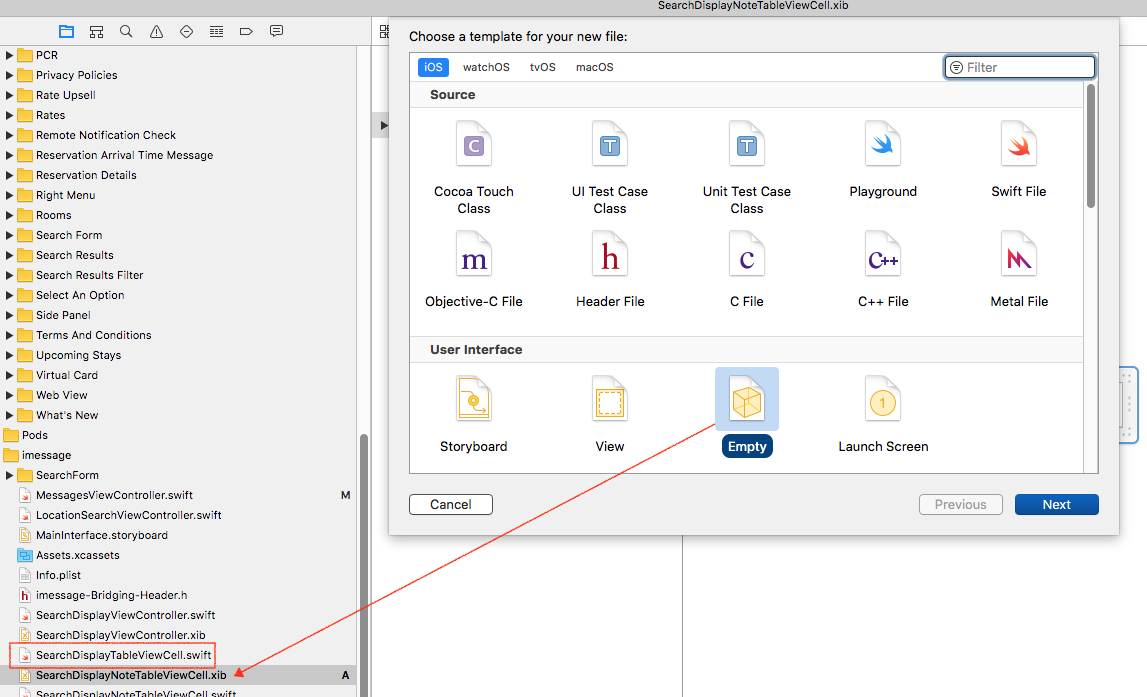
New File > Empty Interface Builder
Then you’ll see the .xib file appear
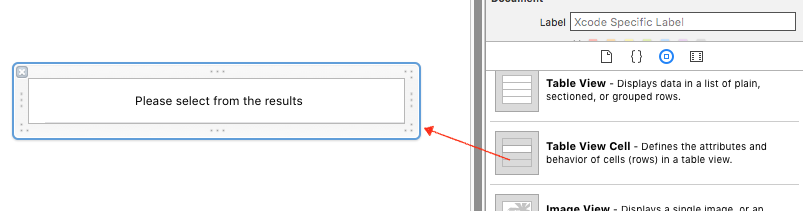
Click on the “right pane button” to make the Identity Inspector appear, because that’s where all the Interface Builder attributes are.
If the right pane button is not there, go to menu View > Utilities > Identity Inspector.
In the UI components section on the bottom, scroll through all of the UI components that you can drag and drop into the IB. When you get to “Table View Cell”, drag it into the empty space
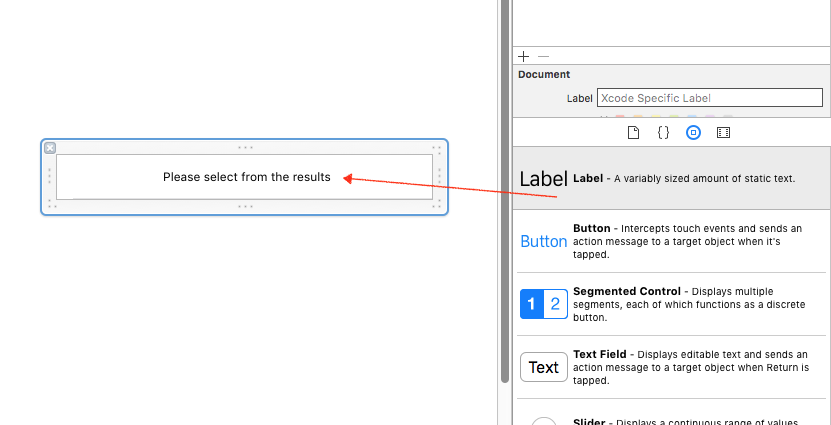
Then drag a label across, and into the cell.
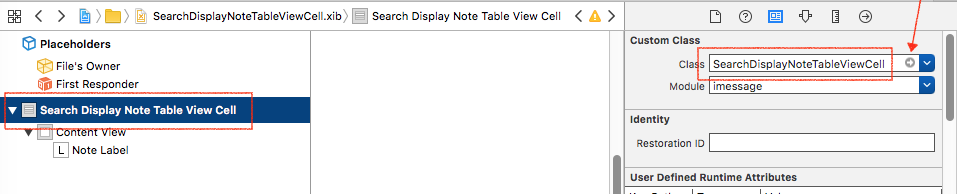
Create a UITableViewCell source file. In order to connect source file to interface builder, first make sure our cell is selected. Then enter the existing class’s name into the “Custom Class” textfield of the Identity Inspector.
Click on the small arrow button to make sure the xib can detect and navigate to the correct source file. Once that’s done, double click your xib so it opens. Then open up the hierarchy of UI components and you can ctrl+drag the components into the registered source file.
Next, we will create outlets for the text labels in our cell so we can set their values.
You will see the IB outlet in your code like so:
|
1 2 3 4 5 6 |
class SearchDisplayNoteTableViewCell: UITableViewCell { @IBOutlet weak var noteLabel: UILabel! ... ... } |
to the left of the code, in the region where you put your breakpoints, you’ll see a small circle. If you hover over that circle, you’ll see that the corresponding UI component in IB will light up.

As you can see, both says noteLabel.