Admin App
Adding an Event
The admin app let’s the user create events. The events are stored in the Easy Table TodoItem in Azure.
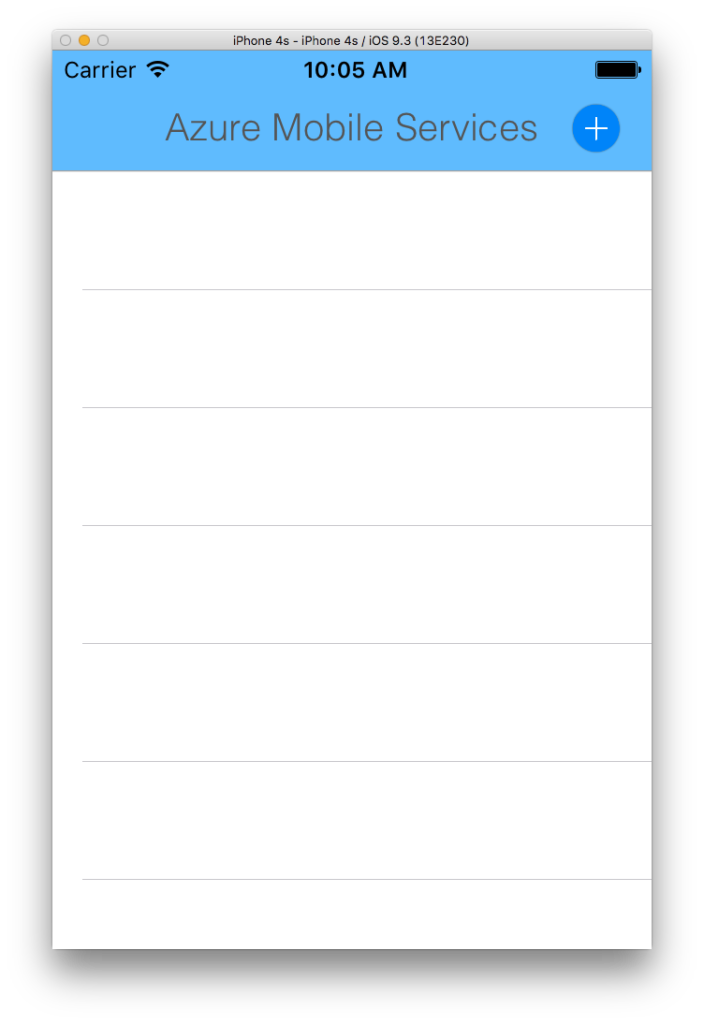
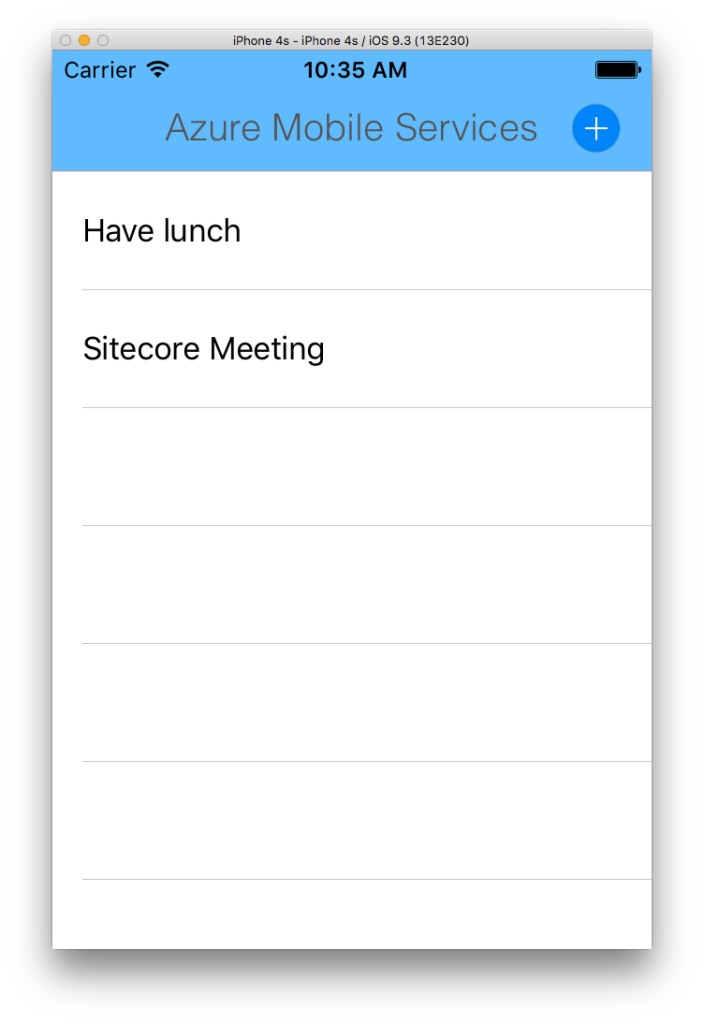
There is a table that shows all the non-expired events. There is also an ‘add event’ button.
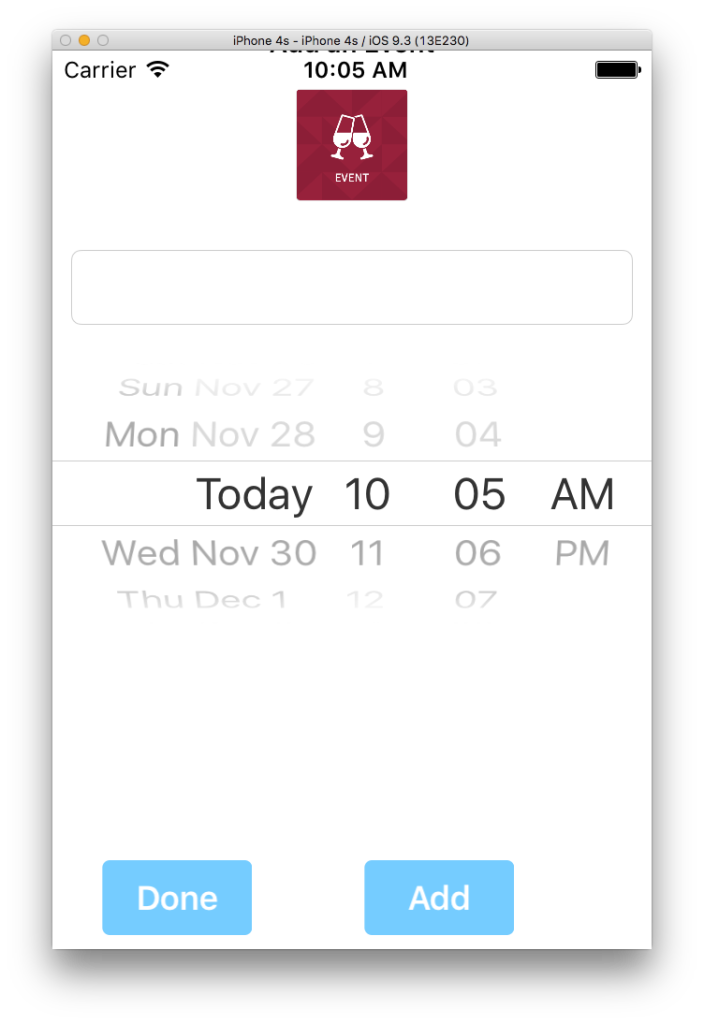
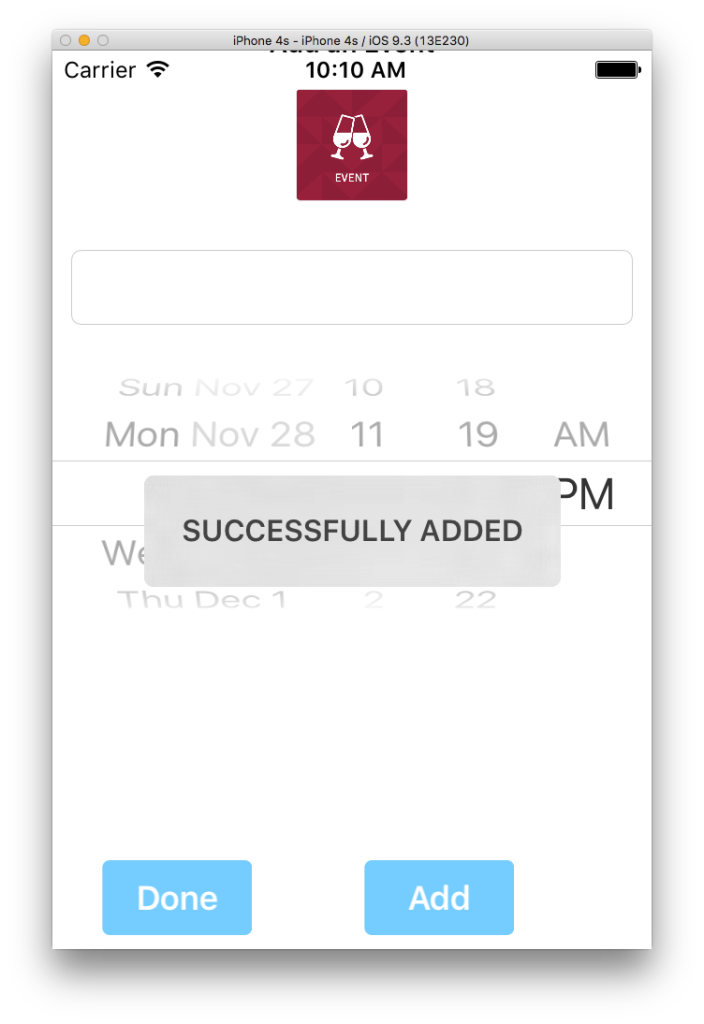
Click on the add button and you’ll see this screen. In this version, you simply need to supply the event’s name and its expiration time.
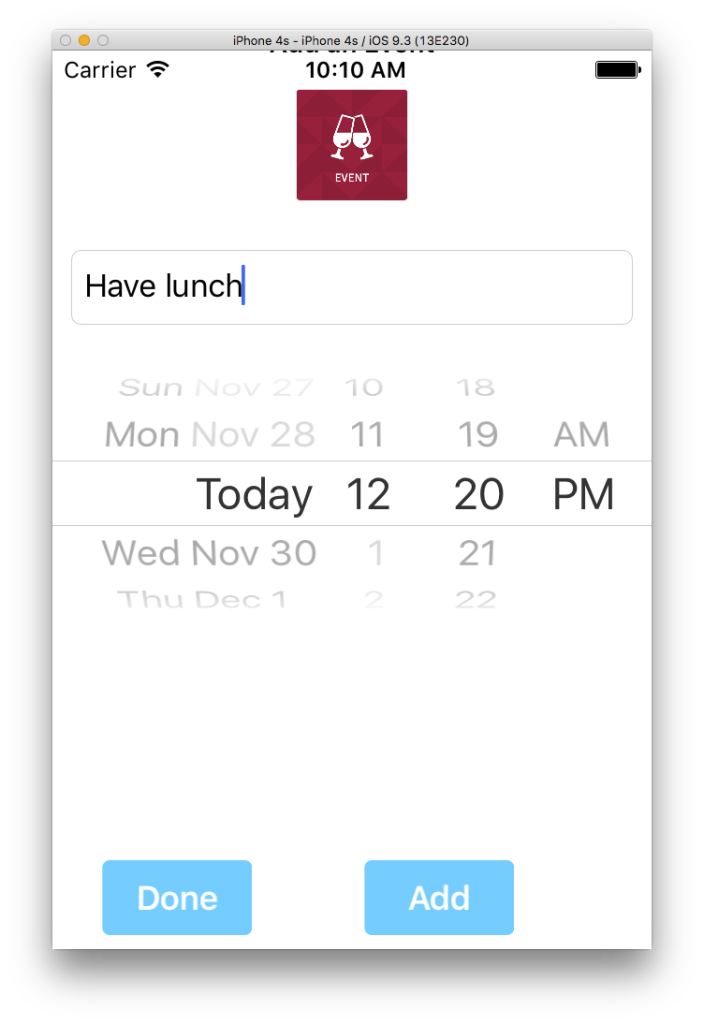
Insert the event title and expiration time like so:
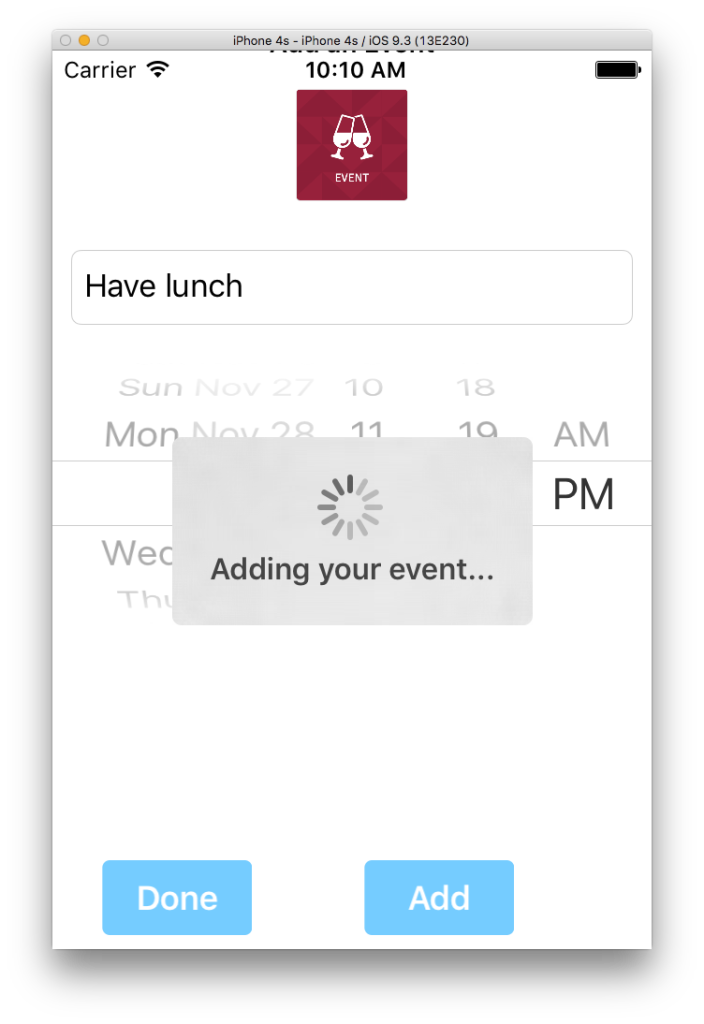
Then click on the add button. You’ll see that the adding of the event is in process as the app sends the data to the Azure server.
Once the data is sent to the server, the app will then pull (refresh) the data from the server. You will get a successful message confirmation.
In the Easy Table results, you will see the results:
Once the data is sent to the server, the app will then pull (refresh) the data from the server. This updates the table on our app as you can then see the results.
Expiring (removing) an event
There are two ways for an event to be expired. First way is to simply let the expiration time pass and all client apps remove the event. This is because all client apps are programmed to ONLY show events with non-expired time.
The second way is for the admins to remove the events manually.
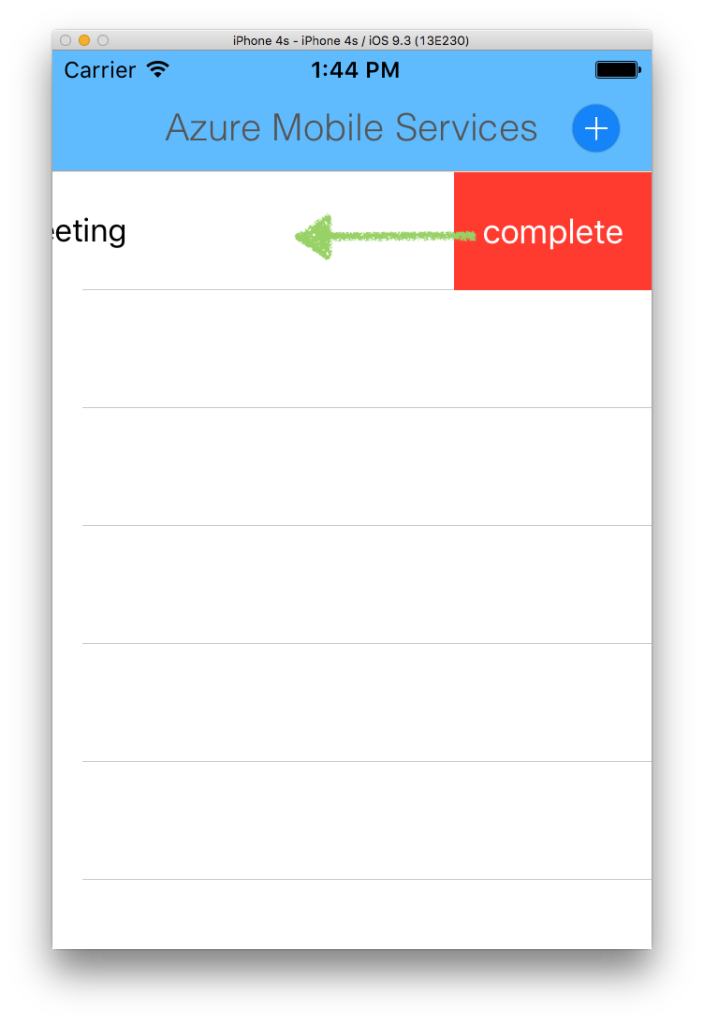
On a row that you want to remove, swipe left and you’ll see the complete button. Click on it.
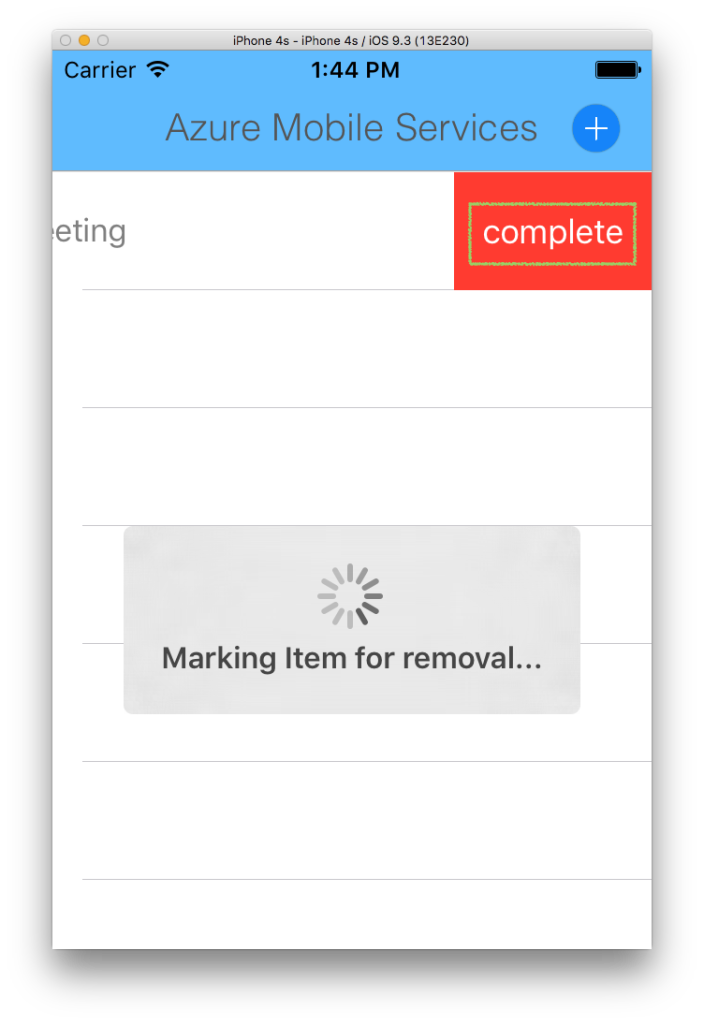
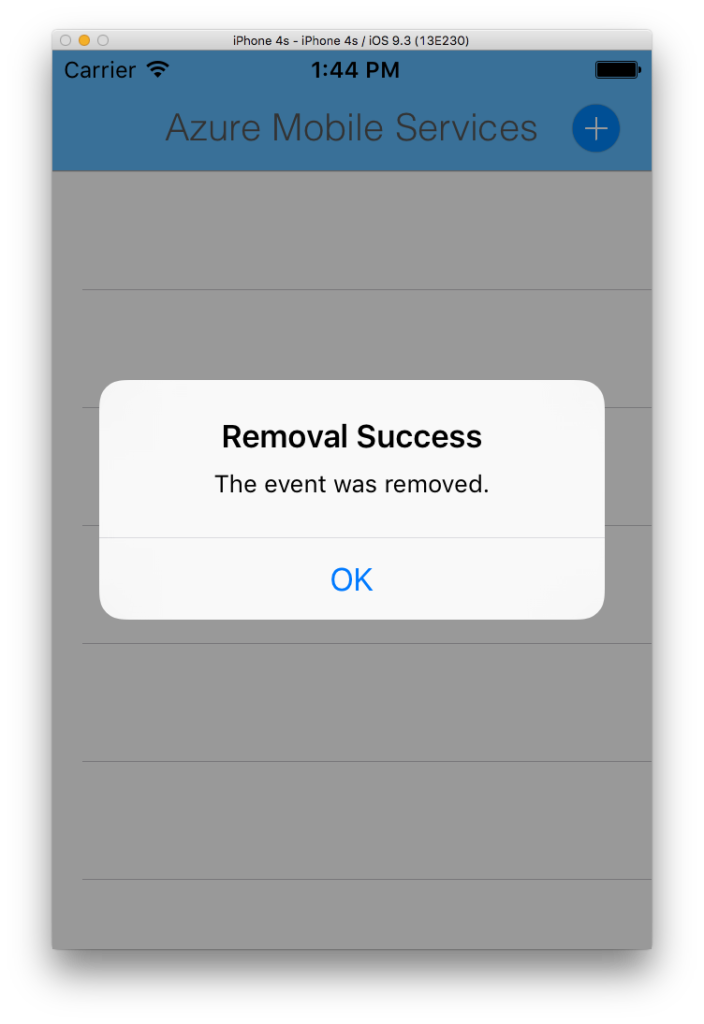
You’ll see that the app processes the removal of the item.
Once its successful, the item will be removed from the backend, and be reflected on the client apps.
Client App
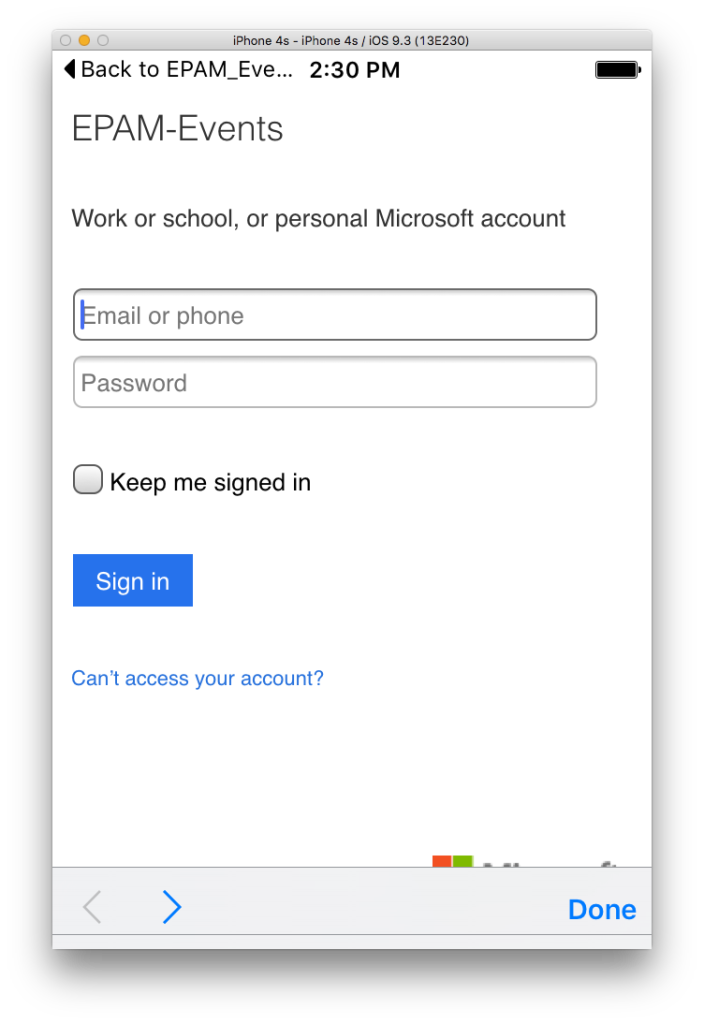
Let the app load up the log in screen. This is Microsoft’s proprietary log in screen.
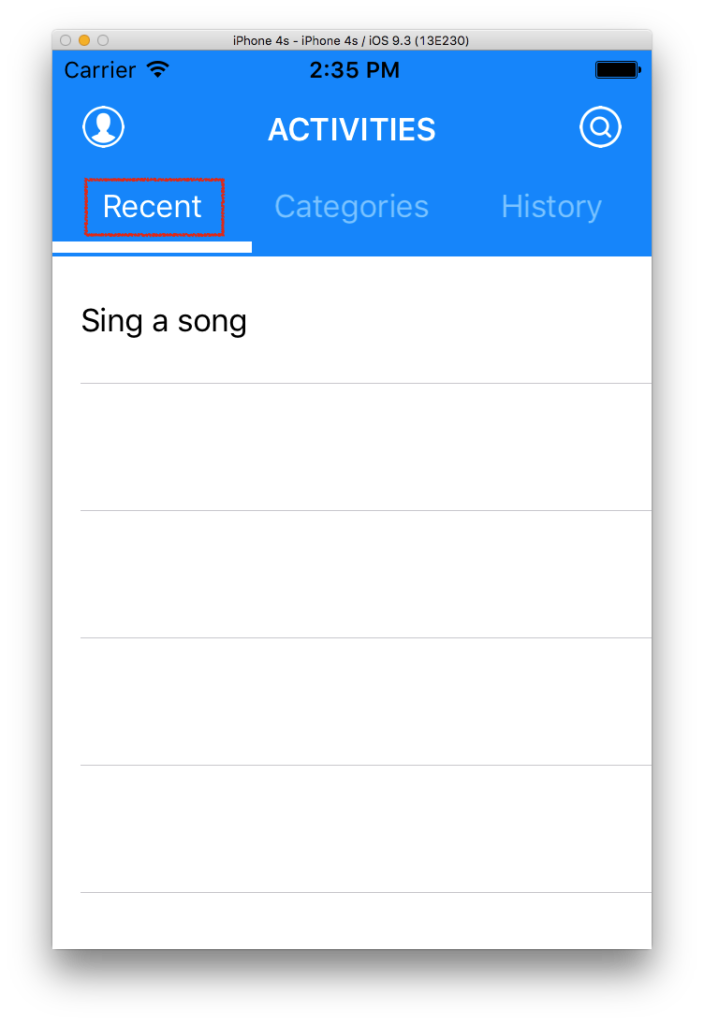
Recent Table
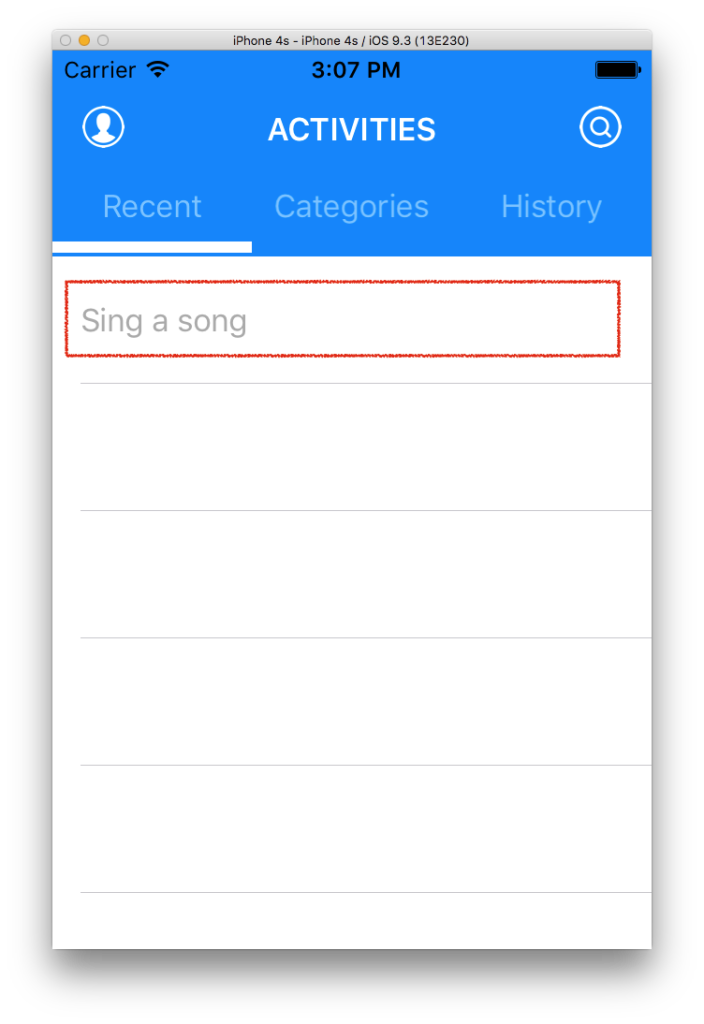
Recent table means non expired (expiration time is larger than now) events that are still available for registration:
You should be able to see the data in the Easy Table with a datetime that is larger than now:
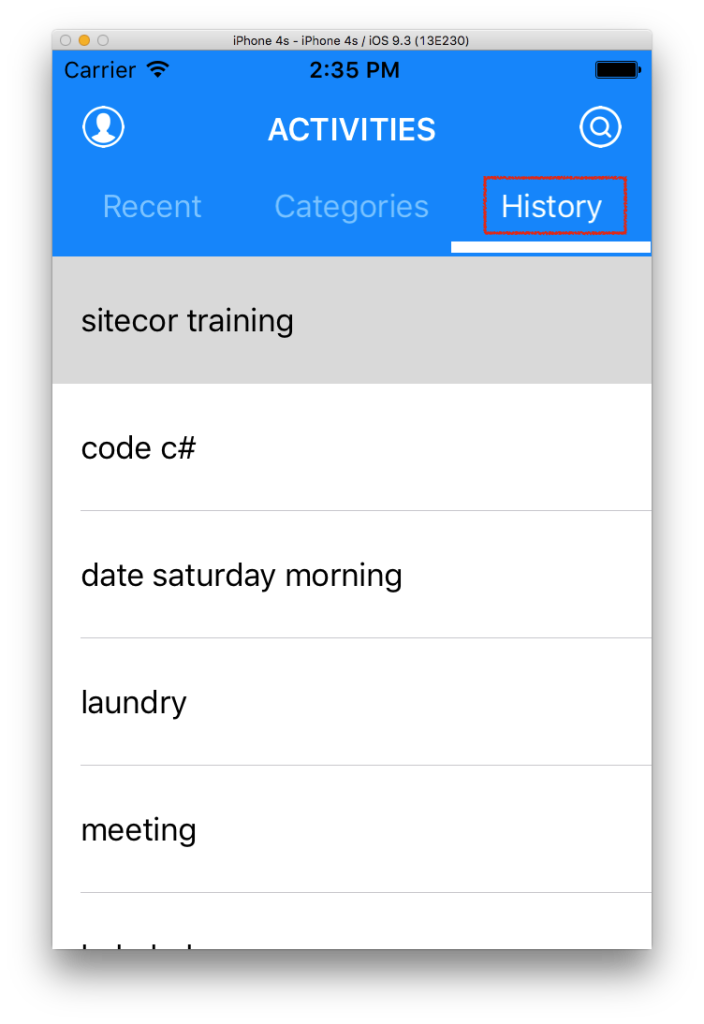
History table means expired events. This means these events’ expired time is less than now. It WILL NOT be viewable in Recent Table. It will be viewable here in history table.
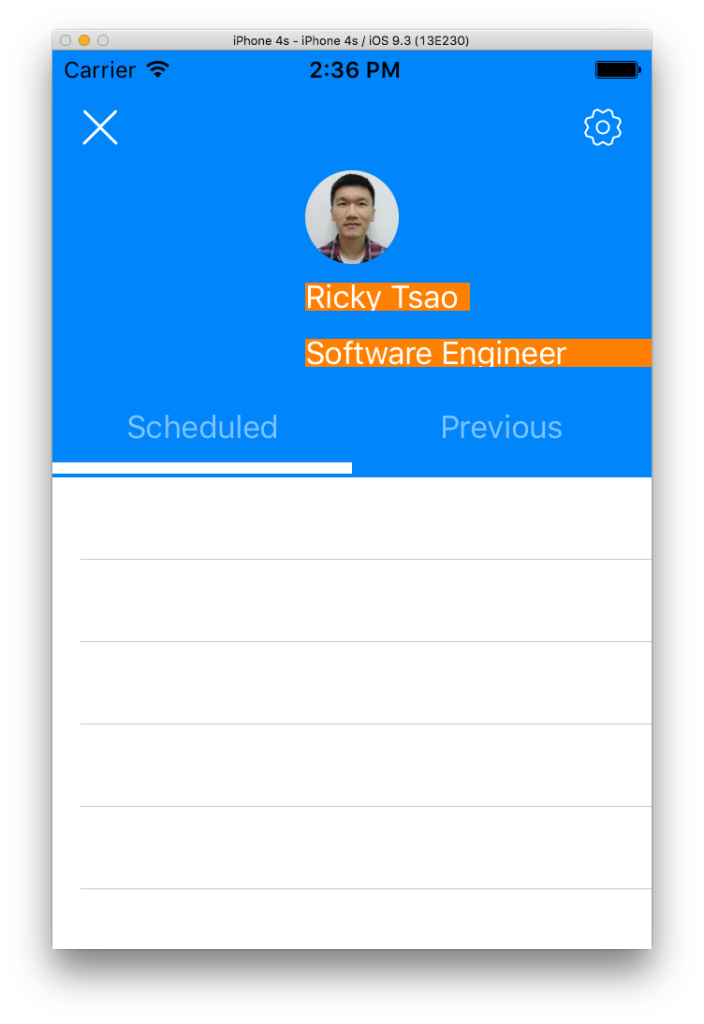
From the main screen, there’s a user icon on the top left. Click on it to go to your user profile.
You will see the scheduled events tab.
Scheduled events are:
- Non expired events (expired time is larger than now)
- you’ve registered for it
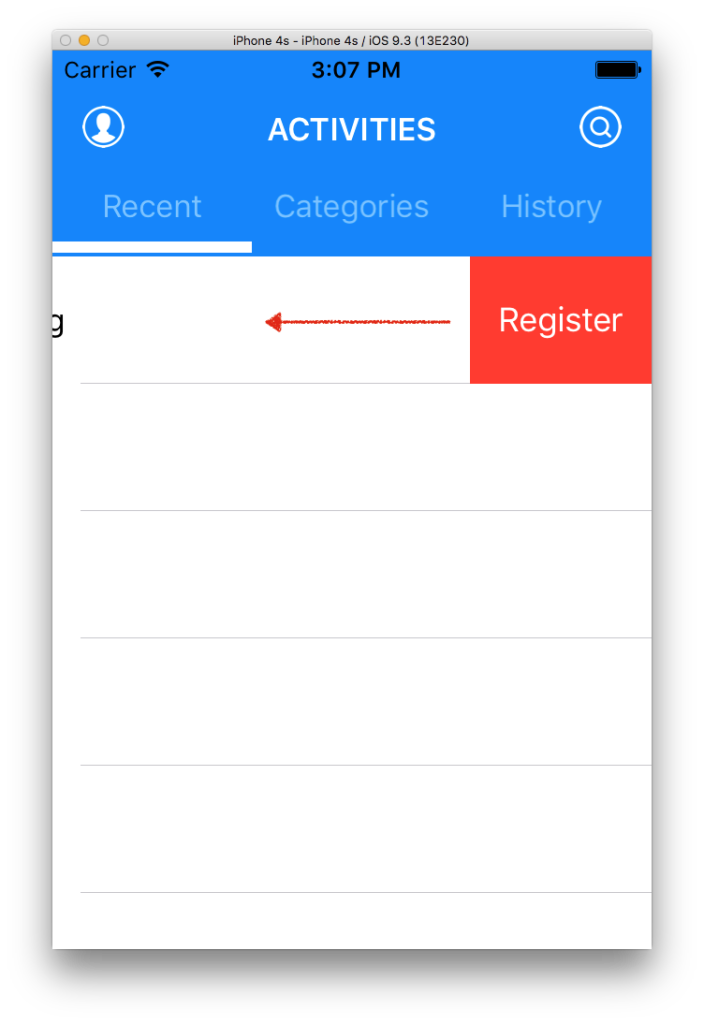
Currently in our example, there is none. If you do want to register for an event, left swipe it, and click on ‘Register’.
Registering for the Data
If you want to register for an event, go to the recent table view in the front page. You’ll see events that are available for registration. Left swipe the row and you’ll see a register button. Click on the button to register for that event.
Once an event is registered, you cannot register for it again. Thus it is grayed out.
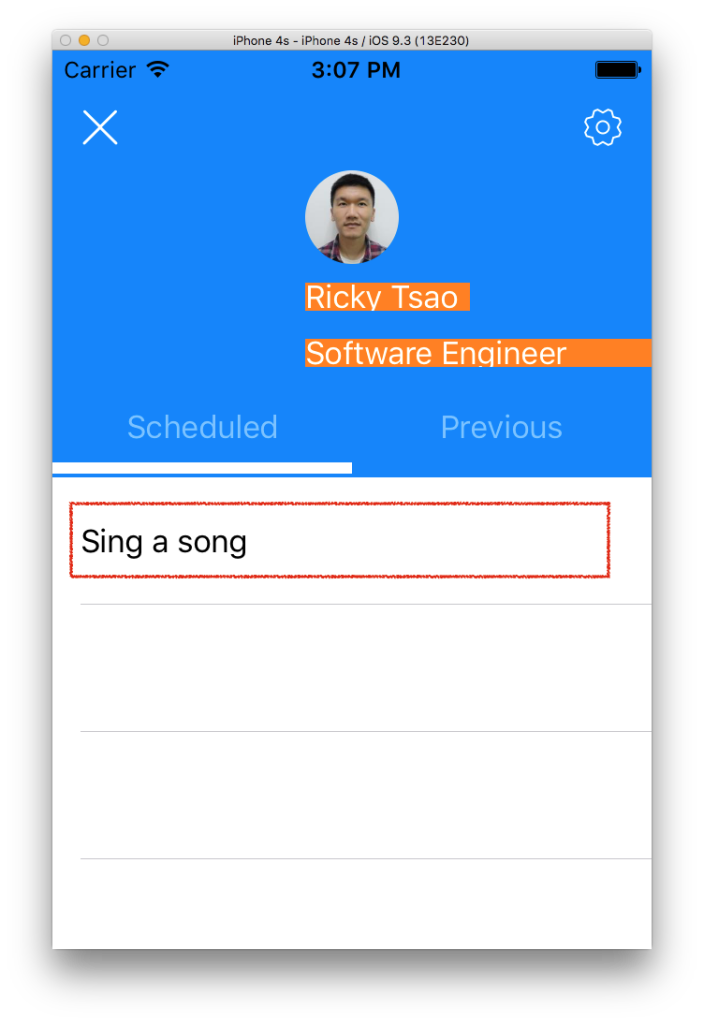
Go to your user profile. You will then see that it appears in your scheduled table view.
Go to the Azure Easy Table to verify the data. Then see that your user email appears.
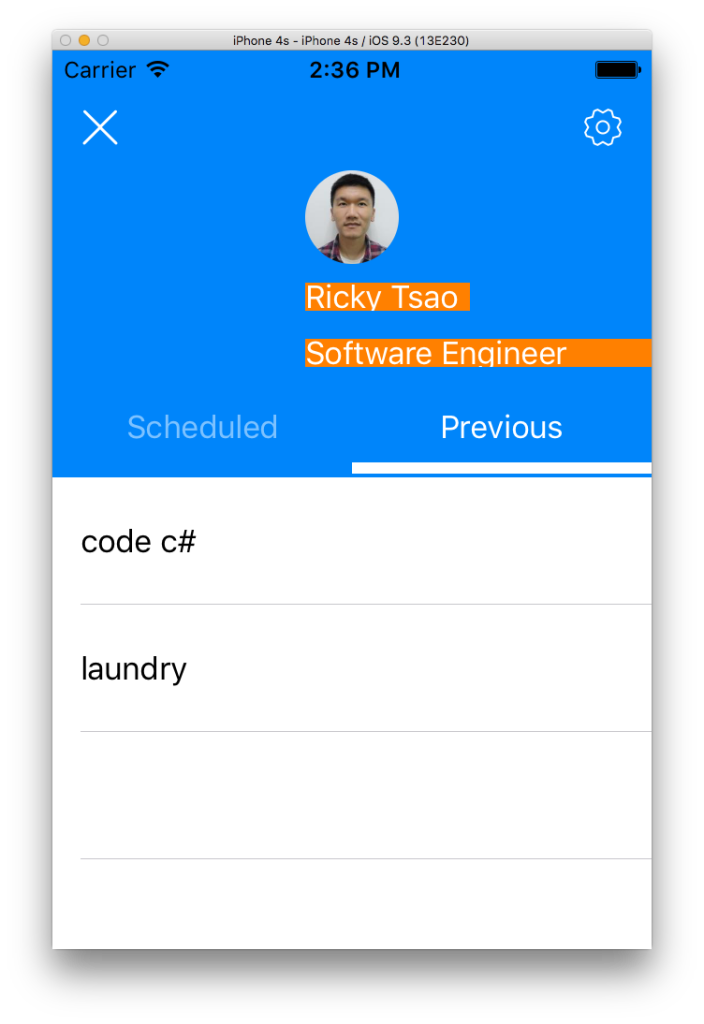
In your User Profile go to the user tab. Previous events means
- Expired events (expiration time is less than now)
- You’ve registered for it
You can verify the data in the Easy Table. You will see that you’ve registered for this event in the past. Also, the event has expired.
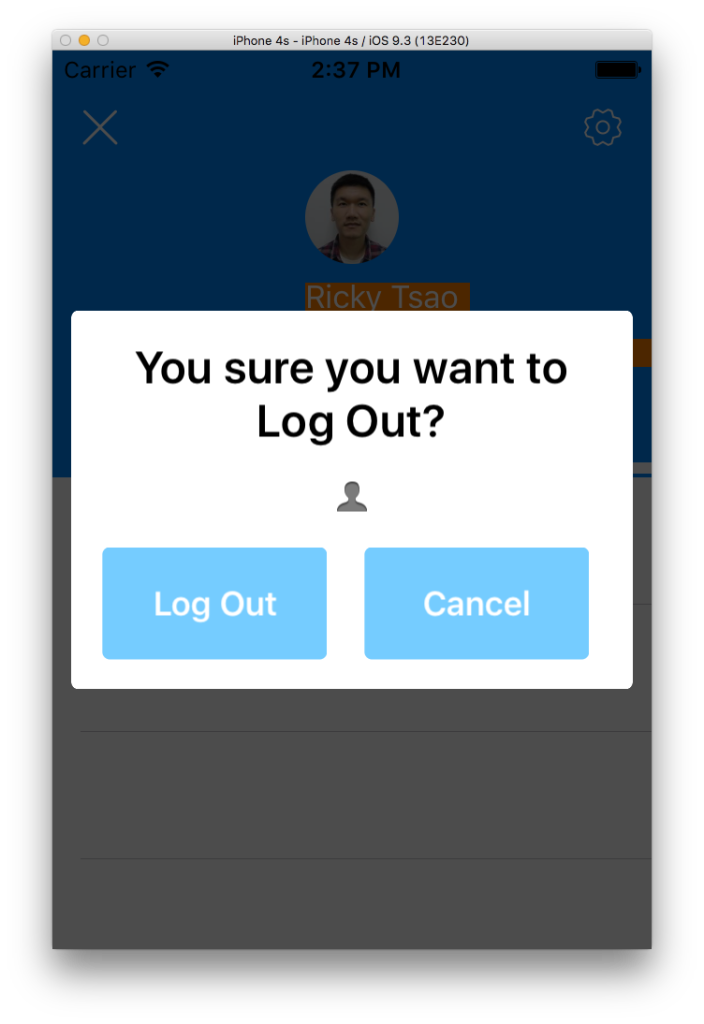
Finally, if someone else wants to log into their account, you need to logout, and let someone else log in.
But if its just you using the app, you don’t need to do anything. The app will automatically refresh your tokens for you.
