create the xcdatamodelid file
File >> New >> File
Under iOS >> Core Data >> Data Model
Select it and give it a name. Make sure you use this name in your core data stack’s code. This is so that it can load it into a MOM object successfully.
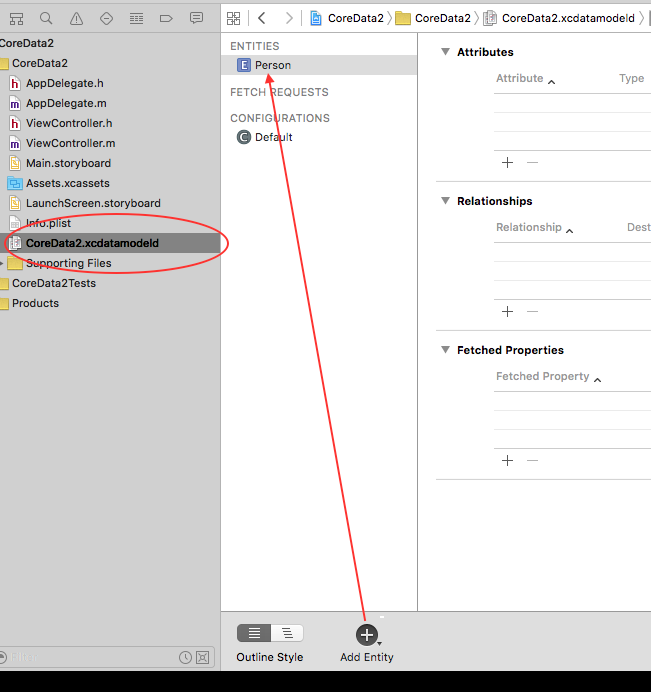
Click on .xcdatamodeld file to see your design. It comes in 2 styles. One is editor style, and the other is graph style.
Make an entity
Click on the plus sign to create an Entity and give it a name. In SQL terms, you created a table Person. In Core Data, we call it an Entity.
You can also check out the properties by opening the right pane. Then clicking on the properties icon.
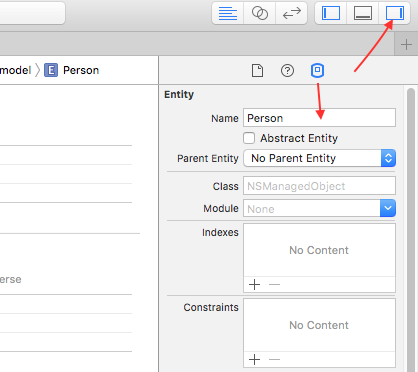
Notice the Attributes. They are like the columns in a table. We declare names of the attributes and their type.
Add an attribute
Select the Entity name and under Attributes, click on the ‘+’ button. Give the attribute firstName, and select String as the Type.
Create attributes for firstName and lastName.
Now that we’re done with our model, we need to create an concrete class to represent our entity.
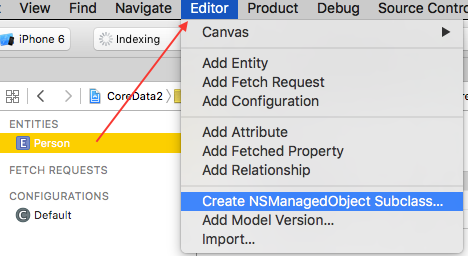
We are going to subclass NSManagedObject to represent our Person Entity.
Click on Entity, then menu Editor, and click on Create NSManagedObject subclass.
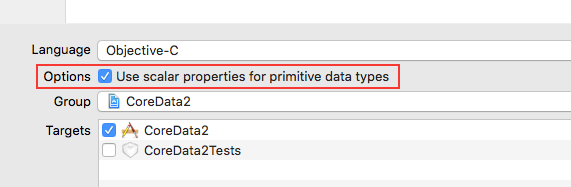
Click next on all the wizard pages until you reach the end. Make sure to check the box where it says use scalar for primitive types. This is so that it does not use NSNumber objects to represent your primitive values.